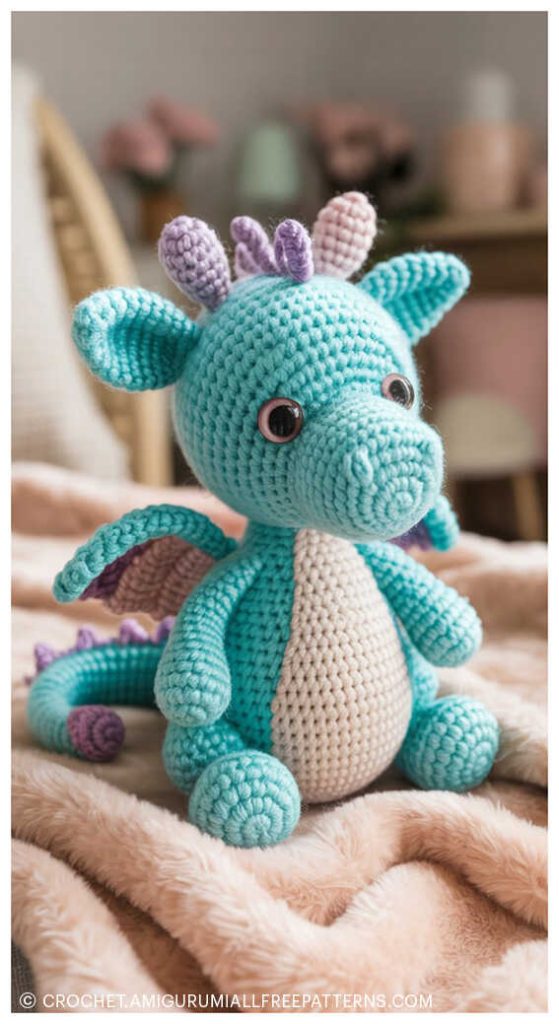
Free Magical Amigurumi Crochet Dragon Free Pattern
Designer: Manicula Magica
Instagram: @manicula.magica
Let’s pick up our hooks and start something cute…
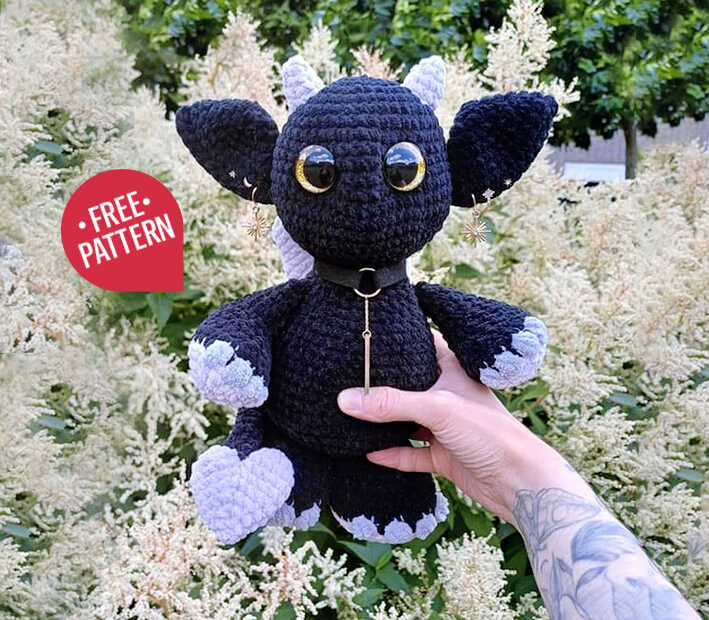
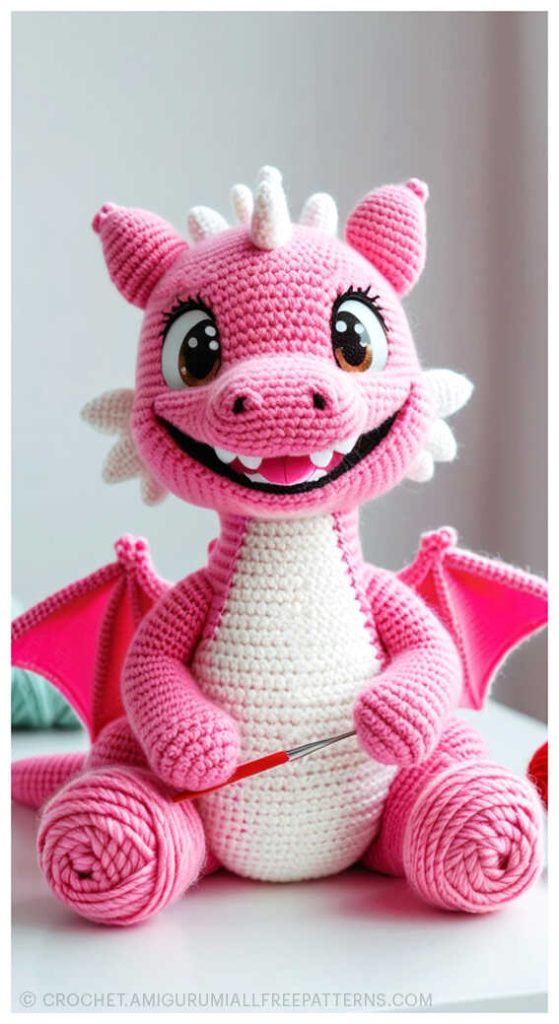
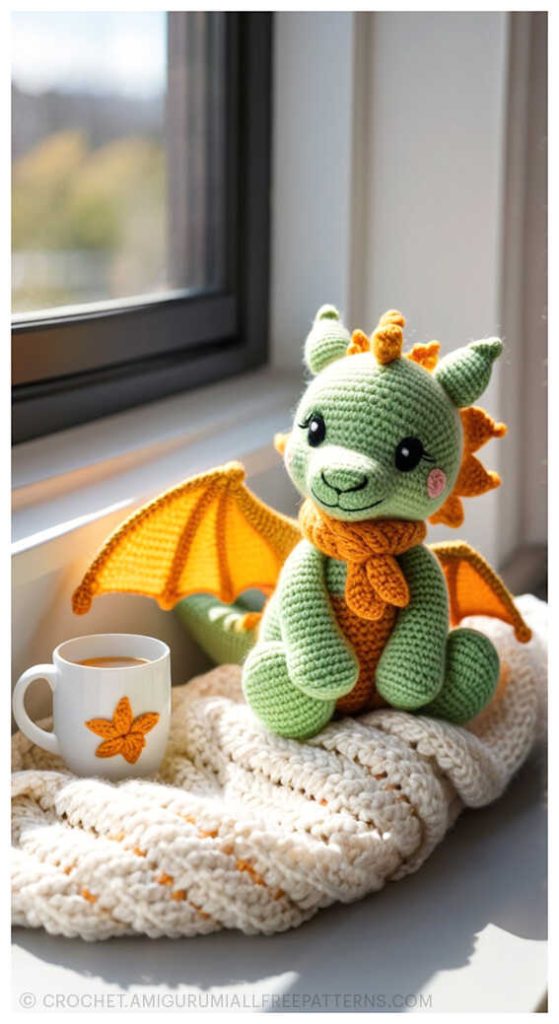
If you’ve ever dreamed of bringing a touch of fantasy to your crochet collection, this Free Magical Amigurumi Crochet Dragon Plush Pattern by Manicula Magica is the perfect project for you. Designed with love and creativity, this enchanting dragon features soft chenille yarn in three cozy shades — pale pink, white, and grey — that make it wonderfully fluffy and huggable. The pattern is step-by-step and beginner-friendly, making it ideal for crocheters of all skill levels. To complete your magical plush, you’ll need a 4–5 mm crochet hook, a darning needle, stuffing material, safety eyes (we love the glittering 25 mm ones!), and a few stitch markers to keep your rounds in place. Every detail in this design captures the charm of a mythical creature brought to life through yarn.
We’d like to thank Manicula Magica for sharing such a delightful and imaginative free pattern with the crochet community. Whether you’re new to amigurumi or an experienced maker, this dragon will surely become one of your favorite crochet plushies. At the end of the pattern, you’ll also find more inspiring amigurumi dragon ideas to fuel your creativity and expand your handmade collection. 🐉✨ For those who want more details, behind-the-scenes photos, or extra tips from the designer, be sure to visit Manicula Magica on Instagram.
Supplies:
3 colours of chenille yarn (pale pink, white and grey)
4-5 mm crochet hook.
Darning needle.
Stuffing material.
Safety eyes (I used glittering ones in 25mm)
Stitch markers
Abbreviations:
sc= single crochet
inc= increase
dec= decrease
MR= magic ring
st= stitch
ch= chain
pc= popcorn stitch
AMIGURUMI DRAGON FREE PATTERN
Head
Main colour:
1) 8sc in MR (8)
2) 8inc (16)
3) (sc, inc)x8 (24)
4) (2sc, inc)x8 (32)
5) (7sc, inc)x4 (36)
6) 4sc, inc, (8sc, inc)x3, 4sc (40)
7) 40sc
8) (9sc, inc)x4 (44)
9) 44sc (44)
10) 5sc, inc, (10sc, inc)x3, 5sc (48)
11) 48sc (48)
12) (11 sc, inc)x4 (52)
13) 52 sc (52)
14) 6sc, inc, (12sc, inc)x3, 6sc (56)
15) 56sc
16) (5sc, dec)×8 (48)
17) (4sc, dec)x8 (40)
18) (3sc, dec)x8 (32)
Place the eyes between rows 10&11, about 10st apart)
19) (2sc, dec)x8 (24)
20) (sc, dec)x8 (16)
Finish off, leave a tail for sewing.
Stuff the head.
Ear & horns
Ears (make 2), main colour:
1) 6 sc in MR (6)
2) 6 inc (12)
3) (2sc,inc)x4 (16)
4) (3sc,inc)x4 (20)
5) (4sc,inc)x4 (24)
6-7) 24 sc (24)
Fold the ear and crochet the edges together with 12 sc.
Finish off, leave a tail for sewing.
Horns
Make 2, white:
1) 4 sc in MR (4)
2) (sc,inc)x2 (6)
3) (2sc,inc)x2 (8)
4) (3sc,inc)x2 (10)
Finish off, leave a tail for sewing.
Body
Main colour:
1) 8sc in MR
2) 8inc (16)
3) (sc, inc)x8 (24)
4) (2sc, inc)x8 (32)
5) (3sc, inc)x8 (40)
6) (4sc, inc)x8 (48)
7) (11sc, inc)x4 (52)
8) (25sc, inc)x2 (54)
9-10) 54sc (54)
11) (25sc, dec)×2 (52)
12) 12sc, dec, 24sc, dec, 12sc (50)
13) (23sc, dec)x2 (48)
14) 11sc, dec, 22sc, dec, 11sc (46)
15) (21sc, dec)×2 (44)
16) 10sc, dec, 20sc, dec, 10sc (42)
17) (19sc, dec)×2 (40)
18) 4sc, dec, (8sc, dec)x3, 4sc (36)
19) (7sc, dec)x4 (32)
20) 3sc, dec, (6sc, dec)x3, 3sc (28)
21) (5sc, dec)x4 (24)
22) 2sc, dec, (4sc, dec)x3, 2sc (20)
23) (3sc, dec)x4 (16)
Finish off, stuff and sew on the head.
Wings
Make 2, white:
1) 6 sc in MR (6)
2) 6 inc (12)
3) 12 sc (12)
Finish off. Make a second one, but don’t finish off.
Crochet the first and secound one together with 2sc.
The finish off and make a third one. Don’t finish off, but crochet the second and third one together with 2sc. Make sure to connect them in the middle. This is how it should look like:
4&5) 28 sc (all around, don’t crochet into the 2sc connection stitches)
6) (5sc, dec)x4 (24)
7) (4sc, dec)x4 (20)
8) (3sc, dec)x4 (16)
9) (2sc, dec)x 4 (12) – start stuffing –
10) (sc, dec)x4 (8)
Finish off & leave a tail for sewing.
Tail
In white:
1) 6 sc in MR
2) 6 inc (12)
3) 12 sc (12)
Finish off, crochet a second one (don’t finish off). Connect
them with 2sc through both loops on the inside of the heart. Don’t crochet into these 2 stitches in the following rounds.
4&5) 20sc
6) (3sc, dec)x4 (16)
7) (2sc, dec)x4 (12)
Start stuffing.
8) (sc, dec)x4 (8)
9) 4dec (8)
Finish off, sew closed.
In main colour:
1) 6sc in MR
2-18) or until desired length: 6sc
19) (dec, sc)×2 (4)
Finish off, close and sew it onto the heart.
Sew the other end of the tail to the body.
Feet
Make 2, white:
1) 6sc in MR (6)
2) (3sc in one st, sc)x3 (12)
3) sc, inc, 2sc, 3inc, 2sc, inc, 2sc (17)
4) 2sc, inc, 4sc, (3sc in one st)x2, 4sc, inc, 3sc (23)
5) 3sc, inc, sc, (inc, 2sc)x4, inc, sc, inc, 3sc (30)
6) inc, 6sc, (inc, 2sc)x2, 3sc in one st, (2sc, inc)x2, 10 sc (37)
Before finishing off this part, mark the stitches: count into the direction you crochet (beginning at the next stitch unworked you would crochet into) and mark the 6th st, then count into the other direction, place marker like this, with 10st inbetween.
Join with the main color where the yellow st marker is (13th stitch counted from a blue marker).
Change the grey only for the pc.
7) 14 sc in BLO, pc, (2sc in BLO,pc)x3, 13 sc in BLO (37)
8) 37 sc (37)
9) 2sc, dec, (3sc,dec)x2, 10 sc, dec, 5 sc, dec, 4 sc (32)
10) (6sc,dec)x4 (28)
11) (5sc,dec)x4 (24)
12) (2sc,dec)x6 (18) – start stuffing.
13) (sc,dec)x6 (12)
Finish off, leave a tail for sewing.
You may also like Amigurumi Dinosaur Crochet Free Pattern
Arms
Make 2, white:
1) 6sc in MR
2) sc, 4sc in one st, 2sc, 4sc in one st, sc (12)
3) (sc, inc)x6 (18)
4) (2sc, inc)x6 (24)
Mark the stitches: count into the direction you crochet and mark the 3rd st. Then count further into the direction and place another marker 8st away (7st in between).
They just indicate where the claws will be.
Join with the main colour 8st away from both markers.
In R5 we will do some colour changes (main colour and grey)
Change to grey only for the pc.
5) 9 sc in BLO, pc, (sc,pc)x3, 8 sc in BLO
6) 24 sc
7) 9sc, 4 dec, 7 sc (20)
8) 3 inc, 4sc, dec, (sc,dec)x2, 5 sc (20)
9) (3sc,dec)x4 (16)
10) (2sc,dec)x4 (12)
11-13) 12 sc (3 rounds), stuff the paw only
14) 3 dec, 6 sc (9)
15) (sc,dec)x3 (6)
Sew or crochet the edges together with 3 sc.
Finish off and leave a tail for sewing.
Details and sewing
Eye shaping: to create a little more shape and a little “nose”, pinch the eyes together and sew back and forth inserting the yarn (main colour) right on the inner part of the eye and bringing it out at the inner part of the other eye. Then insert again (use another st close). Repeat some times and pull it as tight as you like it. If you want to watch a video tutorial, you can look for ” how to indent amigurumi eyes” on YouTube.
Recommended placements for sewing (feel free to adjust as you like)
• Arms: row 19
• Feet: rows 2-6
• Wings: rows 18-20
• Ears: rows 10-14
• Horns: rows 3-5
• Tail: rows 7-9
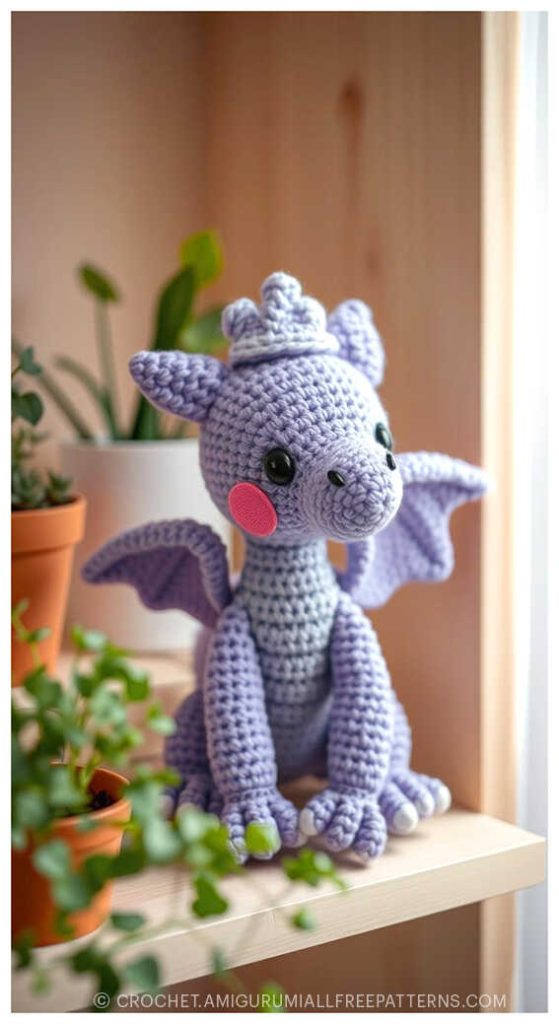
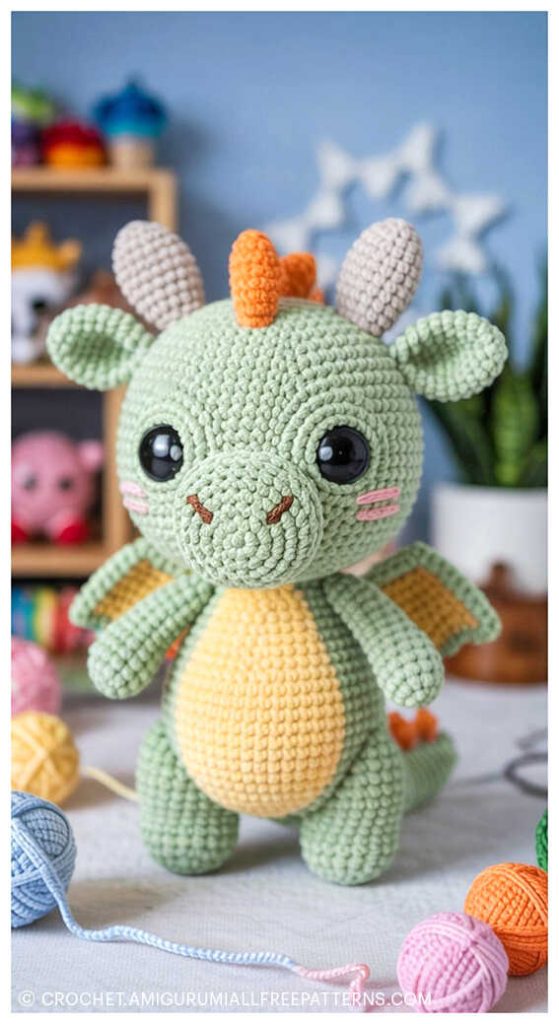
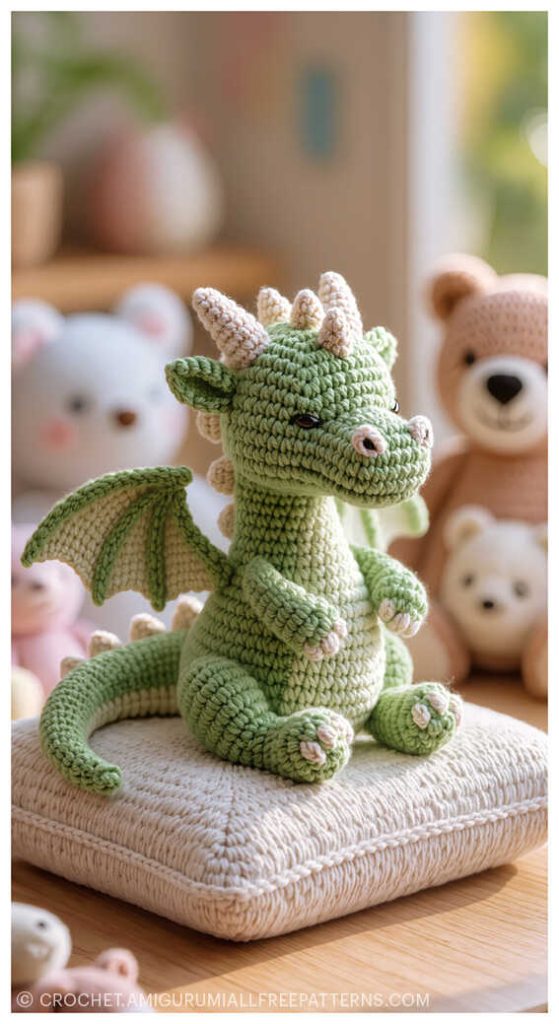
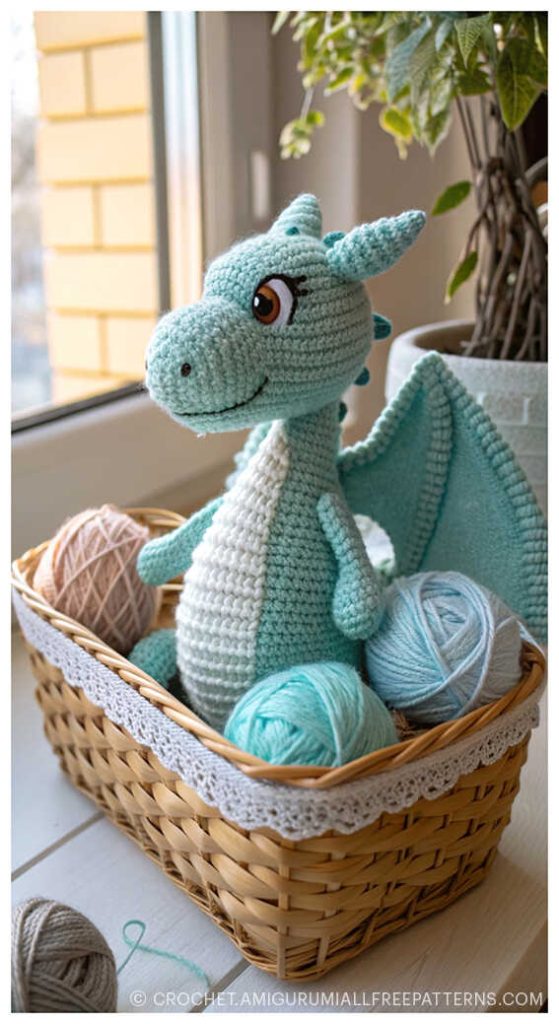
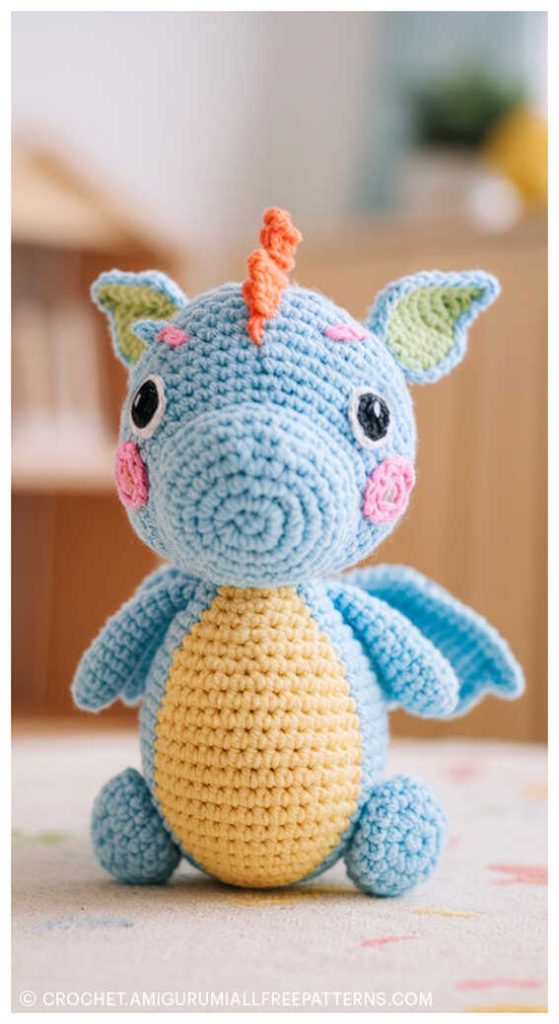
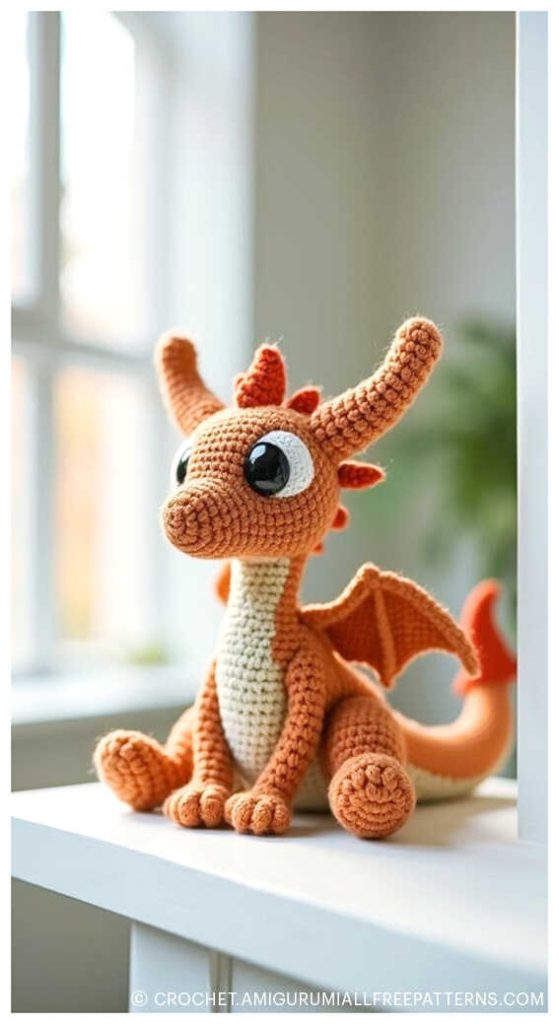
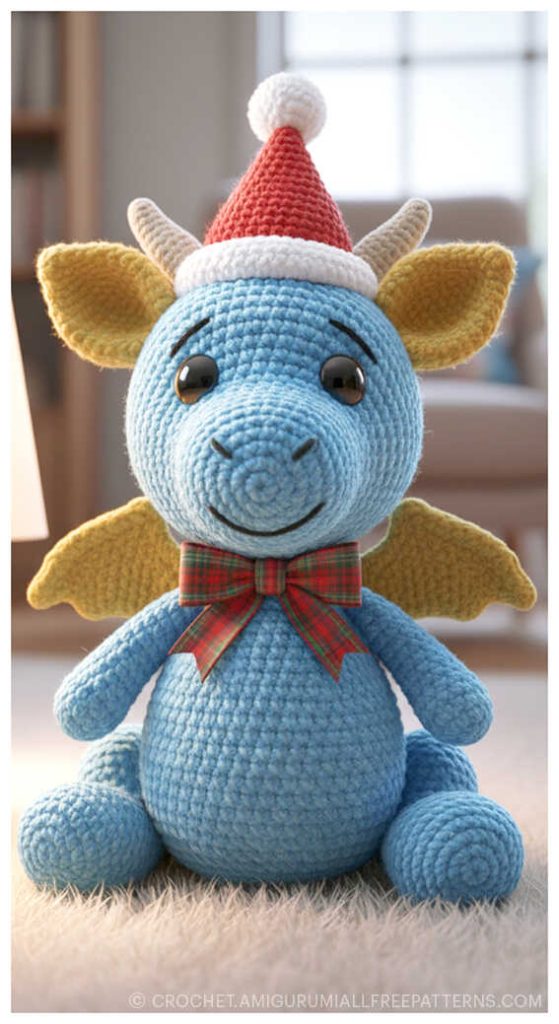
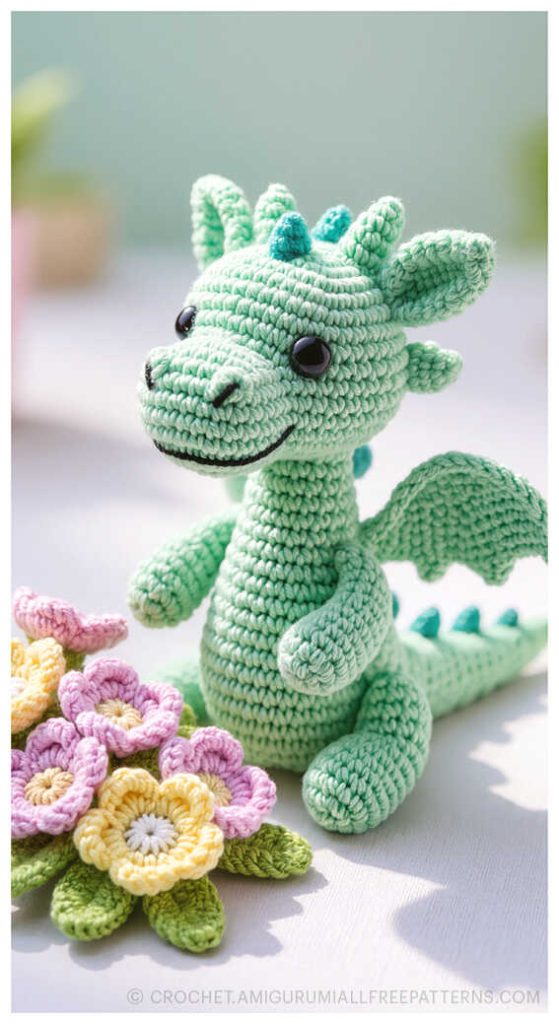
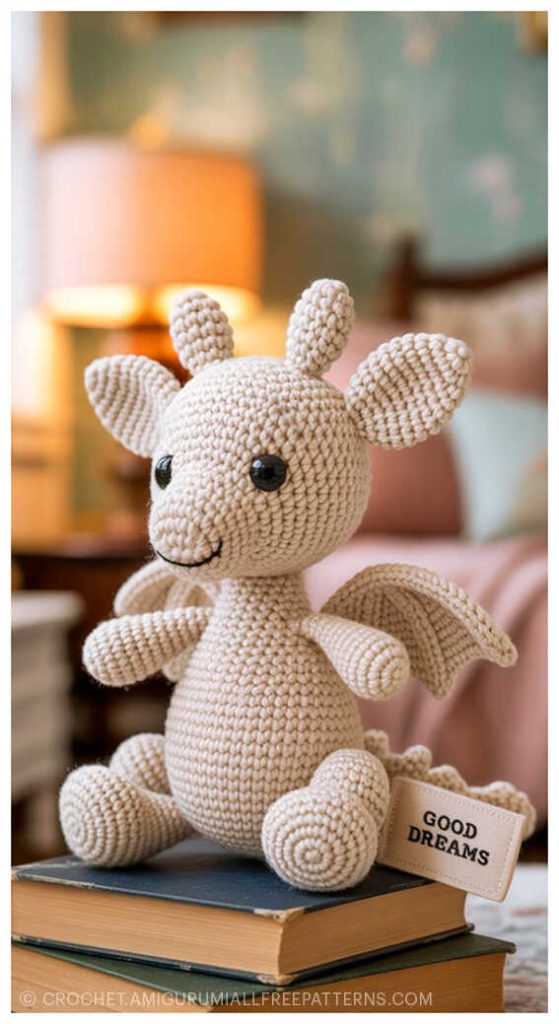
Magical amigurumi dragon ideas:
Stitch by Stitch: Explore the World of Amigurumi
Bring your favorite crochet toys to life – from cute amigurumi cats, amigurumi dogs, and amigurumi bunnies to magical amigurumi unicorns, amigurumi elephants, and amigurumi giraffes. Our collection also includes lovable amigurumi bears, amigurumi foxes, amigurumi pandas, amigurumi monkeys, amigurumi lambs, amigurumi pigs, amigurumi birds, amigurumi penguins, amigurumi llamas, amigurumi hippos, and even playful amigurumi dinosaurs, along with delightful amigurumi dolls and amigurumi clowns. Every pattern is designed to spark creativity and guide you with easy-to-follow instructions. For even more free amigurumi patterns, tips, and inspiration, don’t forget to follow us on our Facebook page and join our friendly Facebook group, where crochet lovers from all around the world share their handmade creations and ideas. Let’s continue this wonderful crochet journey together!
Keywords: free amigurumi patterns, crochet toys, amigurumi animals, beginner amigurumi, amigurumi dolls, crochet free patterns, crochet patterns, easy crochet