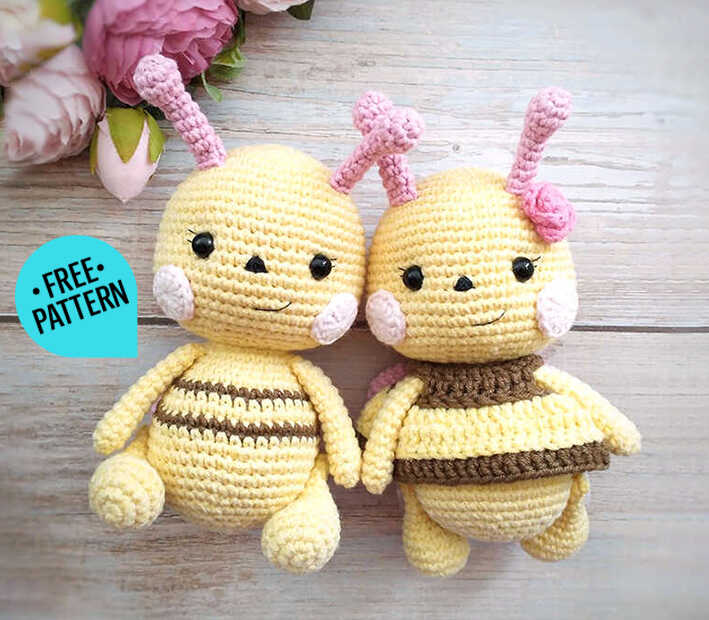
Easy Crochet Bee Amigurumi Free Pattern
Designer: Uliya Ross
Instagram: @uliyaross
Hi there, amigurumi fans!..
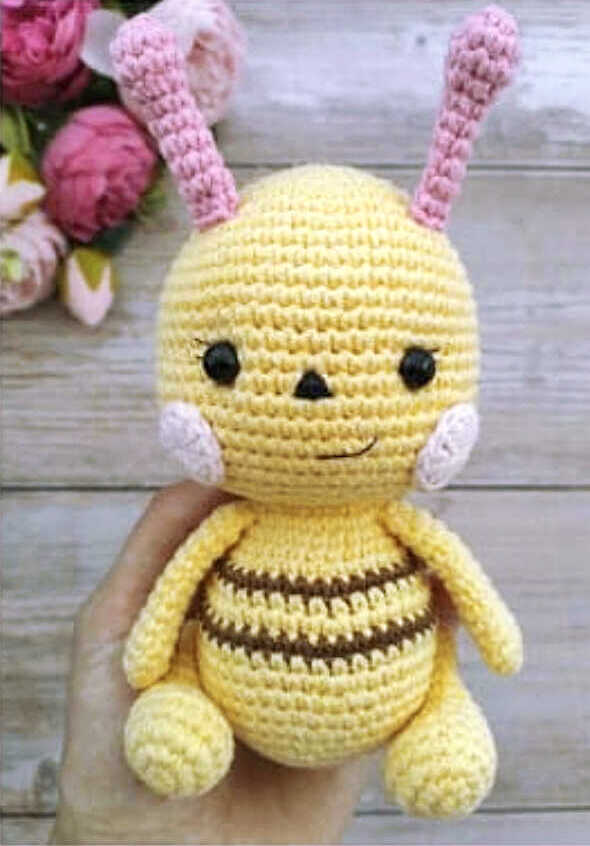
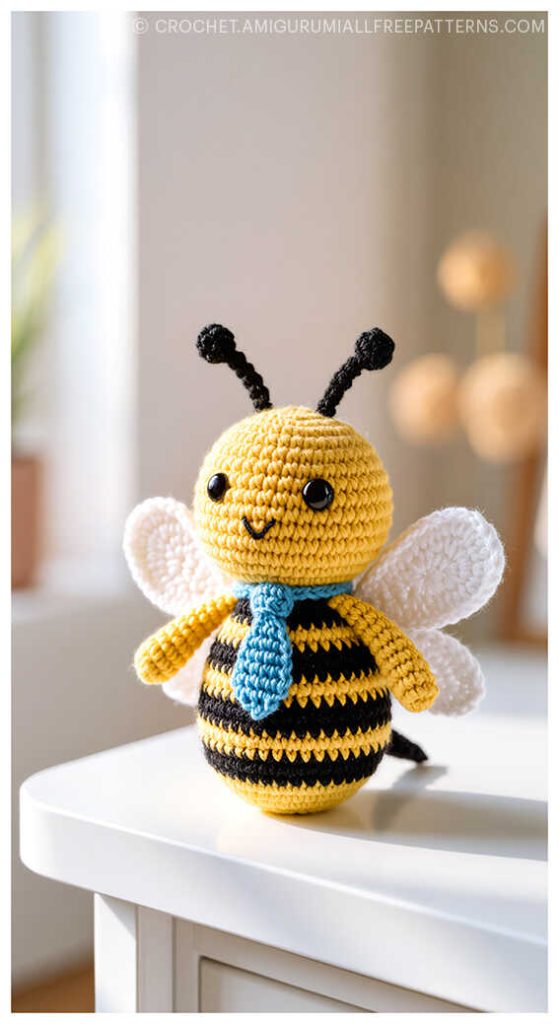
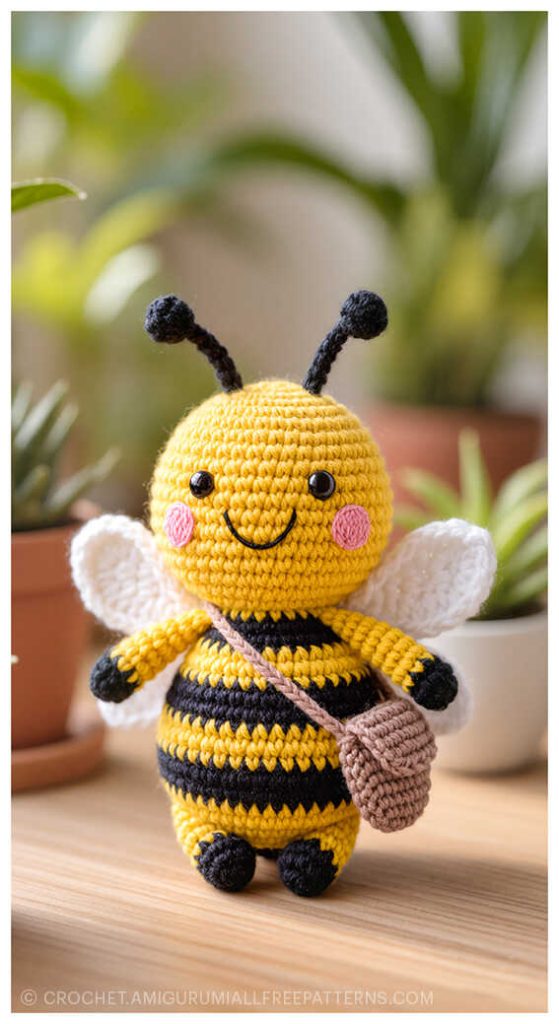
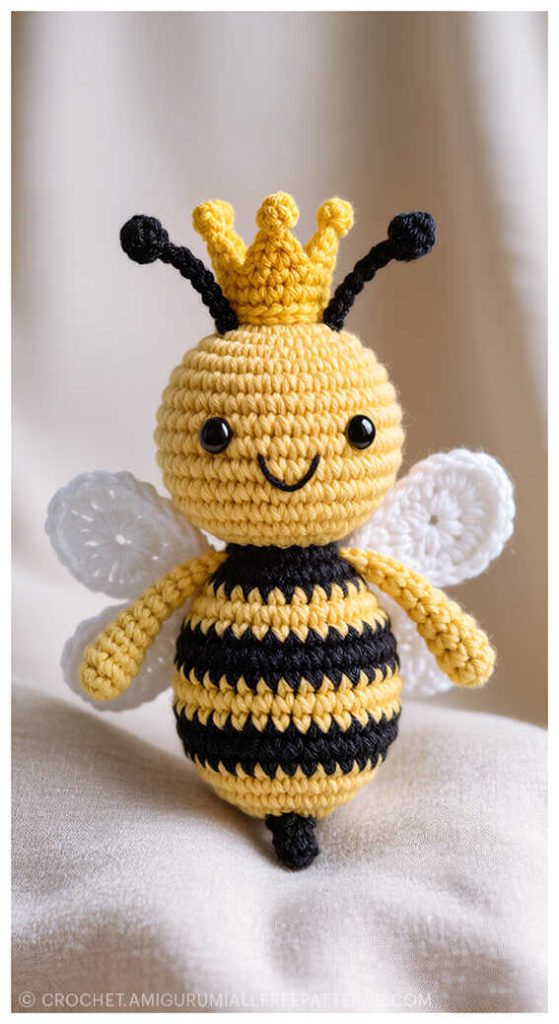
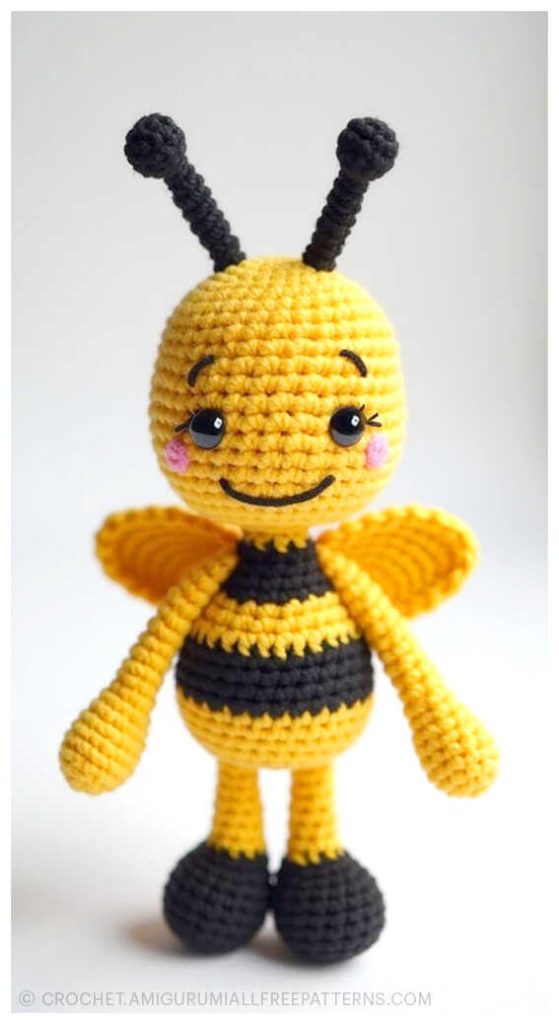
If you’re searching for a fun and beginner-friendly project, the Easy Crochet Bee Amigurumi Free Pattern designed by Uliya Ross (VK) is the perfect choice. This adorable handmade bee measures about 14 cm without the antennae and is a wonderful way to bring a little buzz of joy into your crochet collection. Using soft cotton yarn like YarnArt Jeans (yellow and brown for the body, plus extra colors for wings and details), you’ll be able to create a cheerful companion that’s both cute and huggable. With its bright stripes, little cheeks, and delicate wings, this bee makes a fantastic gift for kids, friends, or anyone who loves charming handmade toys. 🐝
To make your crochet bee, you’ll only need simple tools such as a 2 mm hook, sew-on eyes (6–7 mm), buttons for fastening legs, and toy filler. Even beginners will find this design approachable and enjoyable, thanks to its easy stitches and clear structure. A big thank you goes to talented designer Uliya Ross, who shares this delightful pattern with the crochet community. And don’t forget—at the end of this tutorial, you’ll also discover even more wonderful Amigurumi Bee ideas for your next project inspiration!
Materials
• Cotton yarn
Yarn Art Jeans 50 g / 160 m (60% cotton, 40% acrylic) the main colors are yellow and brown for the bee for details (wings, antennae, cheeks), take any color to your taste
• Strong yarn for sewing eyes and y foarnr attaching legs
• Buttons for fastening legs 8-10 mm
• Fine yarn for sewing on cheeks
• Thin black yarn for embroidering nose and eyelashes
• Sew-on eyes 6-7 mm
• Hook 2 mm
• Filler for toys
• Needle for stitching parts
• Scissors
• Marker for marking the beginning of a row
• Tailor’s pins
• Fine needle
Abbreviations
MR: Amigurumi Magic ring
sc: Single Crochet
inc: Increase
dec: Decrease
tr: Triple Crochet/ Treble Crochet
st: Stitch
dc: Double Crochet
hdc: Half Double Crochet
slst: Slip Stitch
ch: Chain
..in: make increase into same stitch as many as the number which is given in front of “inc” abbreviation (exp; 3inc, 4inc..).
FLO: Crochet into front loops only
BLO: Crochet into back loops only
AMIGURUMI BEE FREE PATTERN
Head – Body
R1) 6sc in MR [6]
R2) 6 inc [12]
R3) (sc,inc)*6 [18]
R4) (2sc,inc)*6 [24]
R5) (3sc,inc)*6 [30]
R6) (4sc,inc)*6 [36]
R7) (5sc,inc)*6 [42]
R8) sc in each st [42]
R9) (6sc,inc)*6 [48]
R10) sc in each st [48]
R11) (7sc,inc)*6 [54]
R12-16) 5 turns [54]
R17) (8sc,inc)*6 [60]
R18-22) 5 turns [60]
R23) (4sc,dec)*10 [50]
R24) (3sc,dec)*10 [40]
R25) (2sc,dec)*1O [30]
R26) (sc,dec)*10 [20]
R27) (2sc,dec)*5 [15]
We go with the body
R28)15 inc [30]
R29-31) 3 turns [30]
R32) (4sc,inc)*6 (36), at the end of the row change the color brown.
R33) 36 sc, at the end of the row change to yellow.
R34) sc in each st (36)
R35) (5sc,inc)*6 (42), at the end of the row change the color brown.
R36) 42sc, at the end of the row change to yellow. Cut the brown yarn and hide it in the fabric, then we crochet all the rows in yellow.
R37) sc in each st (42)
R38) (6sc,inc)*6[48]
R39-41) 3 turns [48]
R42) (6sc,dec)*6 [42]
R43) (5sc,dec)*6 [36]
R44) (4sc,dec)*6 [30]
R45) (3sc,dec)*6 [24]
R46) (2 sc,dec)*6 [18]
R47) (sc,dec)*6 [12]
R48) 6 dis [6]
Cut the yarn and close the hole.
Arms
Do not fill.
R1) 6sc in MR [6]
R2) (sc,inc)*3 [9]
R3-12) 10 turns [9]
Fold and join both sides. Cut the yarn, leaving a long yarn to sew to the body.
Legs
Fill in the lower legs.
R1) 6 sc in MR
R2) 6 inc [12]
R3) (sc, inc)*6 [18]
R9-5) 2 turns [18]
R6) 5sc, 4dec, 5sc [14]
R7) 3sc, 4dec, 3sc [10]
R8-11) 4 turns [10]
R12) 9 sc
Fold and join both sides. Close and cut the yarn.
Cheeks
In a MR crochet chain 2, Inside the 12sc ring, we close the ring and join with slst to the first sc. Close and cut the yarn.
Wings
Crochet in any color (wings and antennae of the same color)
R1) 6sc in MR [6]
R2) 6 inc [12]
R3) (sc,inc)*6 [18]
R4) (2sc,inc)*6 [24]
R5) sc in each st [24]
R6) (2sc,dec)*6 [18]
R7) sc in each st [18]
R8) (sc,dec)*6 [12]
R9) sc in each st [12]
R10) (sc,dec)*4 [8]
R11) sc in each st [8] Fold and join both sides. Cut the yarn, leaving a long yarn to sew.
Antennas
R1) 6sc in MR [6]
R2) (sc,inc)*3[9]
R3) sc in each st [9]
R4) (sc,dec)*3 [6] Fill the top a little.
R5-9) 5 turns [6]
Fold and join both sides. Cut the yarn, leaving a long yarn to sew.
Assembly
Insert the needle in row 17, embroider the peak with a thin black yarn between rows 20 and 21.
Embroider the smile between rows 16 and 17.
Insert eyes 11 to 12 sc apart. Embroider the eyelashes with thin black yarn.
Sew the antennae between rows 8 and 9 at a distance of 8 to 10 sc.
Sew the cheeks.
Sew the wings between rows 30 and 31 with a distance of between 1 and 2 sc.
Sew the arms to the body of the bird between rows 29 and 30, with a distance of 8 to 10 sc.
Use buttons to fix the legs between rows 40 and 41, with a distance between them of 24 to 26 sc.
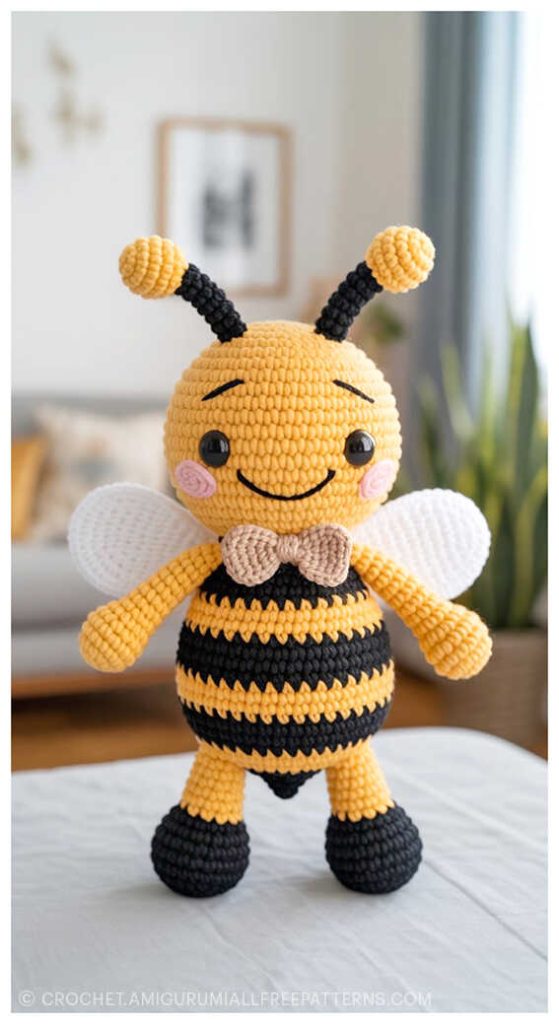
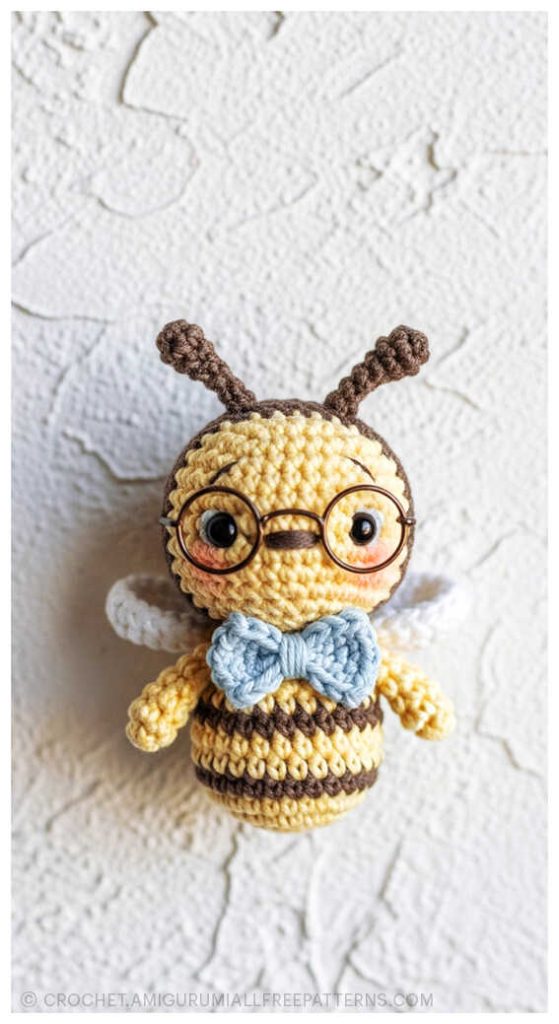
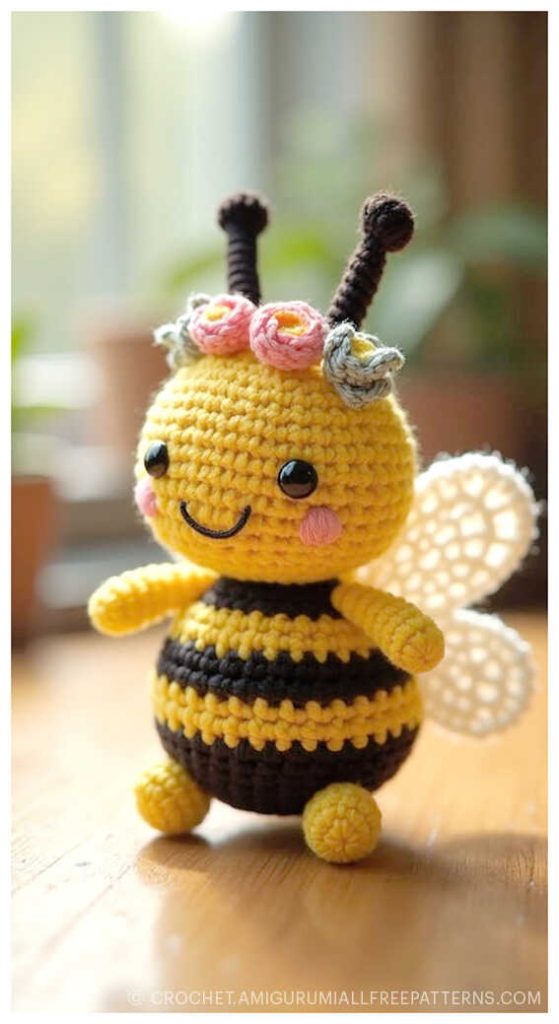
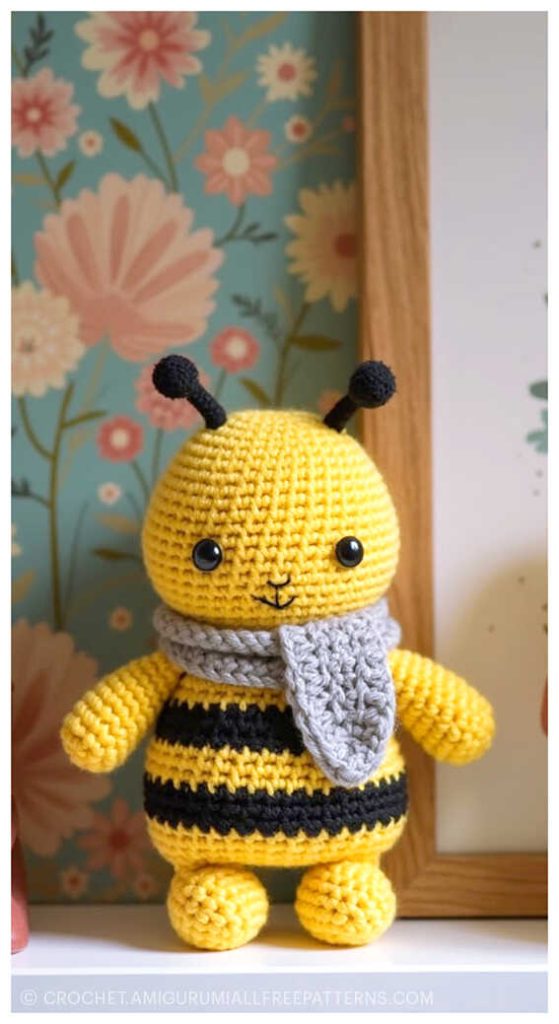
Magical bee ideas


Stitch by Stitch: Explore the World of Amigurumi
Bring your favorite crochet toys to life – from cute amigurumi cats, amigurumi dogs, and amigurumi bunnies to magical amigurumi unicorns, amigurumi elephants, and amigurumi giraffes. Our collection also includes lovable amigurumi bears, amigurumi foxes, amigurumi pandas, amigurumi monkeys, amigurumi lambs, amigurumi pigs, amigurumi birds, amigurumi penguins, amigurumi llamas, amigurumi hippos, and even playful amigurumi dinosaurs, along with delightful amigurumi dolls and amigurumi clowns. Every pattern is designed to spark creativity and guide you with easy-to-follow instructions. For even more free amigurumi patterns, tips, and inspiration, don’t forget to follow us on our Facebook page and join our friendly Facebook group, where crochet lovers from all around the world share their handmade creations and ideas. Let’s continue this wonderful crochet journey together!
Keywords: free amigurumi patterns, crochet toys, amigurumi animals, beginner amigurumi, amigurumi dolls, crochet free patterns, crochet patterns