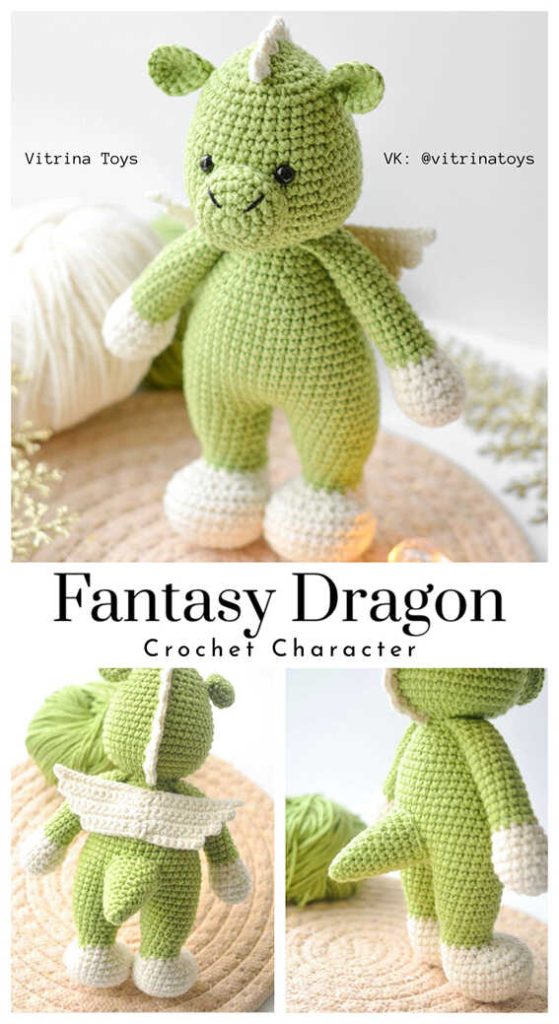
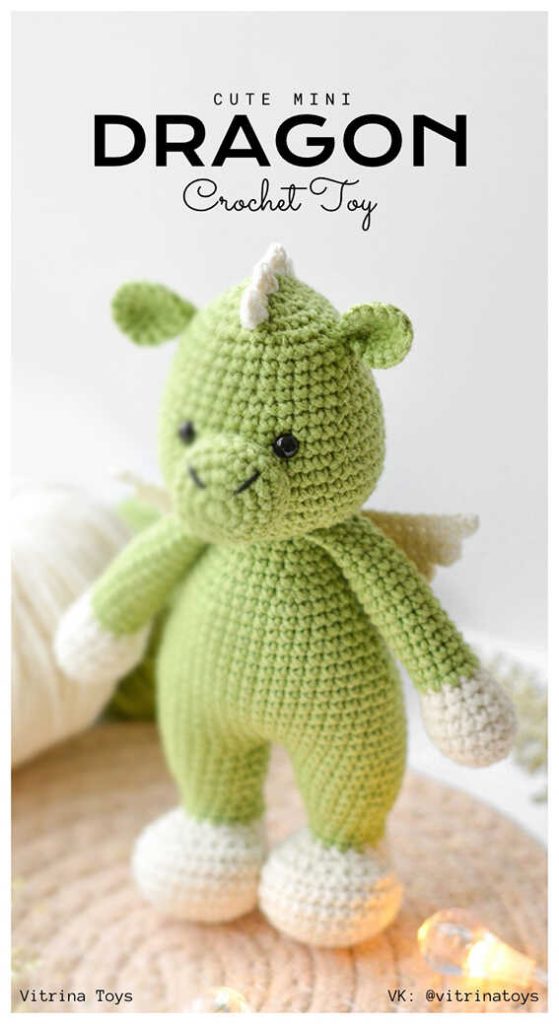
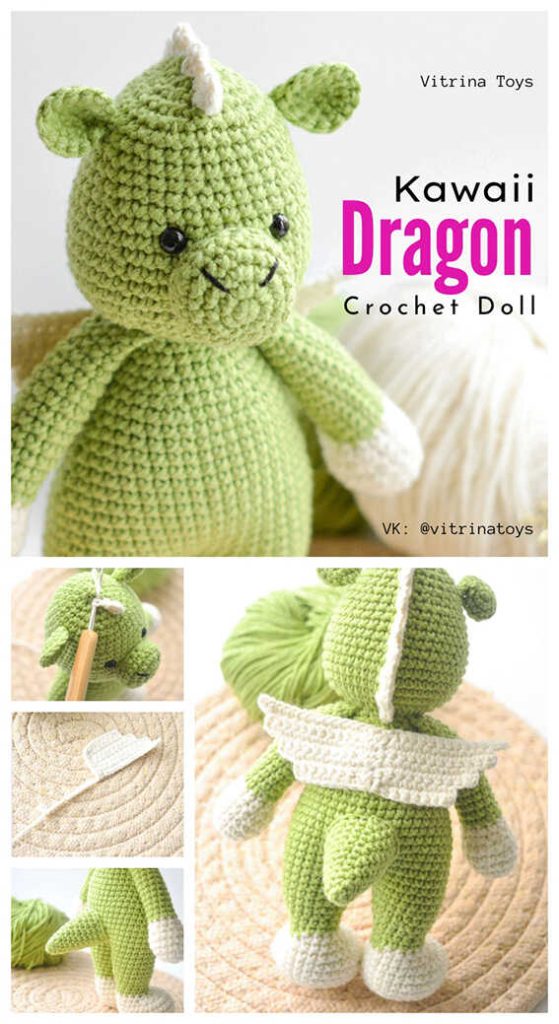
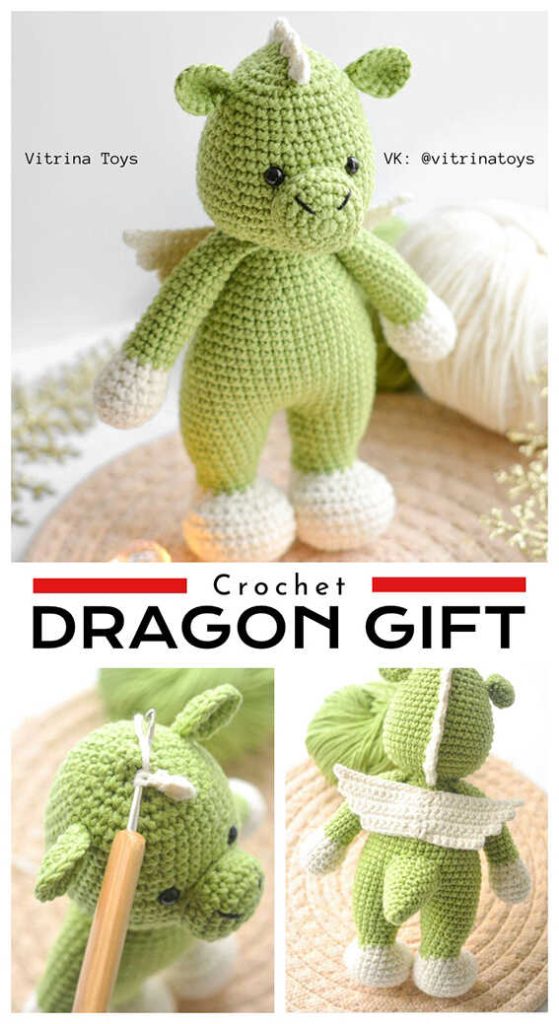
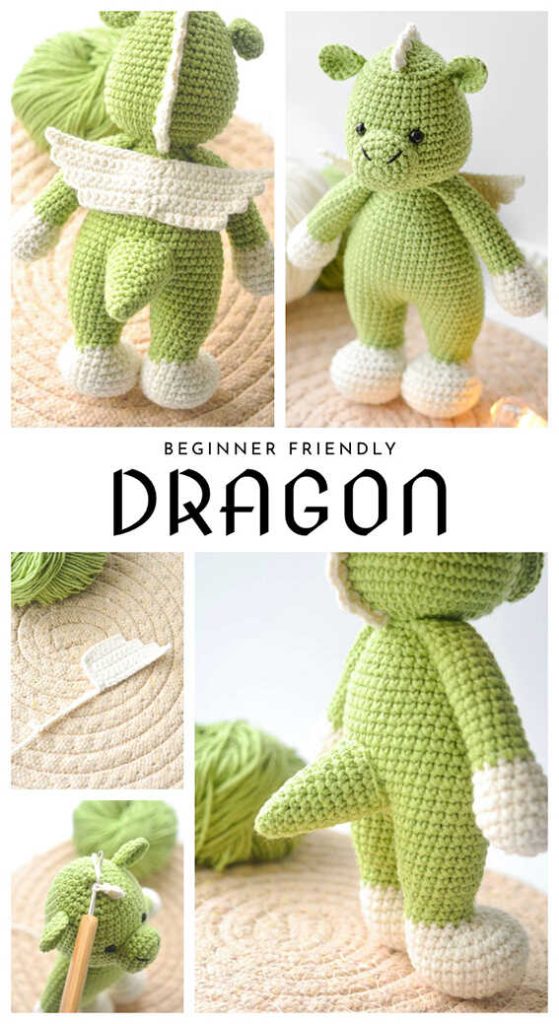
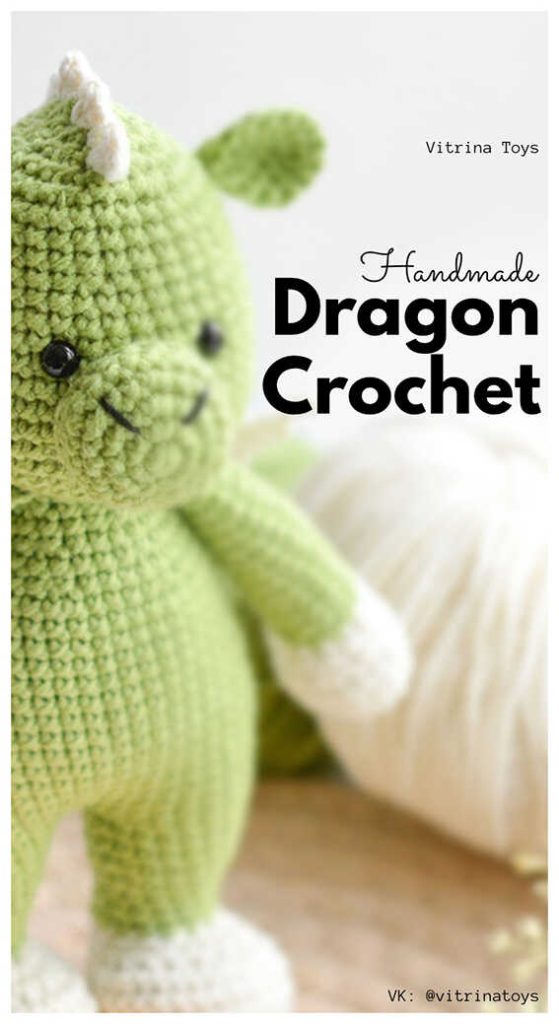
Cute Mini Dragon Amigurumi Pattern
Designer: Vitrina Toys
VK: @vitrinatoys
Difficulty Level: Easy / Beginner-Friendly
A gentle spark of fantasy for cozy crochet moments
This cute mini dragon amigurumi pattern, designed by Alina Lukyanova, brings a soft fantasy character to life with a calm and beginner-friendly design. Inspired by storybook dragons, it works beautifully for nursery décor, fantasy shelves, or meaningful handmade gifts. It also fits naturally into DIY Crochet Gift Ideas, Easy Crochet Projects, and Low Sew or No Sew Amigurumi Patterns collections. At the end of the pattern, you will also find inspiring amigurumi dragon ideas. Many thanks to the designer for this imaginative creation.
This beginner amigurumi dragon pattern follows a clear and beginner-friendly format. Because of this, it is a great choice if you are learning how to crochet amigurumi without stress. If you are looking for a cute project that feels manageable, this dragon is a lovely option. It is also a Quick to Make Amigurumi, with a finished size of about 19 cm. Difficulty Level: Easy / Beginner-Friendly.
The pattern uses YarnArt Jeans yarn in a main and contrast color, along with a 2.0 mm crochet hook. You will also need fiberfill stuffing, 6 mm safety eyes, black embroidery thread, and basic tools like a needle and scissors. While cotton yarn gives this cute mini dragon amigurumi a clean and defined look, velvet yarn creates a soft and chunky plush version. However, keep in mind that velvet yarn makes the final toy much larger. If you enjoy gentle fantasy projects, you may also like this cute mini bear for more inspiration.

Materials
- YarnArt Jeans yarn
- Main color
- Contrast color
- 2.0 mm crochet hook
- Fiberfill stuffing
- 6 mm safety eyes
- Black embroidery thread (for nostrils)
- Needle
- Scissors
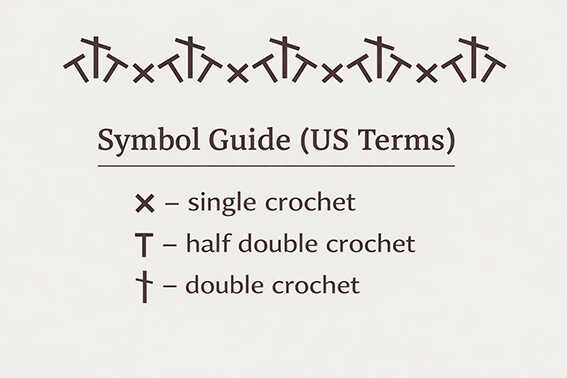
Abbreviations (US Terms)
MR – magic ring
sc – single crochet
hdc – half double crochet
dc – double crochet
inc – increase
dec – decrease
ch – chain
sl st – slip stitch
st – stitch
(…) x n – repeat the instructions in parentheses n times
( ) – number of stitches in the round
DRAGON AMIGURUMI PATTERN DETAILS
Arms (make 2)
Using contrast color
R1: 6 sc in MR (6)
R2: inc x 6 (12)
R3: 12 sc
R4: (1 sc, inc) x 6 (18)
R5–R6: 18 sc
R7: (1 sc, dec) x 6 (12)
R8: 12 sc
Stuff the arm.
Change yarn color.
R9–R19: 12 sc
R20: dec, 4 sc, dec, 4 sc (10)
R21–R22: 10 sc
Fold the arm in half and crochet 5 sc through both sides.
Fasten off.
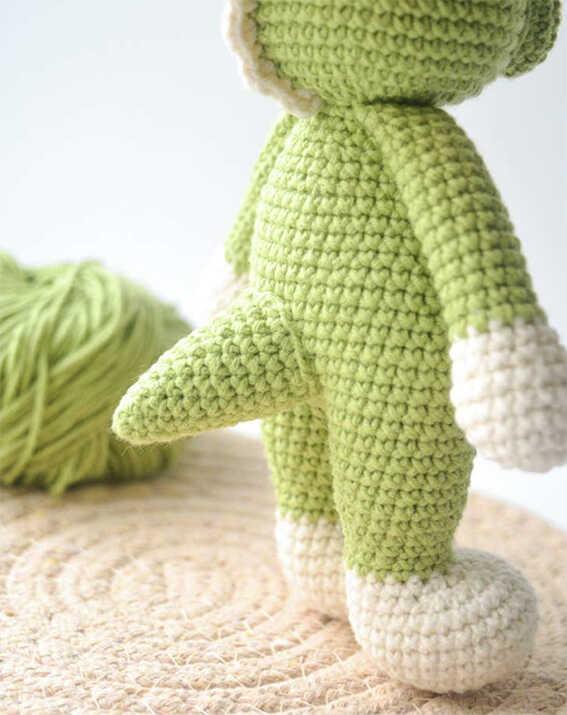
Legs (make 2)
Using contrast color
R1: 6 sc in MR (6)
R2: inc x 6 (12)
R3: (1 sc, inc) x 6 (18)
R4: (2 sc, inc) x 6 (24)
R5: (3 sc, inc) x 6 (30)
R6–R9: 30 sc
R10: 5 sc, dec x 10, 5 sc (20)
R11: 5 sc, dec x 5, 5 sc (15)
Stuff the leg.
Change yarn color.
R12–R14: 15 sc
R15: (2 sc, inc) x 5 (20)
R16–R17: 20 sc
For leg alignment
R18: 20 sc + 6 sc to shift rounds for the first leg
16 sc to shift rounds for the second leg
Fasten off on the first leg only.
Stuff fully.
Make the second leg the same way but do not cut the yarn.
Ch 2 and join to the first leg.
Body
R1: 20 sc around first leg, 2 sc on chain, 20 sc around second leg, 2 sc on chain (44)
R2–R8: 44 sc
Stuff the body.
R9: 10 sc, dec, 21 sc, dec, 9 sc (42)
R10: 42 sc
R11: 10 sc, dec, 20 sc, dec, 8 sc (40)
R12: 40 sc
R13: 10 sc, dec, 19 sc, dec, 7 sc (38)
R14: 38 sc
R15: 10 sc, dec, 18 sc, dec, 6 sc (36)
R16: 36 sc
R17: (4 sc, dec) x 6 (30)
R18: 30 sc
R19: (3 sc, dec) x 6 (24)
R20: 24 sc
R21: (2 sc, dec) x 6 (18)
R22: 4 sc, crochet arm 5 sc, 4 sc, crochet arm 5 sc (18)
Head
Continue from the body
R1: 18 sc
R2: inc x 18 (36)
R3: (5 sc, inc) x 6 (42)
R4: (6 sc, inc) x 6 (48)
R5–R8: 48 sc
R9: (6 sc, dec) x 6 (42)
R10–R11: 42 sc
R12: (5 sc, dec) x 6 (36)
R13–R14: 36 sc
R15: (4 sc, dec) x 6 (30)
R16–R18: 30 sc
Insert safety eyes between R11 and R12, with 5 sc between them.
Stuff the head.
R19: (3 sc, dec) x 6 (24)
R20: (2 sc, dec) x 6 (18)
R21: (1 sc, dec) x 6 (12)
R22: dec x 6
Fasten off and close the opening.
Ears (make 2)
R1: 6 sc in MR (6)
R2: inc x 6 (12)
R3: (3 sc, inc) x 3 (15)
Fold the bottom of the ear flat and sew to the head at R7 from the top.
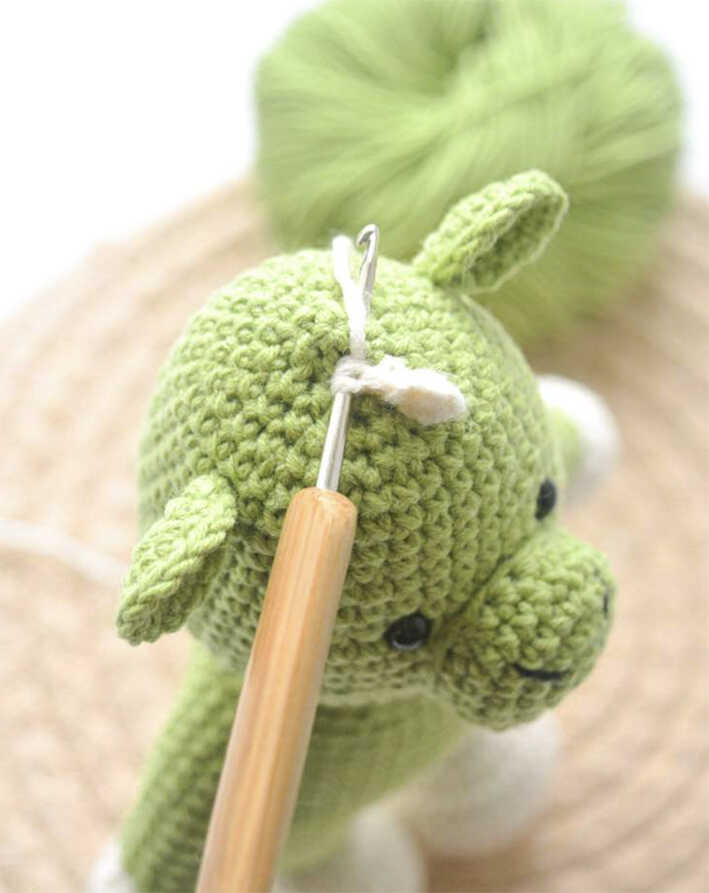
Crest
Insert the hook in the center of the forehead.
Crochet along the top of the head following the reference photos.
Fasten off.
Snout
R1: 6 sc in MR (6)
R2: inc x 6 (12)
R3: (1 sc, inc) x 6 (18)
R4: (2 sc, inc) x 6 (24)
R5: 24 sc
R6: (2 sc, dec) x 6 (18)
Sew the snout to the center of the face.
Embroider nostrils.
Tail
R1: 6 sc in MR (6)
R2: 6 sc
R3: (1 sc, inc) x 3 (9)
R4: 9 sc
R5: (2 sc, inc) x 3 (12)
R6: 12 sc
R7: (3 sc, inc) x 3 (15)
R8: 15 sc
Stuff as you go.
R9: (4 sc, inc) x 3 (18)
R10: 18 sc
R11: (5 sc, inc) x 3 (21)
R12: 21 sc
Sew the tail centered on the lower back.
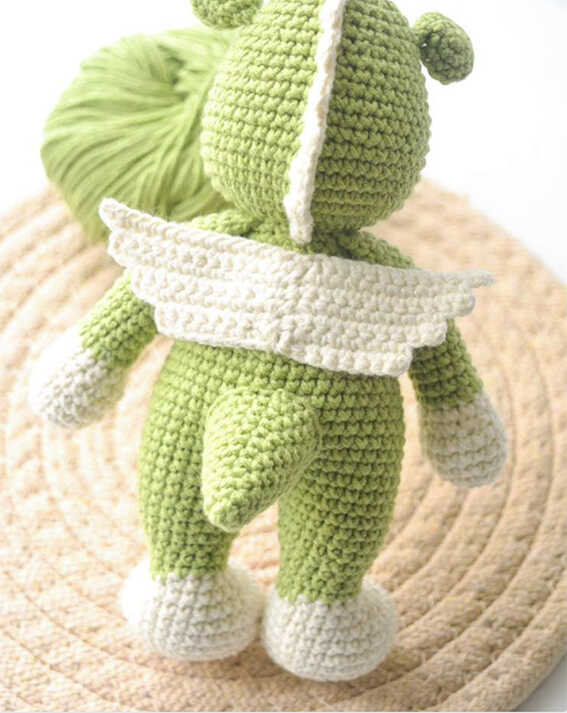
Wings
Ch 14, ch 1
Row 1: 14 sc, ch 1
Row 2: 12 sc, ch 1
Row 3: 12 sc, ch 1
Row 4: 10 sc, ch 1
Row 5: 10 sc, ch 1
Row 6: 8 sc, ch 1
Row 7: 8 sc
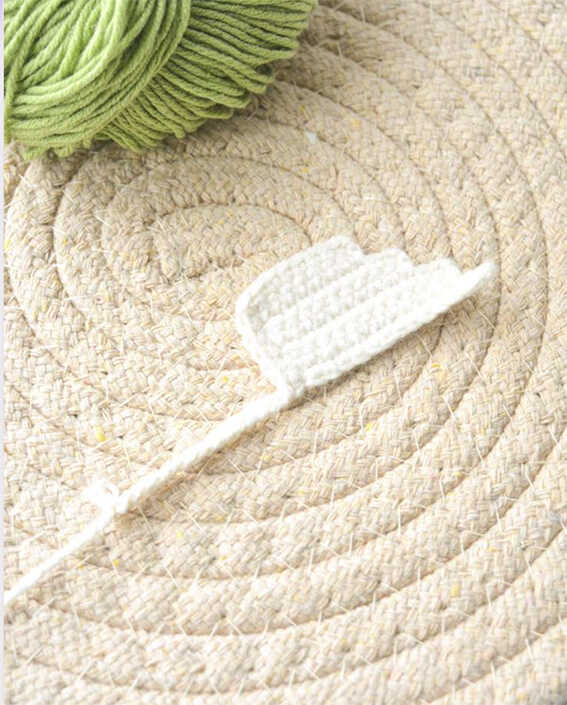
Continue working sc evenly around the side edges (6 sc).
Do not cut yarn.
Ch 14, ch 1
Turn the work and crochet the second wing the same way, joining it to the first wing with sl st instead of turning chains.
Fasten off, leaving a long tail for sewing.
Sew wings to the center of the back.
Copyright & Credits
This pattern is designed by vitrinatoys; you may sell finished toys made from this pattern, but please credit the designer by tagging @vitrinatoys and linking to their social media when sharing your work.
Save for later: