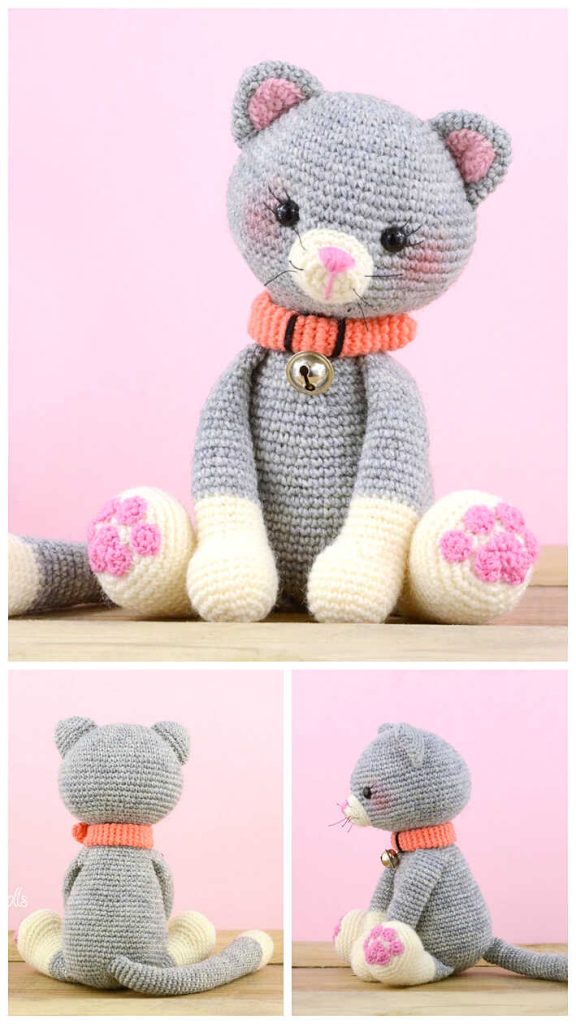
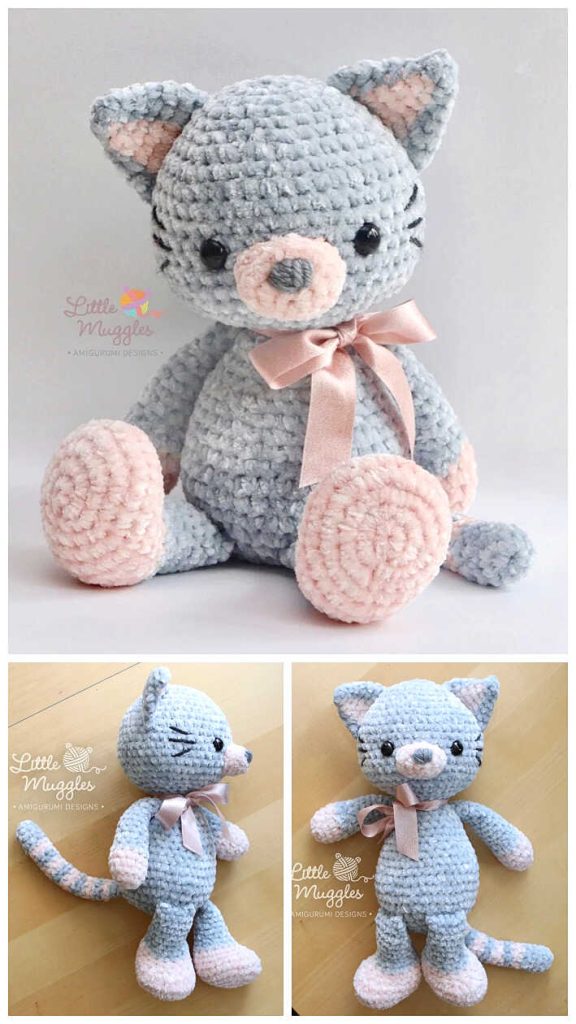
Amigurumi Cat Crochet Free Pattern
Designer : Yulia Rassokhina
Instagram: @baloo_toys
Hello everyone…
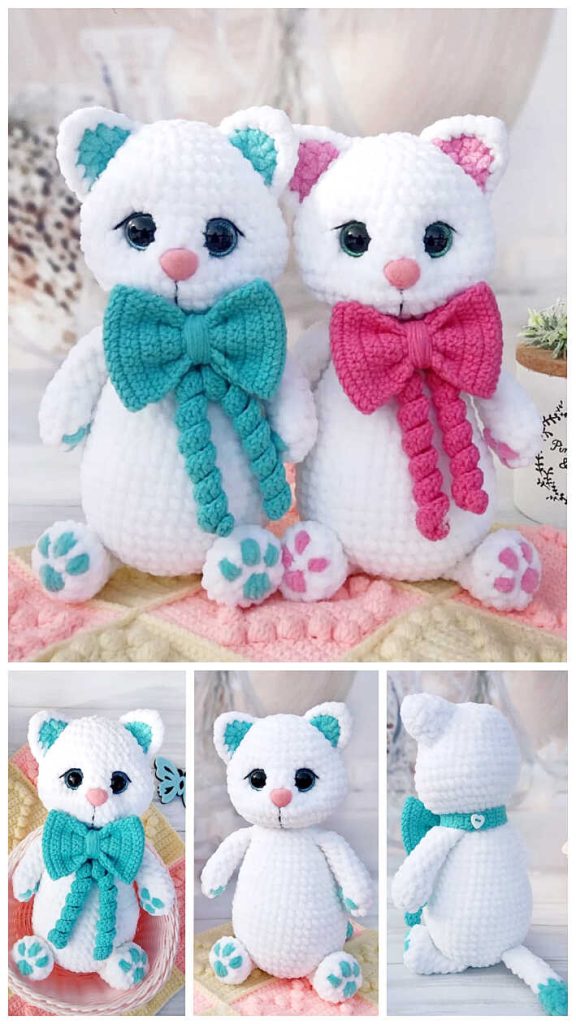
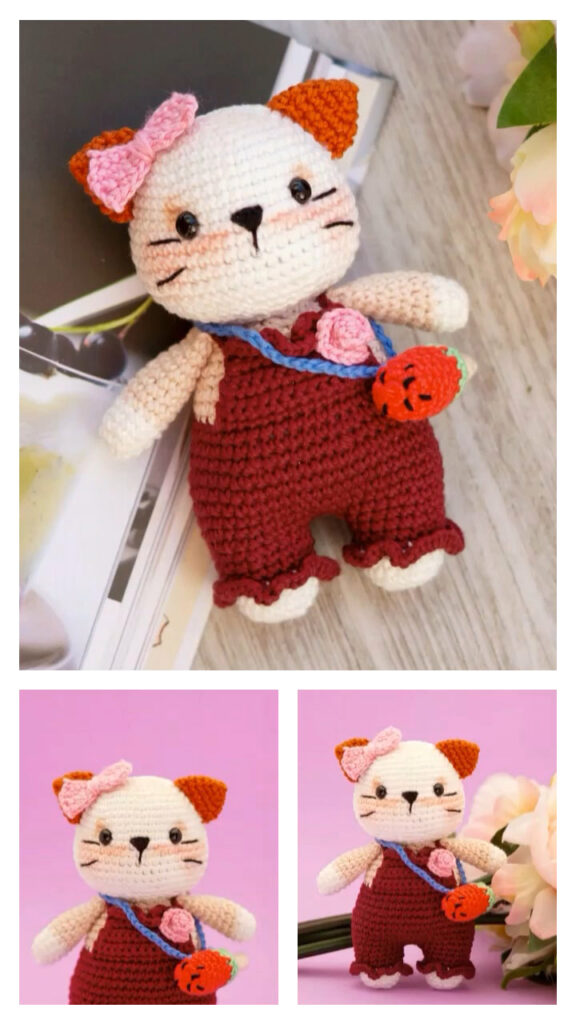
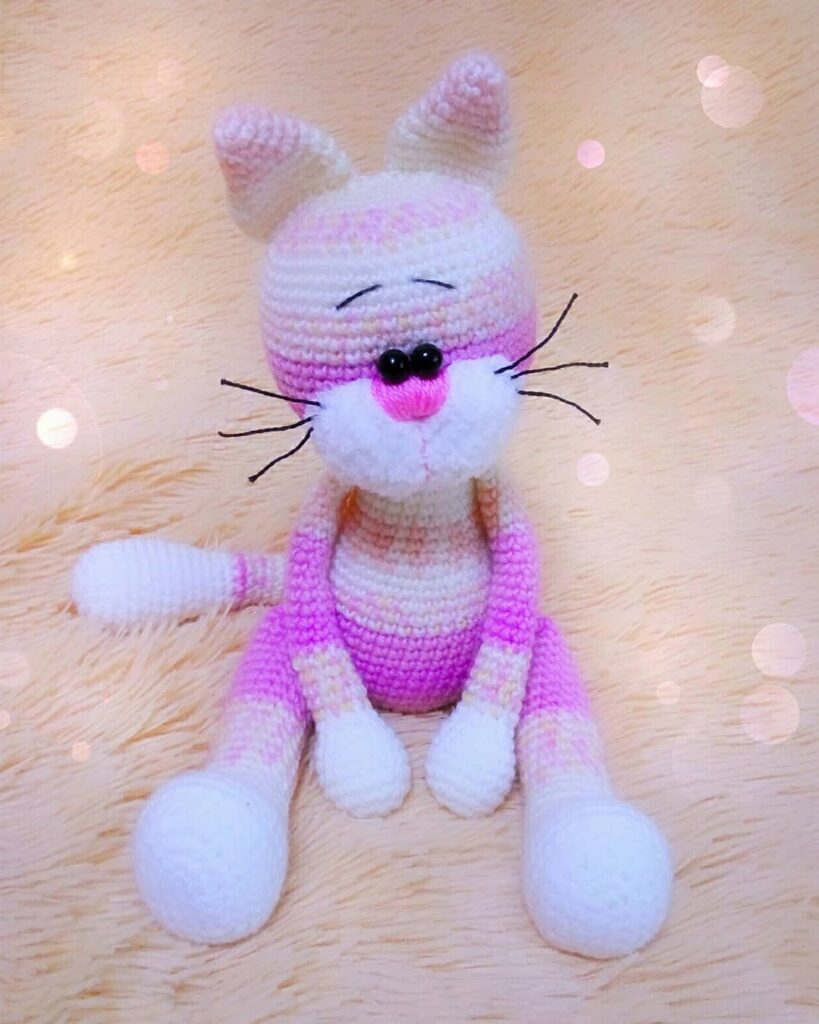
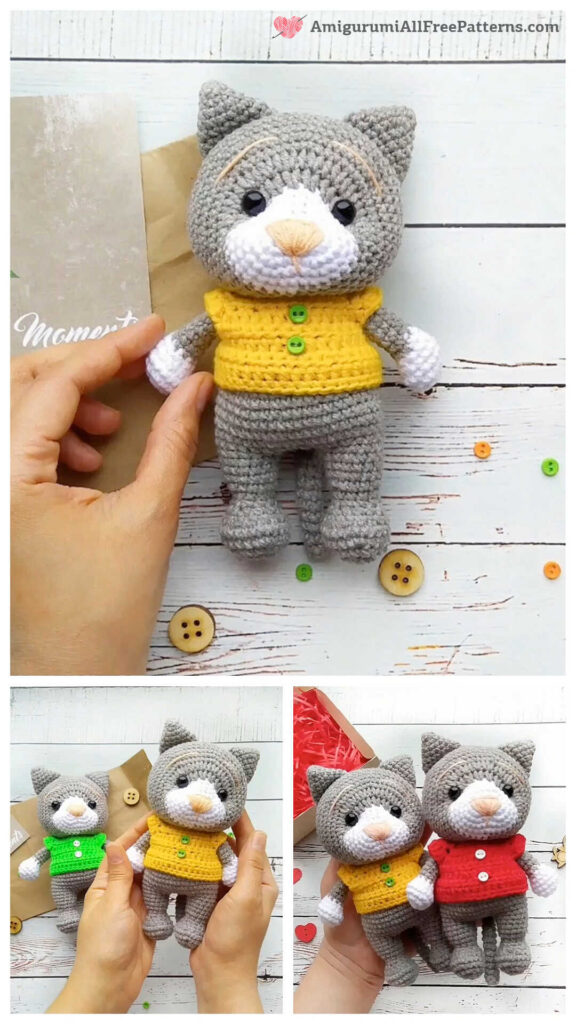
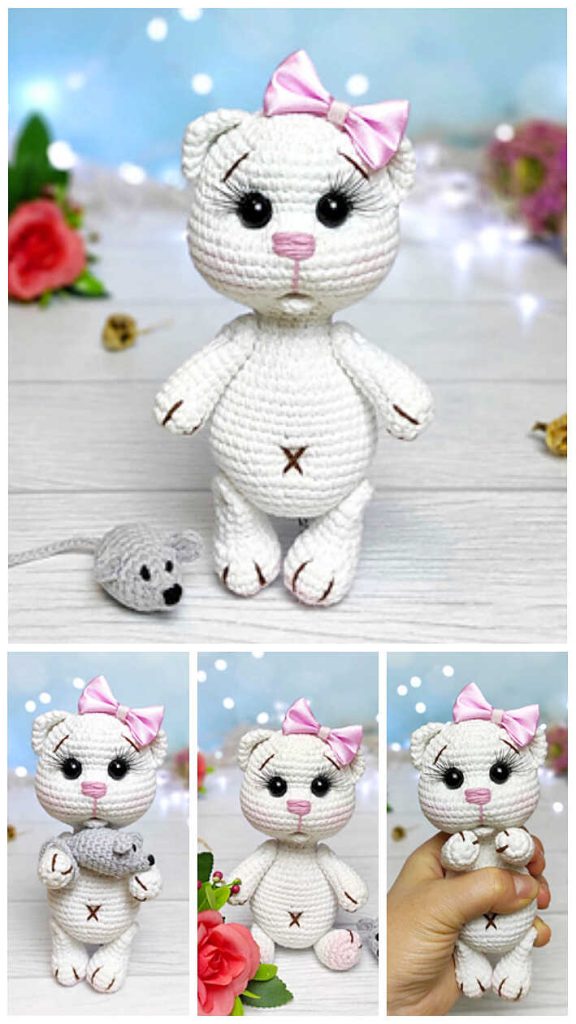
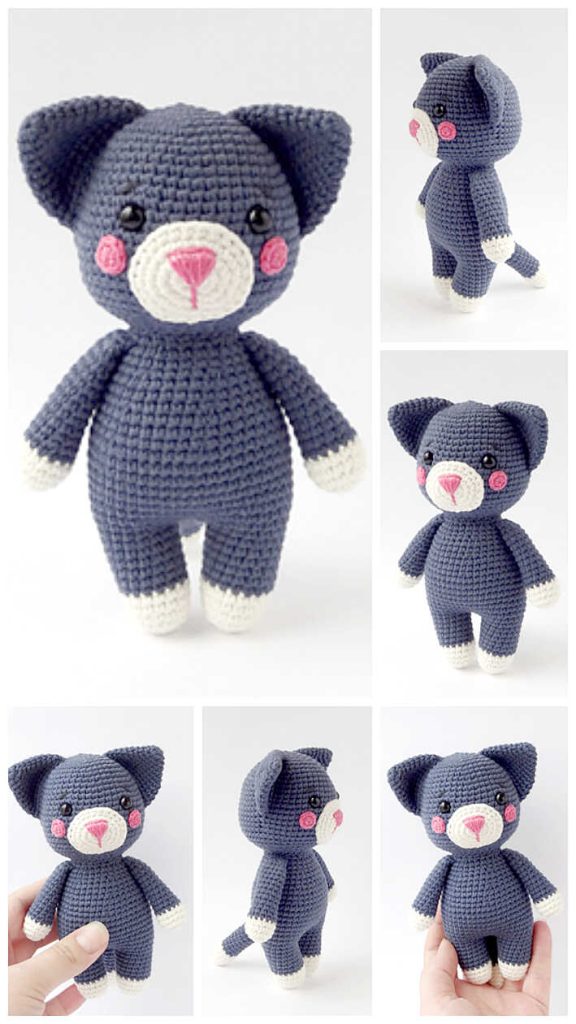
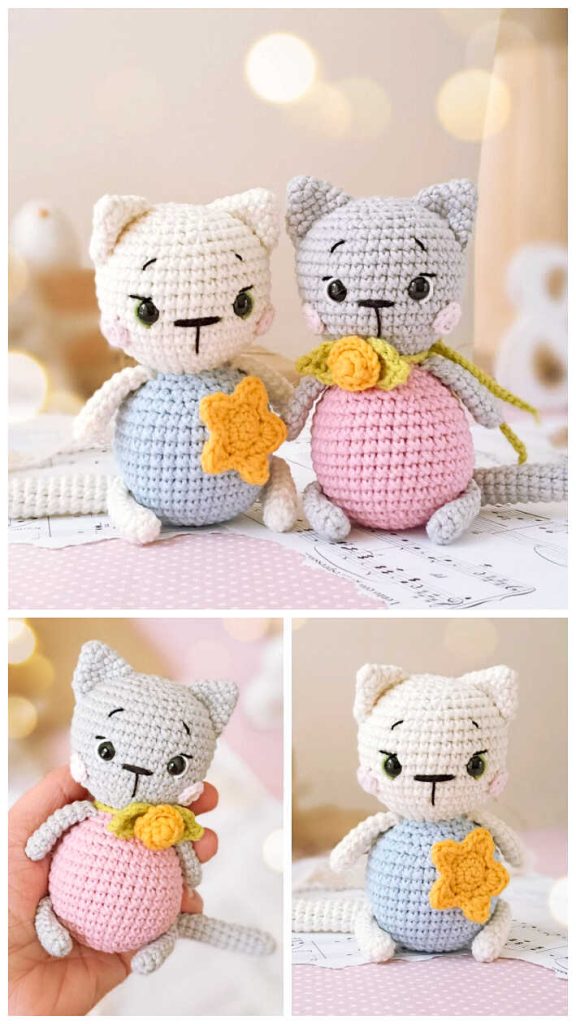
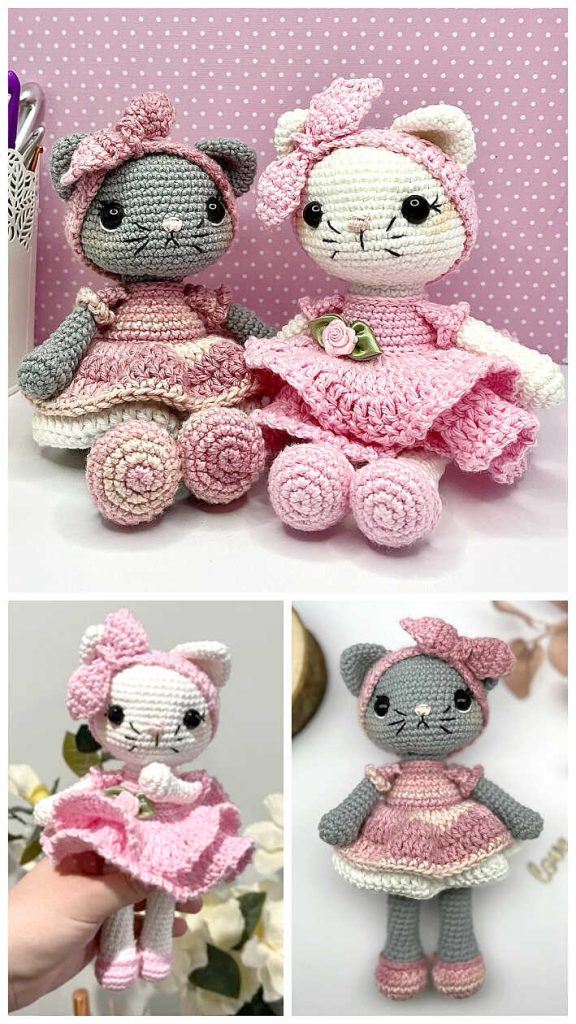
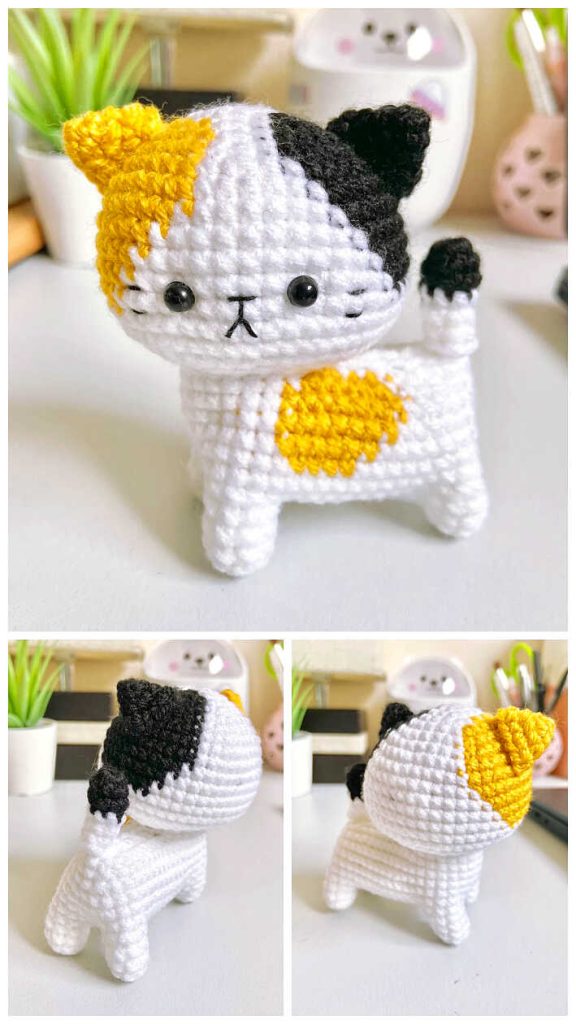
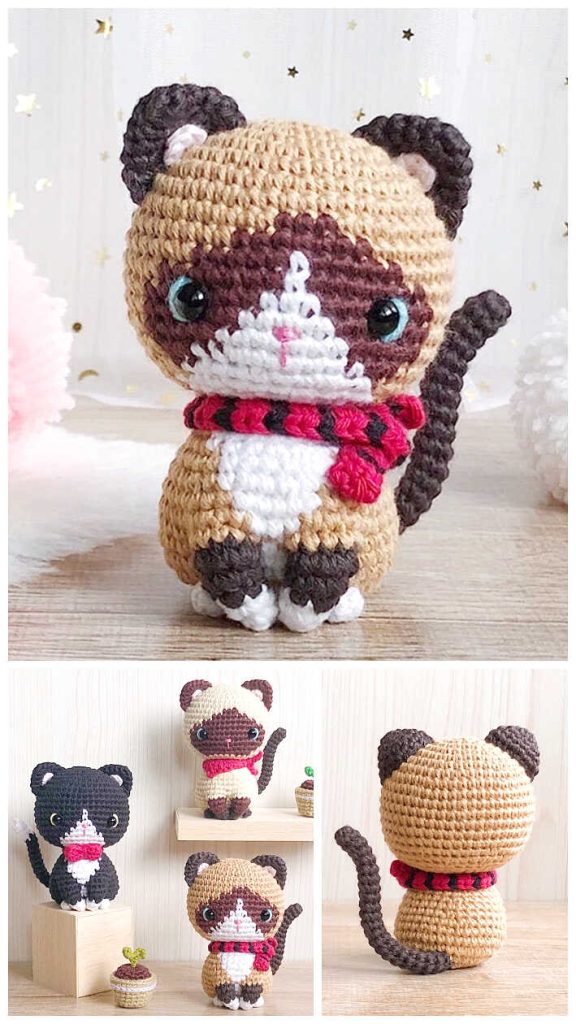
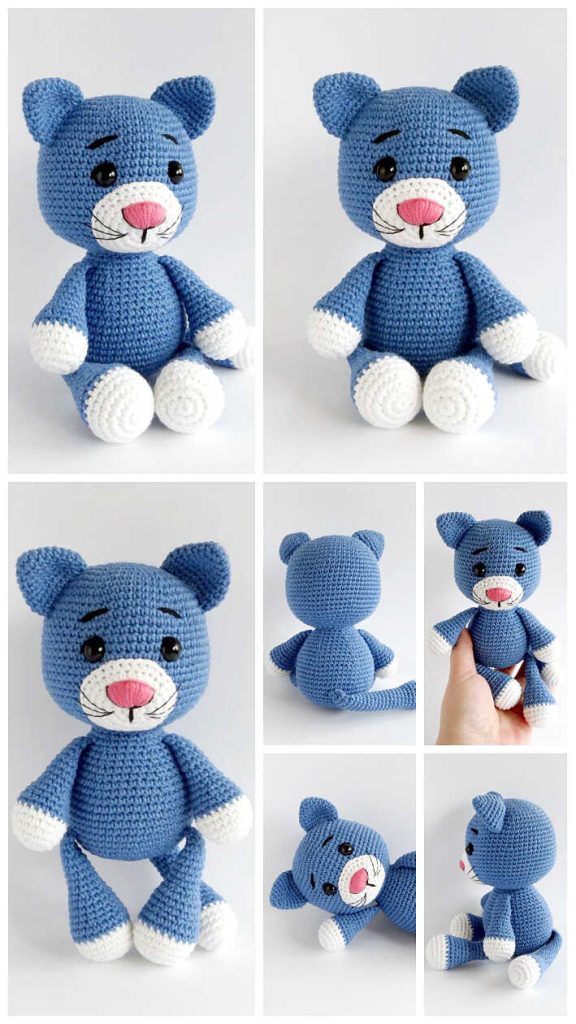
One of the free amigurumi crochet patterns we will share today is the amigurumi cat, whose design belong to Yulia Rassokhina. You can learn how to crochet these cat amigurumi pattern. Thanks to Yulia Rassokhina for this cute cat.
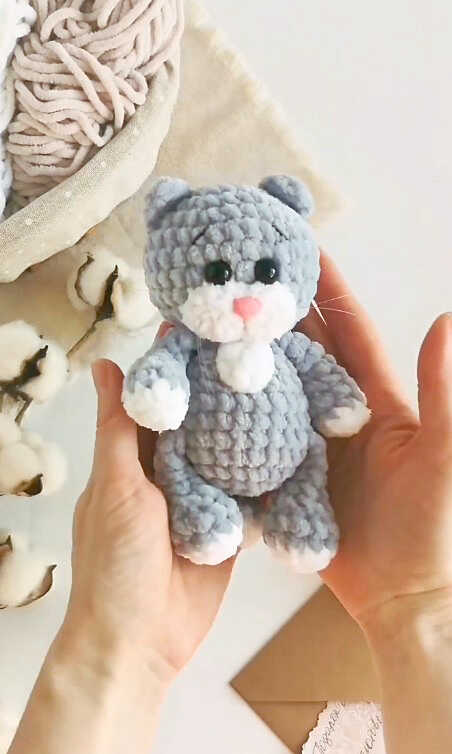
Below you will find some information about this pattern. Remember, if you have any problems, you can write to us and ask for help. You can follow our Pinterest account for free amigurumi patterns and great amigurumi ideas. Have fun…
Amigurumi cats, amigurumi dolls, amigurumi dogs, amigurumi unicorns, amigurumi lambs, amigurumi dinosaurs, amigurumi foxes, amigurumi bears, amigurumi giraffes, amigurumi pigs, amigurumi birds, amigurumi penguins, amigurumi panda, amigurumi llama, amigurumi bunny, amigurumi clowns, amigurumi elephants, amigurumi hippos, amigurumi monkeys… All the amigurumi toys pattern recipes and ideas you are looking for are here…
Materials:
Yarn: Himalaya Dolphin Baby or YarnArt Dolce
Alize Softy yarn for muzzle
Hook size: 4.0 mm
8 mm safety eyes
Safety nose
Thin thread in the tone of yarn for sewing details together
Some heavy gauge fishing line (0.23 mm) for the whiskers
Sewing needle and scissors
Fiberfill
Abbreviations:
R = row
mc = magic circle
sc = single crochet
hdc = half double crochet
dc = double crochet
inc = 2 sc in the next stitch
dec = single crochet 2 stitches together
F.o. = fasten off
(12) = number of stitches you should have at the end of the round/row
( )x 6 = repeat whatever is between the brackets the number of times stated

CROCHET AMIGURUMI CAT FREE PATTERN
Arms (make 2)
With white yarn:
R 1: 6 sc in mc (6)
R 2: (1 sc, inc)x 3 (9)
Change to main color:
R 3-4. 9 sc (2 rows)
Stuff the bottom of the arm with fiberfill.
R 5. (1 sc, dec)x 3 (6)
R 6-8. 6 sc (3 rows)
Fold top of arm flat and 3 sc through both sides across.
F.o.
Legs (make 2)
With white yarn:
R 1: 6 sc in mc (6)
R 2: (inc)x 6 (12)
Change to main color:
R 3-4: 12 sc (2 rows)
Stuff the bottom of the leg with fiberfill.
R 5: (1 sc, dec)х 4 (8)
R 6-8: 8 sc (3 rows)
Fold top of leg flat and 4 sc through both sides across.
F.o.
Head
R 1: 6 sc in mc (6)
R 2: (inc)x 6 (12)
R 3: (1 sc, inc)x 6 (18)
R 4: (2 sc, inc)x 6 (24)
R 5: (3 sc, inc)x 6 (30)
R 6-9: 30 sc (4 rows)
Insert safety eyes on R 7.
R 10: (3 sc, dec)x 6 (24)
R 11: (2 sc, dec)x 6 (18)
R 12: (1 sc, dec)x 6 (12)
F.o.


Muzzle
With Alize Softy yarn in two threads:
R 1: 6 sc in mc (6)
R 2: (inc)x 6 (12)
R 3: (1 sc, inc)x 6 (18)
F.o. and leave a long tail for sewing.
Tail
R 1: 6 sc in mc (6)
R 2-7: 6 sc (6 rows)
R 8: (1 sc, dec)x 2 (4)
Fold top of tail flat and 2 sc through both sides across.
Don’t stuff with fiberfill.
F.o.
Ears (make 2)
R 1: In mc: 1 sc, 1 hdc, 1 dc, 1 hdc, 1 sc
R 2: Turn work and crochet in the opposite direction: 3 sc, ch, 3 sc
F.o.


Body
R 1: 6 sc in mc (6)
R 2: (inc)x 6 (12)
R 3: (1 sc, inc)x 6 (18)
R 4: (2 sc, inc)x 6 (24)
R 5: 24 sc
R 6: Join legs: 4 sc, 4 sc together with sc of the 1st leg, 8 sc, 4 sc together with sc of the 2nd leg, 4 sc
R 7: 24 sc
R 8: (2 sc, dec)x 6 (18)
R 9-10: 18 sc (2 rows)
R 11: (4 sc, dec)x 3 (15)
R 12: Join arms: 3 sc, (1 sc, dec – together with sc of the 1st arm), 2 sc, dec, 1 sc, (1 sc, dec – together with sc of the 2nd arm),1 sc (12)
F.o. and leave a long tail for sewing.
Assembly
1. Sew muzzle to the head under R 7, making an oval shape. Insert safety nose and put some fiberfill inside before you finish.
2. Use white thread to divide the muzzle in the middle.
3. Sew tail between R 4 and R 5.
4. Sew ears on the head.
5. Embroider eye brows with black floss.
6. Attach whiskers made of fishing line to the muzzle.
7. Sew head to the body.
More amigurumi cat ideas:
