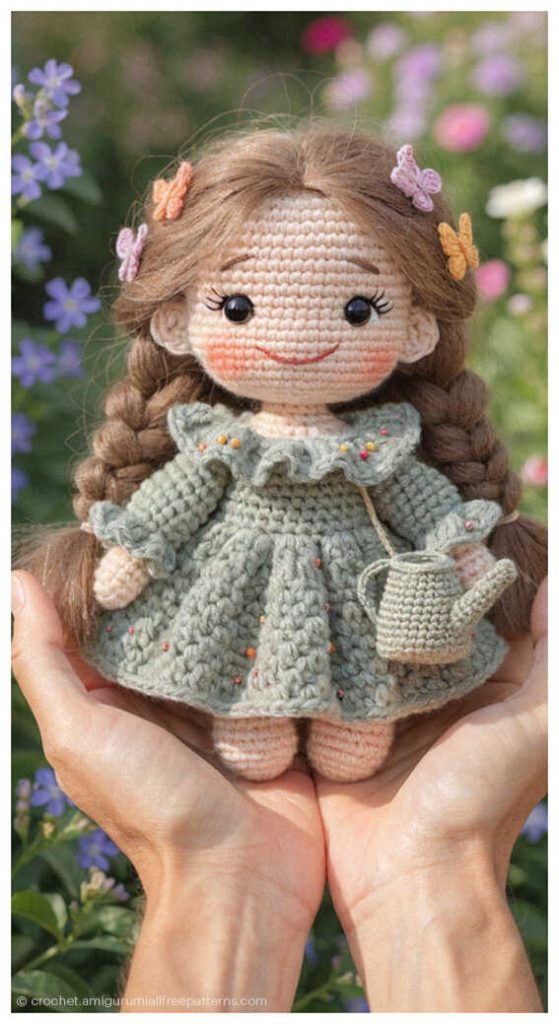
Cute Arbella Crochet Doll – Free Pattern
Designer: Ana Rodrigues
Instagram: @ana.amigurumi
Difficulty Level: Beginner
A charming handmade doll project to add a whimsical touch to your crochet time.
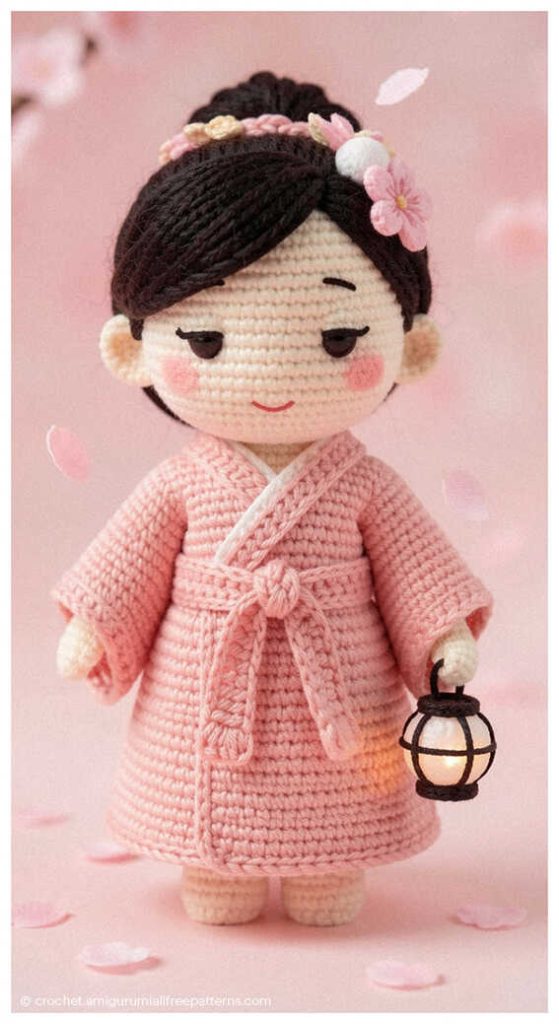
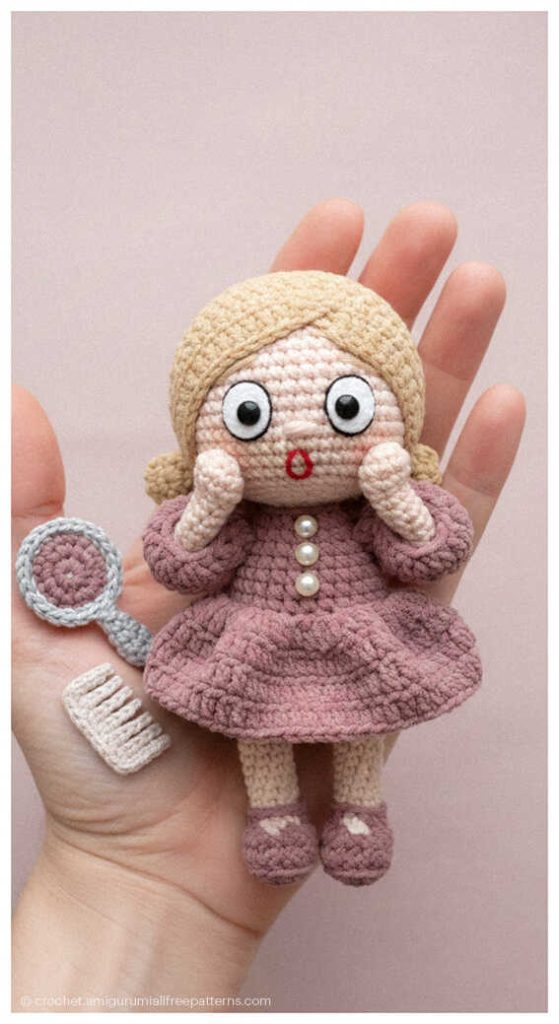
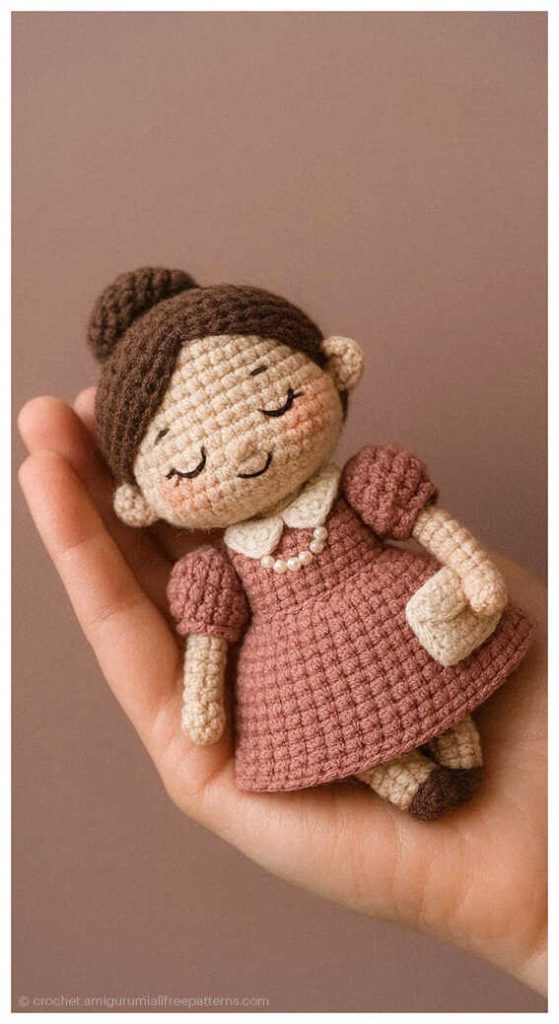
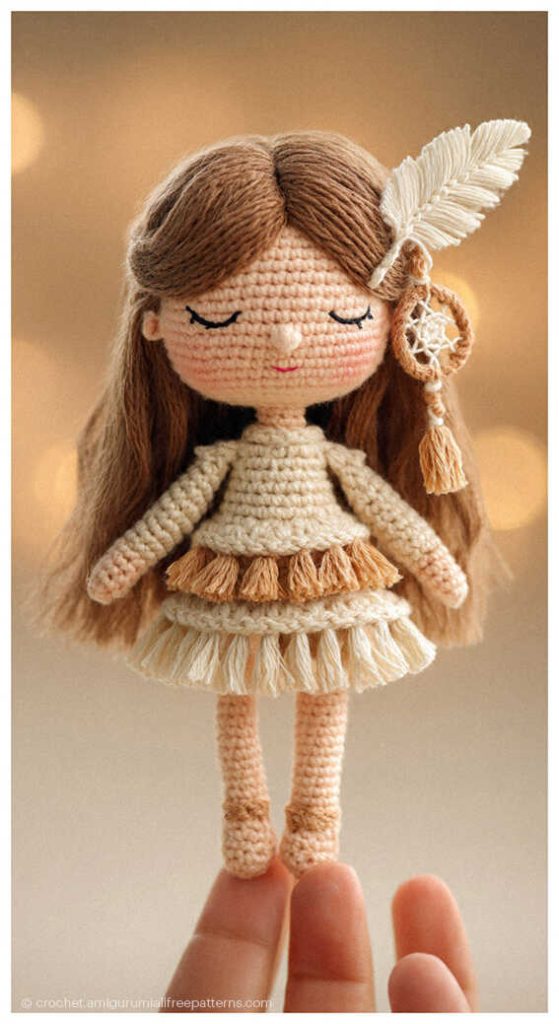
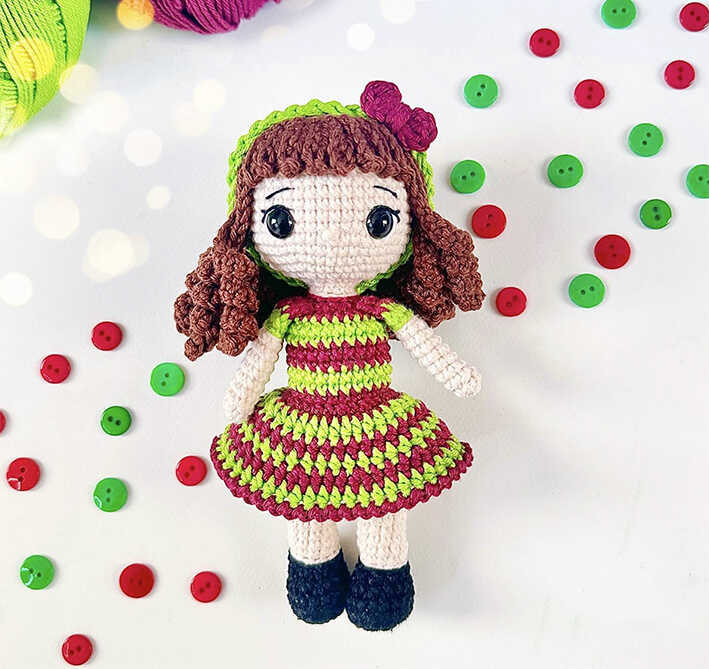
This free Arbella crochet doll amigurumi pattern is designed by ana.amigurumi and features a beautifully styled doll wearing a striped dress with detailed colorwork. With its artistic finish and thoughtful shaping, this doll makes a lovely choice for DIY Crochet Gift Ideas, birthday presents, and nursery decor. You will also find inspiring amigurumi doll ideas shared at the end of the pattern, and we sincerely thank ana.amigurumi for this creative design. If you enjoy character dolls, you may also like this cute princess amigurumi doll for themed gift sets.
This is an intermediate-level amigurumi pattern written in a clear and structured format using standard stitches such as MR, sc, inc, dec, HDC, and DC. The dress includes multiple color transitions, so patience and attention to detail are helpful. Difficulty Level: Intermediate, and it suits makers who enjoy artistic, time-intensive projects rather than quick, low sew designs.
The finished doll measures approximately 16 cm tall. The pattern uses Amigurumi yarn in several coordinated colors, a 2.75 mm crochet hook, 9 mm safety eyes, siliconized fiber stuffing, and basic tools including a tapestry needle and pins. A small hot glue stick is used for secure finishing touches. If you love detailed dolls, you may also enjoy this Mathilda the doll amigurumi, another elegant project shared on our blog. At the end of the pattern, you will find related amigurumi ideas for further inspiration.
Materials
Amigurumi yarn in the colors:
• Itaparica (Balloon) – 5208 or Porcelana (Amigurumi) – 7564
• Greenery (Amigurumi) – 5203
• Marsala (Amigurumi) – 7136
• Brigadeiro (Amigurumi) – 7569
• Preto (Amigurumi) – 8990
• Off White (Amigurumi) 8176
Fine black yarn to embroider the eyebrows and eyelashes.
2.75mm crochet hook (or the one you use to knit with the indicated yarns). Siliconized fiber for stuffing.
9mm eyes with lock.
Scissors.
Tapestry needle.
Pins.
1 piece of thin hot glue stick of 7.5mm (approximately 7 cm long).
P.S. Fill the body of the piece with fiber as you weave.
Final size of the doll Height: 16 cm
Abbreviations
MR = magic ring
st = stitch
sc = single crochet
inc = increase
dec = decrease
ch = chain
slst = slip stitch
FO = finish off
BLO = Back loops only
HDC = Half double crochet
DC = Double crochet
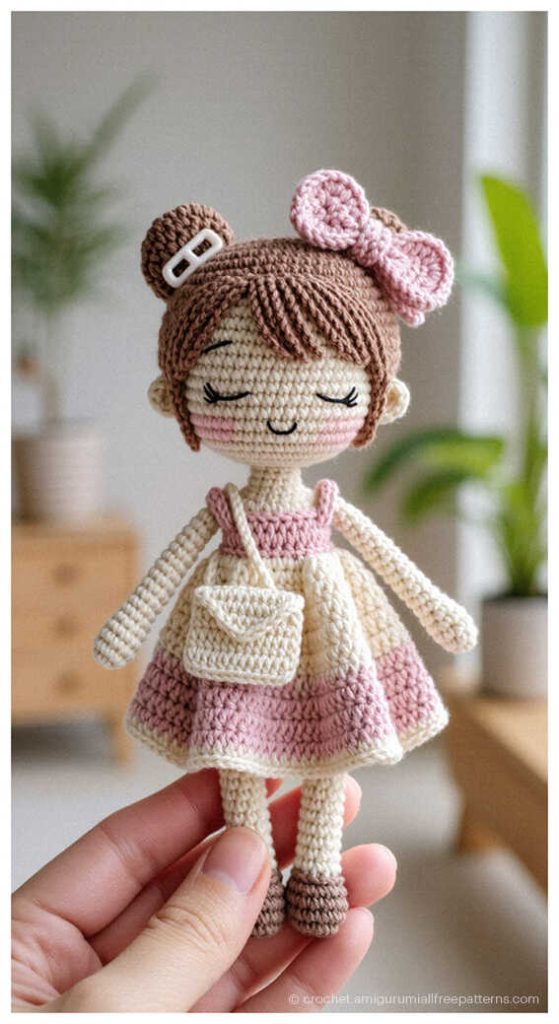
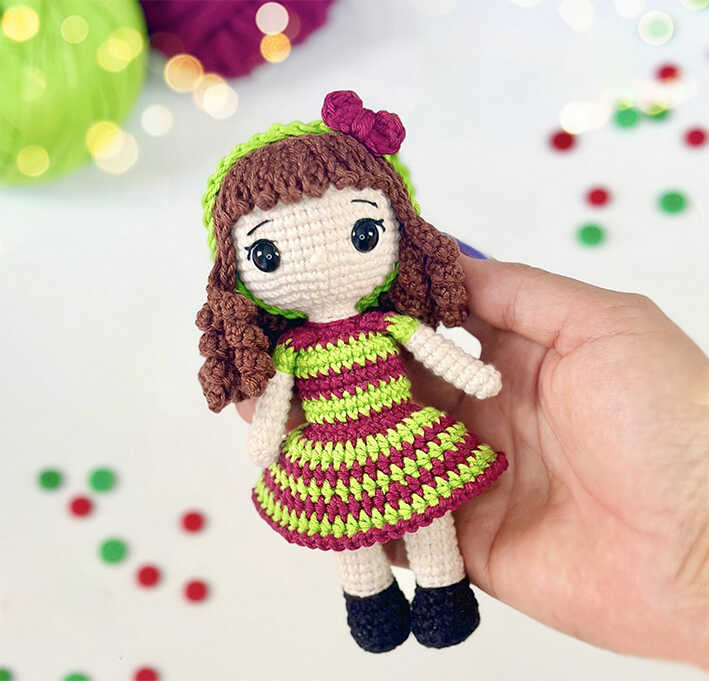
You can see how the doll looks in your palm in the photo below. So cute!
First, we will crochet the feet and legs of the doll. You will need two different colors of yarn for this process. Let’s get started.
ARBELLA AMIGURUMI DOLL – FREE CROCHET PATTERN
Feet and legs (make 2)
With Black yarn
We will start with oval crochet.
1. 5 ch
2. 1 inc, 2 sc, 4 sc in the same stitch, 2 sc, 1 inc (12)
3. 1 inc, 3 sc, 4 inc, 3 sc, 1 inc (18)
4. Sc over sc – BLO (18)
5. Sc over sc (18)
6. 6 sc, 3 dec, 6 sc (15)
7. 5 sc, 3 dec, 4 sc (12)
Cut the yarn and fasten off
With Itaparica yarn
1. Sl st over sc all around – BLO (12)
2. Sc over sc – BLO (12)
3. 1 dec, 10 sc (11)
4 to 10. Sc over sc (11)
Cut the yarn and fasten off finish

After crocheting the feet and part of the legs of the toy, we will crochet the doll’s hips and body. I have to mention that the color of the doll’s hips and legs are different. In addition, the color palette of the doll’s body is crocheted in a similar way to it’s dress.
Hips and Body
With the off-white yarn
Turn both legs around with their backs to you. Insert a new off-white yarn into the side of your right leg. Make two chains and secure to the side of the left leg with 1 sc (this will be the first sc of this row).
1. Work 10 more sc around the leg, 2 sc in the chains, 11 sc around the second leg, 2 more sc in the chains (26)
2 to 5. Sc over sc (26)
6. 5 sc, 1 dec, 11 sc, 1 dec, 6 sc (24)
Change to Marsala yarn
7. Sl st over sc all around – only in the back loop (24) – make this row very loose, because later we will return to this row to make the skirt in these remaining loops.
8. Sl st over sc all around – only in the back loop (24)
Change to Greenery
9 and 10. Sc over sc (24)
Change to Marsala
11 and 12. Sc over sc (24)
Change to Greenery
13 and 14. Sc over sc (24)
Change to Marsala
15. Sc over sc (24)
16. 12 dec (12)
Cut the yarn and fasten off.

The doll’s skirt is made using similar colors to the doll’s body. However, when crocheting the skirt, you will need to use crochet techniques such as half double crochet.
Skirt
Turn the doll around and place it upside down. If possible, use a larger needle size so that the skirt is loose. In the Marsala-colored loops that are left between rows 7 and 8, insert a new Marsala-colored thread and from there weave:
1. 1 sc, 1 inc, all the way around, join both parts with 1 slst
Change to Greenery yarn
2. Up 2 ch, work hdc all around,
join the two parts with 1 sl st
Change to Marsala yarn
3. Up 2 ch, work hdc all around,
join the two parts with 1 sl st
Change to Greenery yarn
4. Up 2 ch, work hdc all around,
join the two parts with 1 sl st

Change to Marsala yarn
5. Up 2 ch, (3 hdc, 1 hdc inc – all around), join the two parts with 1 sl st
Change to Greenery yarn
6. Up 2 ch, work hdc all around, join the two parts with 1 sl st
Change to Marsala yarn
7. Ch 1, sl st in next stitch – all the way around, join the two parts with sl st
Cut the yarn and fasten off. Hide any remaining yarn.

After crocheting the skirt, we combine it with the body. Now we will crochet the neck and head. The neck and head are made using the same color and then sewn onto the body of the toy.
Neck & Head
Change to Itaparica color yarn
1. Sl st over dc all the way around – back loop only (12)
2. Sc over sc – in back loop only (12)
3. Sc over sc (12)
We will weave the head.
4. 12 inc (24)
5. (1 sc, 1 inc) 12x (36)
6. (5 sc, 1 inc) repeat 6 times (42)
7. (13 sc, 1 inc) repeat 3 times (45)
8 to 15. Sc over sc (45) – 8 rows without increase
16. (13 sc, 1 dec) repeat 3 times (42)
Insert the eyes between rows 10 and 11, 9 stitches apart (6 stitches visible). Embroider the details of the eyes: eyelashes with black thread and waterline with white thread.
17. (5 sc, 1 dec) repeat 6 times (36)
18. 2 sc, 1 dec, (4 sc, 1 dec) repeat 5 times, 2 sc (30)
19. (3 sc, 1 dec) repeat 6 times (24)
20. 1 sc, 1 dec, (2 sc, 1 dec) repeat 5 times, 1 sc (18)
21. (1 sc, 1 dec) repeat 6 times (12)
22. (2 sc, 1 dec) repeat 3 times (9)
With black yarn, embroider the eyebrows one row above the eyes. With flesh-colored yarn, embroider the nose in the middle of the eyes, between rows 9 and 10.

As you can see in the photo above, your doll has started to take shape. Now we will crochet the arms and sew them to the body. The round in which these pieces will be sewn is explained in detail in the instructions in the joining section.
Arms
With Itaparica yarn
1. 6 sc in MR
2. (2 sc, 1 inc) repeat 2 times (8)
3 to 9. Sc over sc (8)
Change to Greenery color
10. Sl st over sc (8)
11. Sc over sc – only in the back loop (8)
Change to Marsala color
12. In this row we will close the arm, joining the two parts with 4 sc, cut the yarn, leaving a long end for sewing.

The part I liked the most about the toy is the hair. If you are ready, let’s crochet the impressive hair.
Hair
With Brigadeiro yarn
1. 6 sc in MR
2. 6 inc (12)
3. (1 sc, 1 inc) repeat 6 times (18)
4. (2 sc, 1 inc) repeat 6 times (24)
Now we will make the longer strands:
Weave 26 Ch, skip 1 base stitch and return with 13 and increase 12 sc. Fasten to the next stitch with 1 sl st. Repeat 15 more times, having 16 strands in the end.

Next, we will make the strands of the fringe:
Weave 6 Ch, skip 1 base stitch and return with 5 sc. Fasten to the next stitch with 1 sl st. Repeat 7 more times, having 8 strands in the end.
Now we will crochet the headband and the tiny hair clip. In order for the colors to match, you need to use the same colors you used on the dress.
Headband
With the yarn in the color Greenery
Use double yarn to make this part of the piece. Also use a larger needle, I used 3.5mm
Weave 32 Ch, cut the yarn, leaving a tail for sewing.

Bow
With the Marsala colored yarn
In the MR, weave: 2 ch, 2 dc, 2 ch, 1 sl st, 2 ch, 2 dc, 2 ch, 1 sl st.
Cut the yarn, leaving a long end for finishing. Tighten the yarn in the center of the MR to close the bow. With the long end that is left at the end, make about five turns in the center of the bow and tighten well, to give it the shape. Attach the yarn to the back of the bow, fasten off and hide all the excess ends.
Assembly
Hair
Align the hair’s MR with the MR of the head of the piece. Using pins, position the hair on the doll’s head. The bangs (shorter strands) should be about three rows above the eyes. The longer strands should be distributed along the head, covering the entire back of the head. Sew or glue the hair. Use your fingers to shape the curls at the ends of the hair.
Arms
Sew the arms between rows 15 and 16 of the body (the last two rows in the Marsala color of the dress).
Tiara
For aesthetic purposes, when positioning the tiara on the doll’s head, place the braids of the chain facing down, leaving the wrong side facing up. This will make the tiara stand out more and look prettier. Position the tiara on the head. Sew the two ends of the tiara, securing it to the doll’s head and leaving two long strands at the front, as shown in the photo. Fasten off and hide the threads.
Bow
Place the bow on the front of the tiara, on the right side of the doll, as shown in the photo. Sew or glue the bow in this position. I preferred to glue it, to give it a better finish.

That’s all the crochet dolls are ready. Please don’t forget to thank the designer for this design, which was prepared as a result of long efforts.
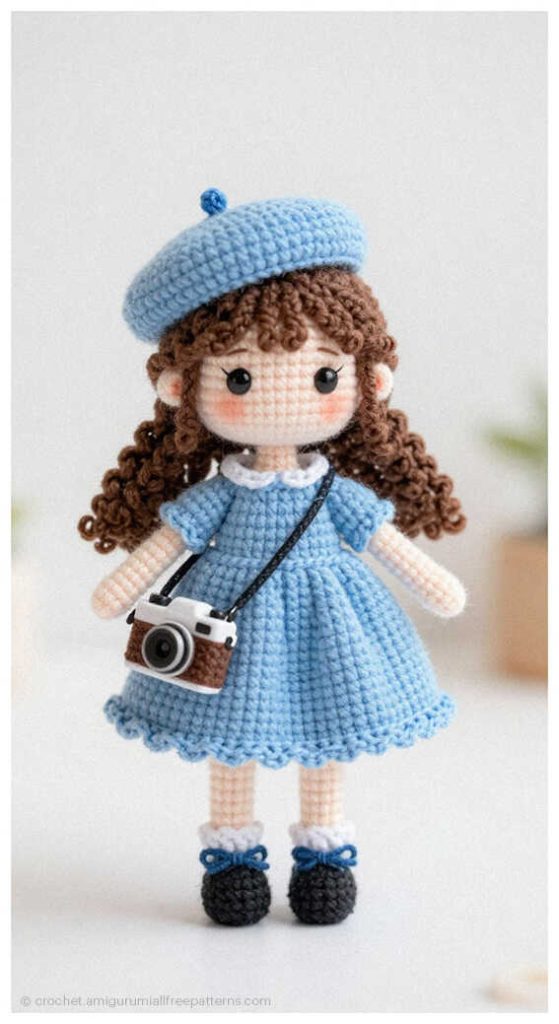
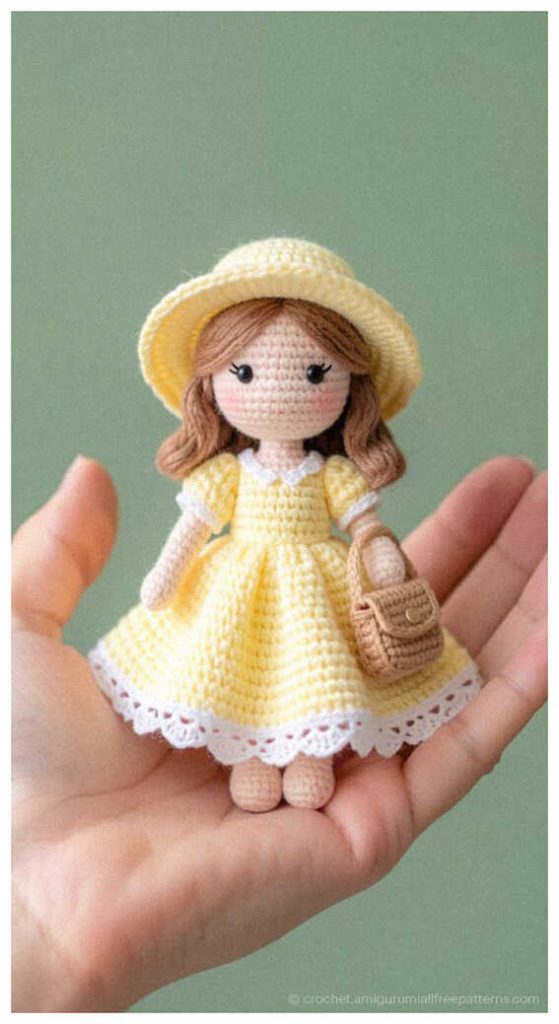
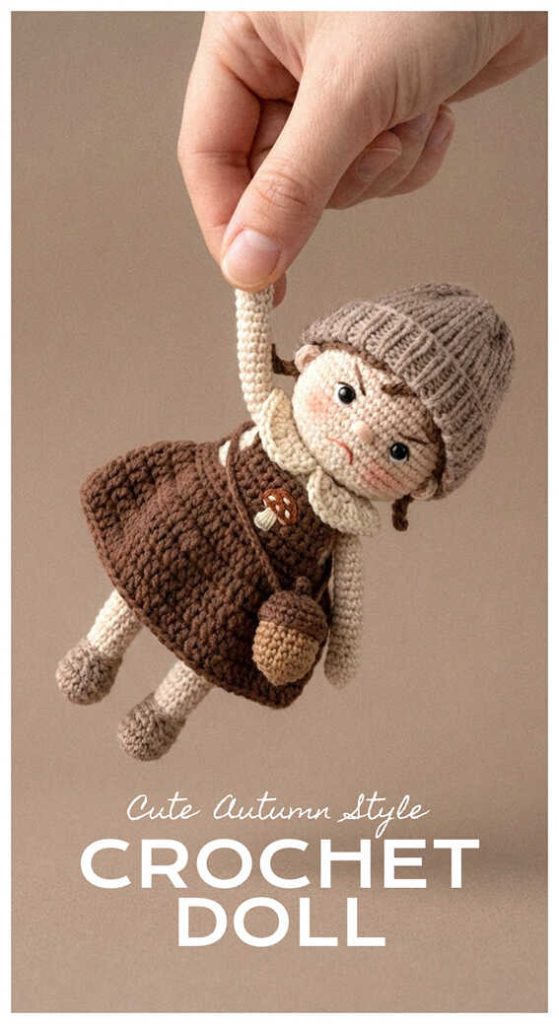
Cute Arbella Crochet Doll Gift Ideas Kids Will Love