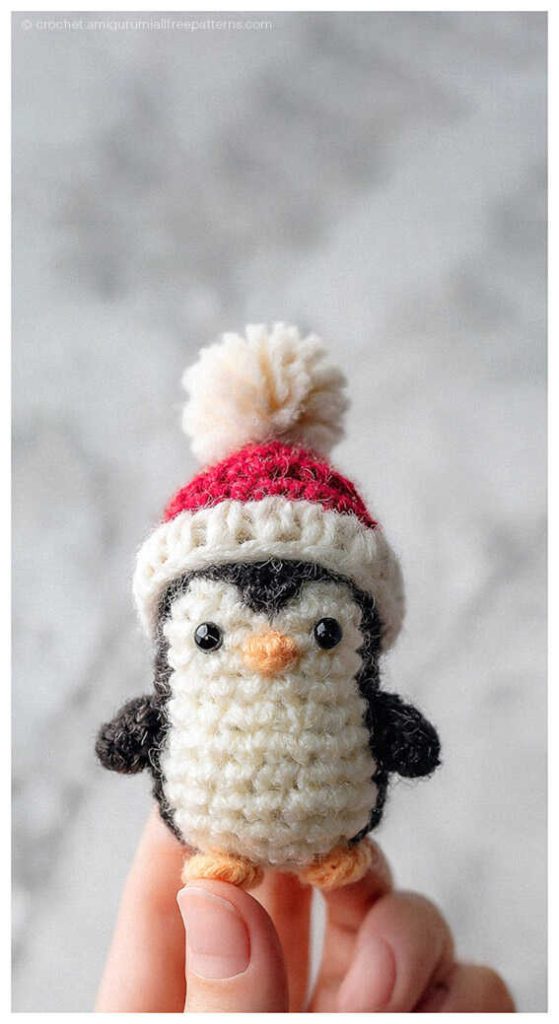
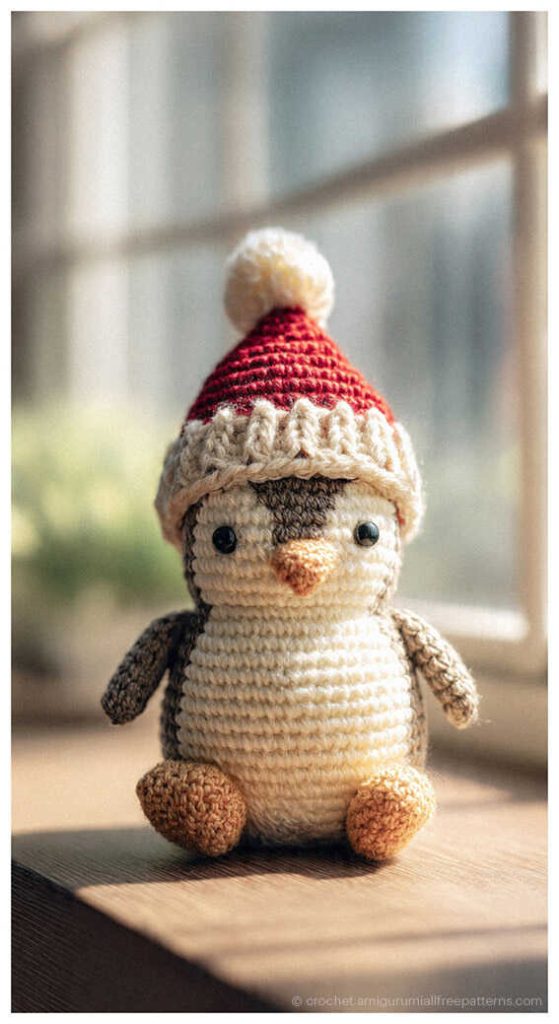
Free Penguin with Christmas Hat Amigurumi Pattern: Festive DIY Gift
Designer: Limlenn Crochet
Instagram: @limlenn
YouTube: Limlenn crochet
Let’s pick up our hooks and start something cute…
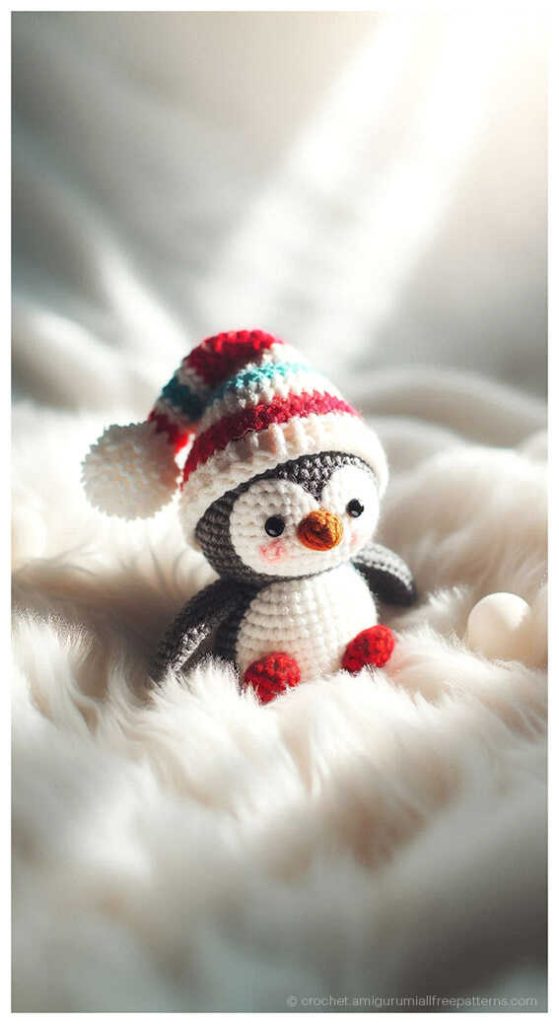
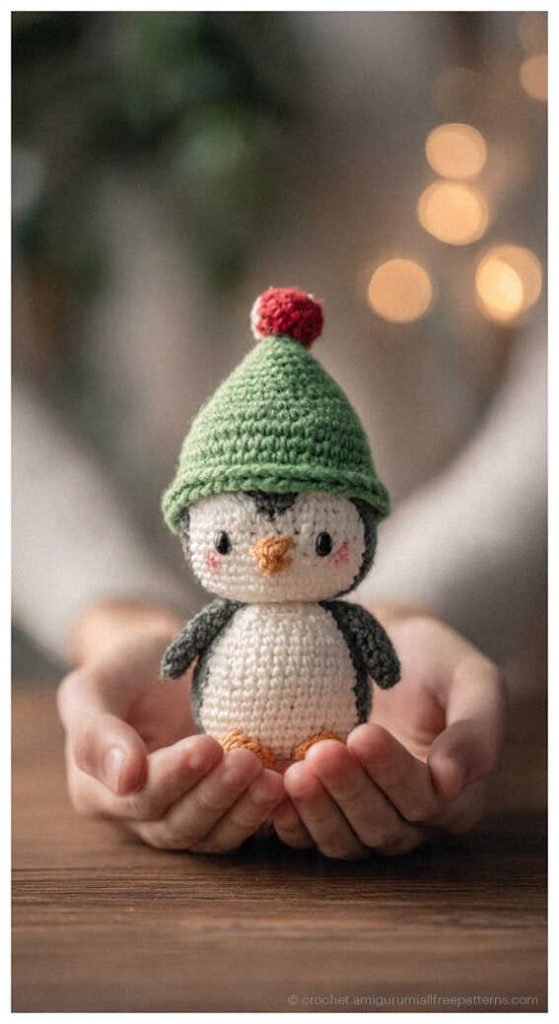
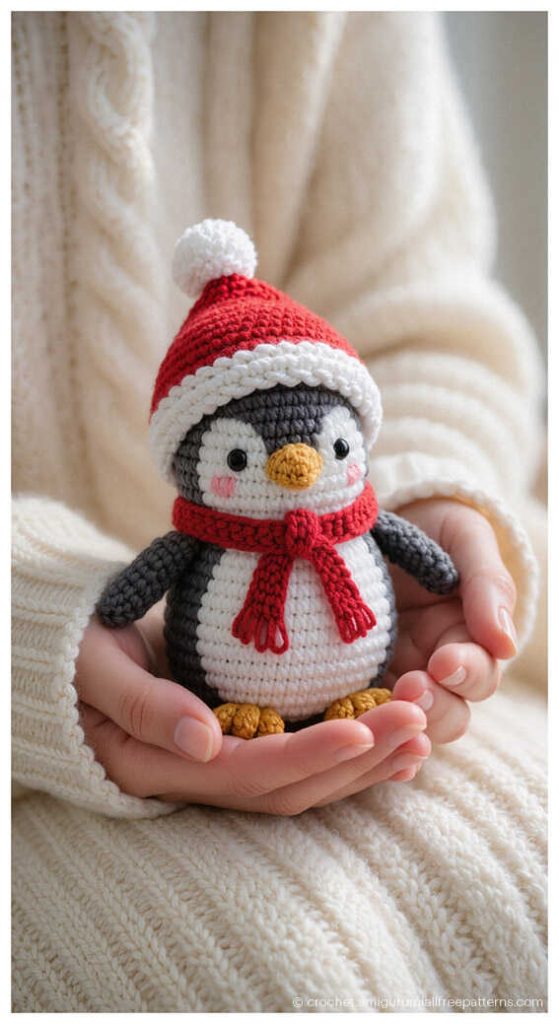
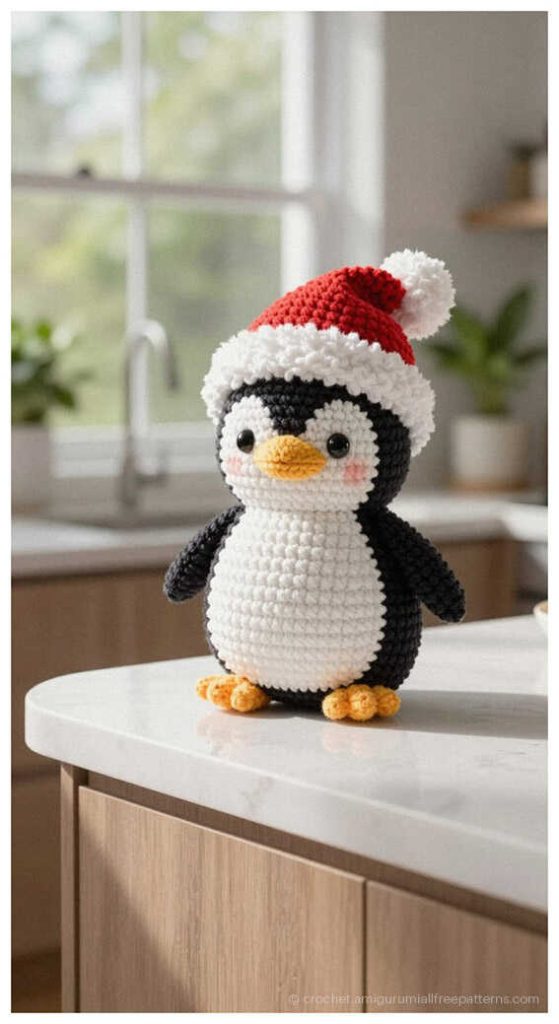
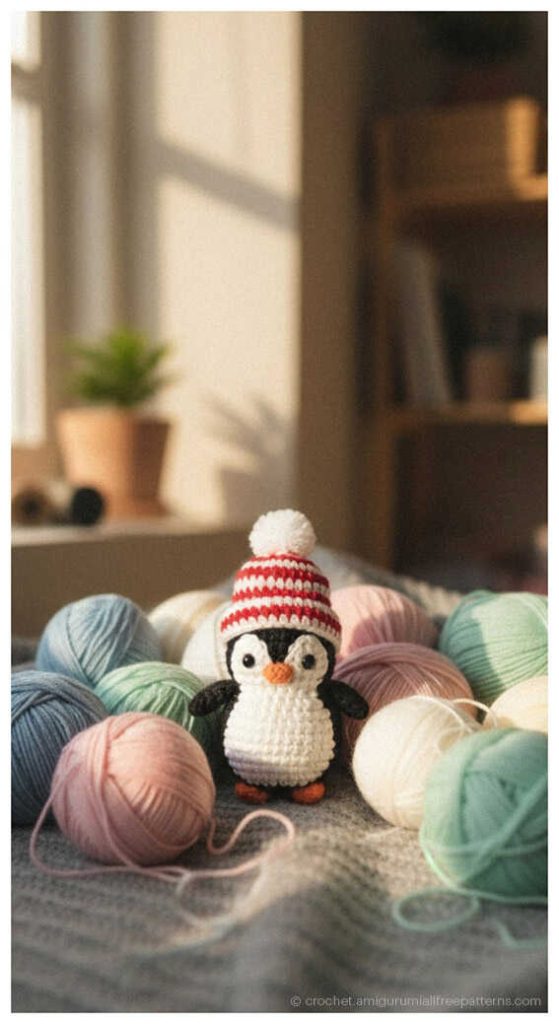
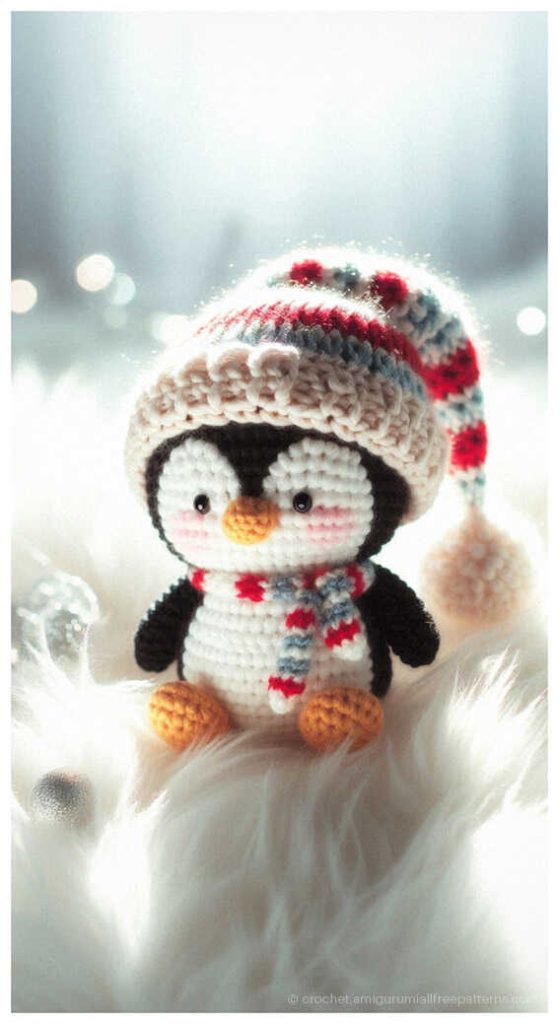
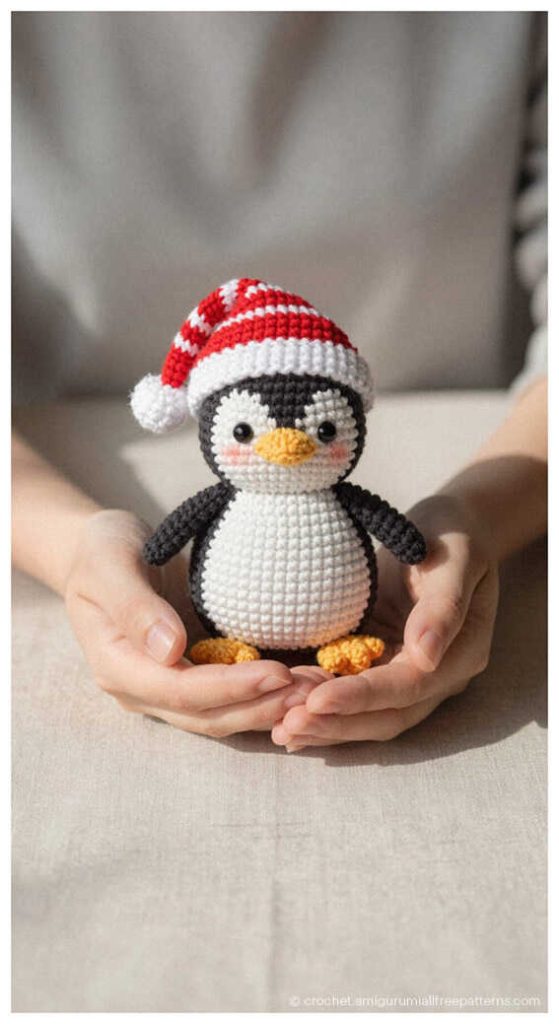
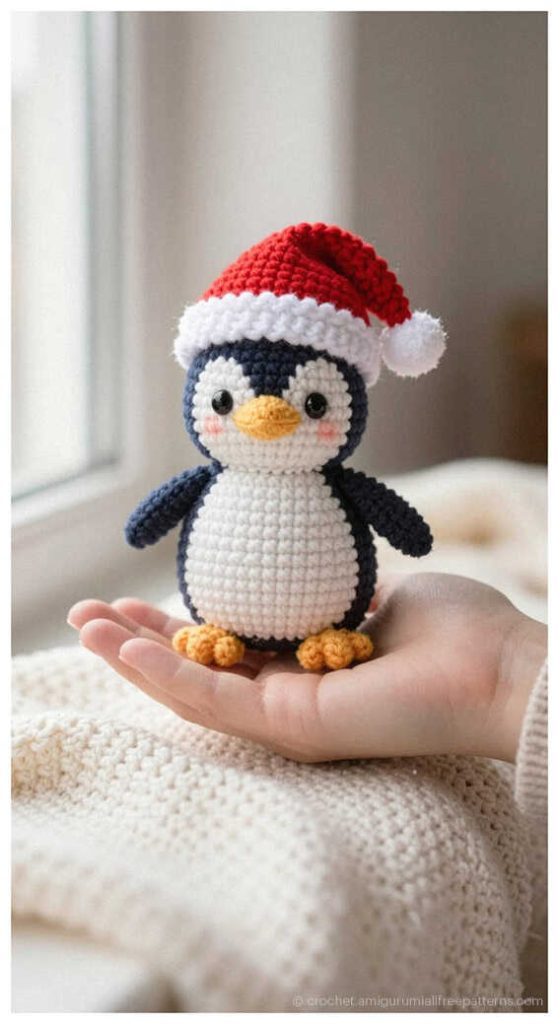
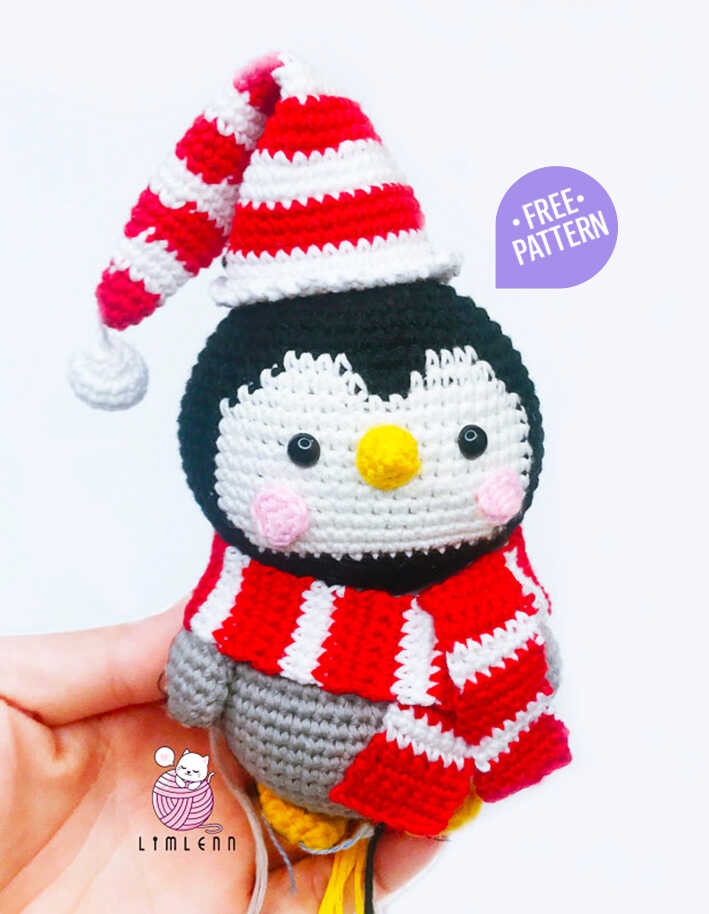
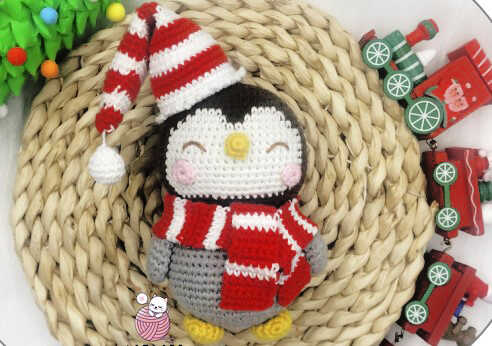
Celebrate the winter season with this Adorable Christmas Penguin: Step-by-Step Amigurumi Guide for Beginners, a festive project that captures the icy charm of the North Pole. Inspired by the cozy feeling of a snowy holiday evening, Limlenn Crochet designed this little penguin to be the ultimate seasonal companion, perfect for hanging on a tree or nesting in a holiday gift basket. These DIY Crochet Gift Ideas are wonderful for spreading handmade joy, serving as Easy Crochet Projects that even the busiest crafters can complete. This design is especially popular among fans of Low Sew Amigurumi Patterns due to its clever construction that minimizes assembly time. At the conclusion of this tutorial, you will discover a curated gallery of more amigurumi penguin ideas to inspire your winter workshop. A heartfelt thank you to Limlenn Crochet for sharing this charming holiday friend with us! If you have been searching for a clear and enjoyable way to learn how to crochet amigurumi characters that feel like a warm hug, this festive guide is your ideal starting point.
This step by step tutorial is specifically tailored to be beginner friendly, offering a seamless introduction to the world of 3D crochet. As a beginner amigurumi penguin pattern, it focuses on simple color changes and basic stitch work to create a professional, boutique-quality finish. The beauty of this design lies in its versatility; it is written to be understandable for newcomers while providing a relaxing experience for seasoned experts. By following the clear instructions, you will learn how to shape the body and add those signature rosy cheeks, resulting in a character full of personality. This project proves that you don’t need years of experience to produce a high-quality handmade treasure that looks impressively complex.
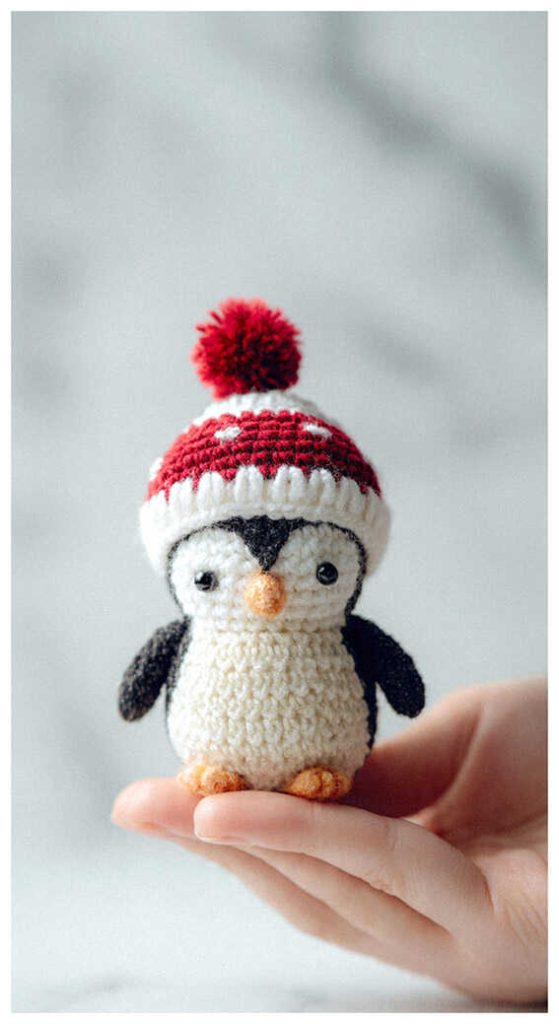
To bring this snowy friend to life, you will need a crochet hook suitable for your chosen yarn—the designer used a 2mm hook with 1.5mm yarn—along with yarn in brown, gray, white, pink, orange, and black. Your toolkit should also include fiberfill, a sewing needle, scissors, fabric glue, and a bit of blush for the cheeks. While the original pattern uses fine yarn for a delicate look, it transforms beautifully into an oversized, cuddly toy if you opt for Velvet Yarn; just keep in mind that a bulkier fiber choice will result in a much larger final penguin! Whether you stick to the suggested materials or experiment with different weights, mastering how to crochet amigurumi holiday figures is a rewarding way to build your skills. Simply gather your tools and follow along to create a magical winter keepsake. Happy crocheting!
Abbreviation
( )*– repeat instructions between parentheses, as many times as directed.
[ ]– number in [] at the end of the row indicates number of stitch in at row.
Rnd– round
Mr– magicring
Slst– slip stitch
Sc– single crochet
Inc– single crochet increase- 2 single crochet in 1 stitch
Dec-single crochet invisible decrease- sc 2 stitch together
Materials
• Crochet hook suitable with your yarns.
• Yarn: brown, gray, white, pink, orange, black.
• Fiberfill,
• sewing needle
• scissor,
• fabric glue
• blush.
I used yarn 1.5mm with hook size 2mm.
You can use the same pattern to make smaller or larger toy by, using finer or bulkier yarn.
HOW TO CROCHET A HOLIDAY PENGUIN: FREE FESTIVE AMIGURUMI DECOR
Head
Brown yarn
Rnd 1. Mr6sc [6]
Rnd 2. 6inc [12]
Rnd 3. (sc, inc)*6 [18]
Rnd 4. (2sc, inc)*6 [24]
Rnd 5. (3sc, inc)*6 [30]
Rnd 6. (2sc, inc, 2sc)*6 [36]
Rnd 7. (5sc, inc)*6 [42]
Rnd 8. (3sc, inc, 3sc)*6 [48]
Rnd 9. (7sc, inc)*6 [54]
Rnd 10. Brown yarn: 21sc, change white yarn: 4sc, change brown yarn: 4sc, change white yarn: 4sc, change brown yarn: 21sc [54]
Rnd 11. Brown yarn: 20sc, change white yarn: 6sc, change brown yarn: 2sc, change white yarn: 6sc, change brown yarn: 20sc [54]
Rnd 12. Brown yarn: 19sc, change white yarn: 16sc, change brown yarn: 19sc [54]
Rnd 13. Brown yarn: (8sc, inc)*2, sc, change white yarn: 7sc, inc, 8sc, inc, change brown yarn: (8sc, inc)*2 [60]
Rnd 14- Rnd 19. Brown yarn: 21sc, change white yarn: 19sc, change brown yarn: 20sc
Rnd 20. Brown yarn: 22sc, change white yarn: 17sc, change brown yarn: 21sc
Rnd 21. Brown yarn: 23sc, change white yarn: 15sc, change brown yarn: 23sc
Brown yarn
Rnd 22. (8sc, dec)*6
Rnd 23. (7sc, dec)*6
Rnd 24. (6sc, dec)*6
Rnd 25. (5sc, dec)*6
Rnd 26. (4sc, dec)*6
Cut a long yarn. Sewing this yarn to the body.
Body
Gray yarn
Rnd 1. Mr6sc [6]
Rnd 2. 6inc [12]
Rnd 3. (sc, inc)*6 [18]
Rnd 4. (2sc, inc)*6 [24]
Rnd 5. (3sc, inc)*6 [30]
Rnd 6. (2sc, inc, 2sc)*6 [36]
Rnd 7. (5sc, inc)*6 [42]
Rnd 8. (3sc, inc, 3sc)*6 [48]
Rnd 9. (7sc, inc)*6 [54]
Rnd 10- Rnd 16. 54sc [54]
Rnd 17. (7sc, dec)*6 [48]
Rnd 18. (6sc, dec)*6 [42]
Rnd 19. 42sc [42]
Rnd 20. (5sc, dec)*6 [36]
Rnd 21. (4sc, dec)*6 [30]
Rnd 22. 30sc [30]
Cut yarn. Fasten off.
Nose
Orange yarn
Rnd 1. Mr6sc [6]
Rnd 2. (sc, inc)*3 [9]
Cut a long yarn. Sewing this yarn to the head.
Cheeks (make 2)
Pink yarn
Rnd 1. Mr8sc [8]
Cut a long yarn. Sewing this yarn to the head.
Arms (make 2)
Gray yarn
Rnd 1. Mr6sc [6]
Rnd 2. 6inc [12]
Rnd 3. (3sc, inc)*3 [15]
Rnd 4- Rnd 6. 15sc [15]
Rnd 7. (3sc, dec)*3 [12]
Rnd 8. 6dec
Cut a long yarn.
Legs (make 2)
Orange yarn
Rnd 1. Mr6sc [6]
Rnd 2. 6inc [12]
Rnd 3. (3sc, inc)*3 [15]
Rnd 4- Rnd 5. 15sc [15]
Rnd 6. 8dec
Cut a long yarn.
Hat
Red yarn
Rnd 1. Mr6sc [6]
Rnd 2. (sc, inc)*3 [9]
Rnd 3. 9sc [9]
Change white yarn
Rnd 4. (2sc, inc)*3 [12]
Rnd 5- Rnd 6. 12sc [15]
Change red yarn
Rnd 7. (3sc, inc)*3 [15]
Rnd 8- Rnd 9. 15sc [12]
Change white yarn
Rnd 10. (4sc, inc)*3 [18]
Rnd 11- Rnd 12. 18sc [18]
Change red yarn
Rnd 13. (5sc, inc)*3 [21]
Rnd 14- Rnd 15. 21sc [21]
Change white yarn
Rnd 16. (6sc, inc)*3 [24]
Rnd 17- Rnd 18. 24sc [24
Change red yarn
Rnd 19. (7sc, inc)*3 [27]
Rnd 20- Rnd 21. 27sc [27]
Change white yarn
Rnd 22. (8sc, inc)*3 [30]
Rnd 23- Rnd 24. 30sc [30]
Change red yarn
Rnd 25. (4sc, inc)*6 [36]
Rnd 26- Rnd 27. 36sc [36]
Change white yarn
Rnd 28. (5sc, inc)*6 [42]
Rnd 29- Rnd 30. 42sc [42]
Change red yarn
Rnd 31- Rnd 33. 42sc [42]
Change white yarn
Rnd 34- Rnd 36. 42sc [42]
Rnd 37. BLO: (slst, ch3, slst)*21
Cut yarn. Fasten off.
White yarn
Rnd 1. Mr6sc [6]
Rnd 2. 6inc [12]
Rnd 3- Rnd 4. 12sc [12]
Rnd 5. 6dec
Cut yarn.
Scarf
Red yarn
Row 1. Ch 7, turn: 6sc
Row 2- Rnd 4. ch1, turn: 6sc
Change white yarn
Row 5- Rnd 6. ch1, turn: 6sc
Repeat from row 1 to row 6: 14 more times
Change red yarn
Row91. Ch 7, turn: 6sc
Row 92- Rnd 94. ch1, turn: 6sc
You may also like: Crochet Little Bear Yui Amigurumi Free Pattern (Beginner-Friendly & Step-by-Step)
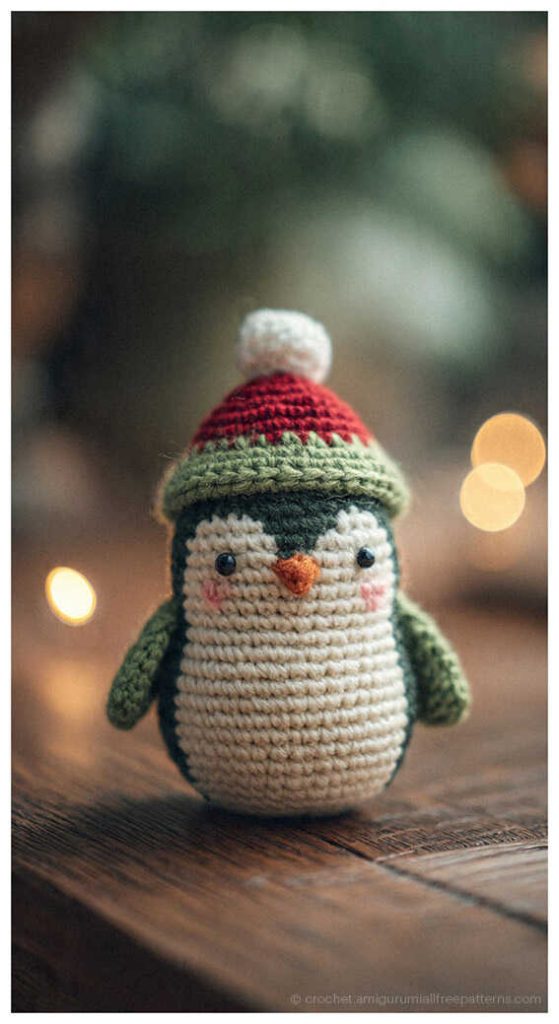
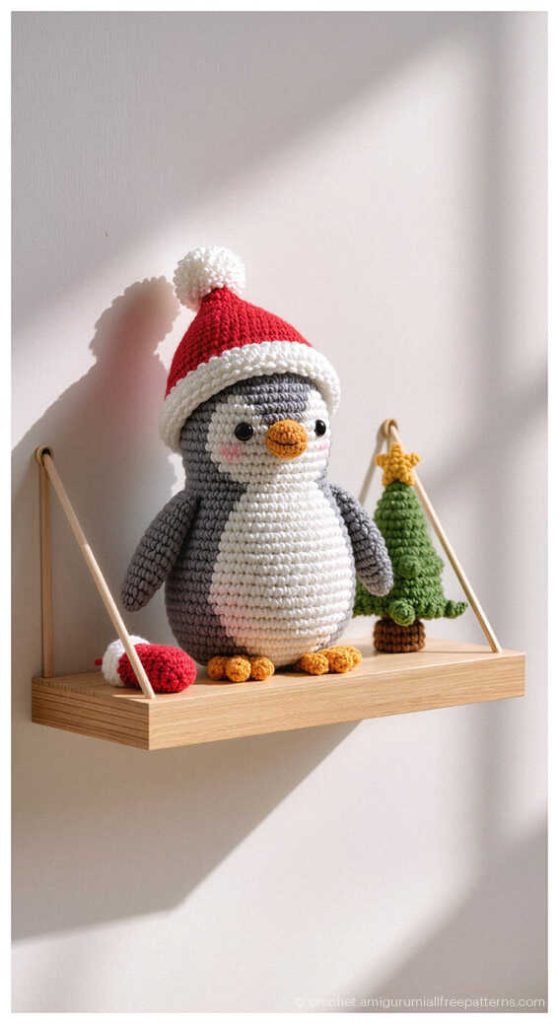
Trendy amigurumi penguin ideas for all: