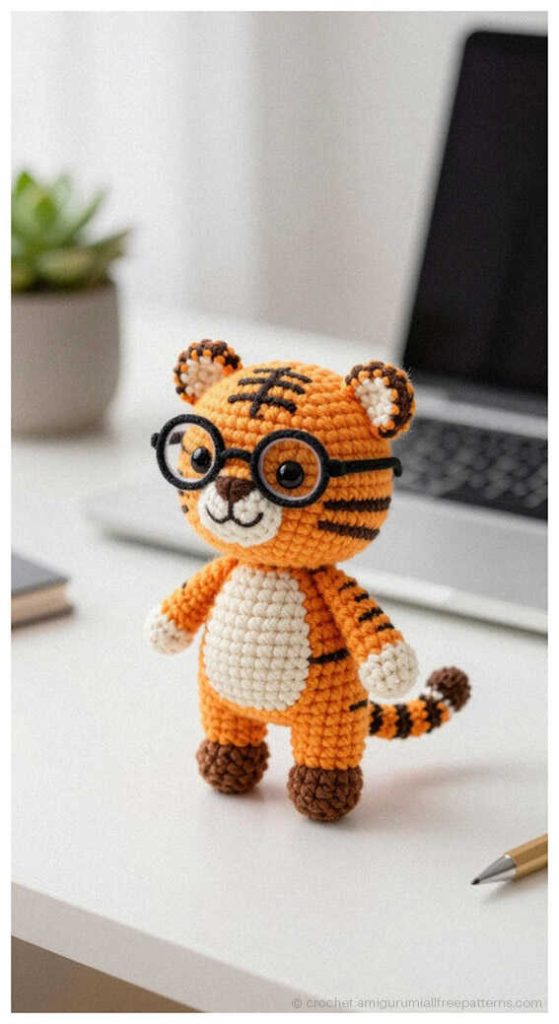
Free Easy Tiger Amigurumi Crochet Pattern: Beginner Friendly
Designer: NatKnits
Instagram: @nat__knits
VK: @nat__knits
Simple, cute, and fun — just how we like it, with a touch of charm…
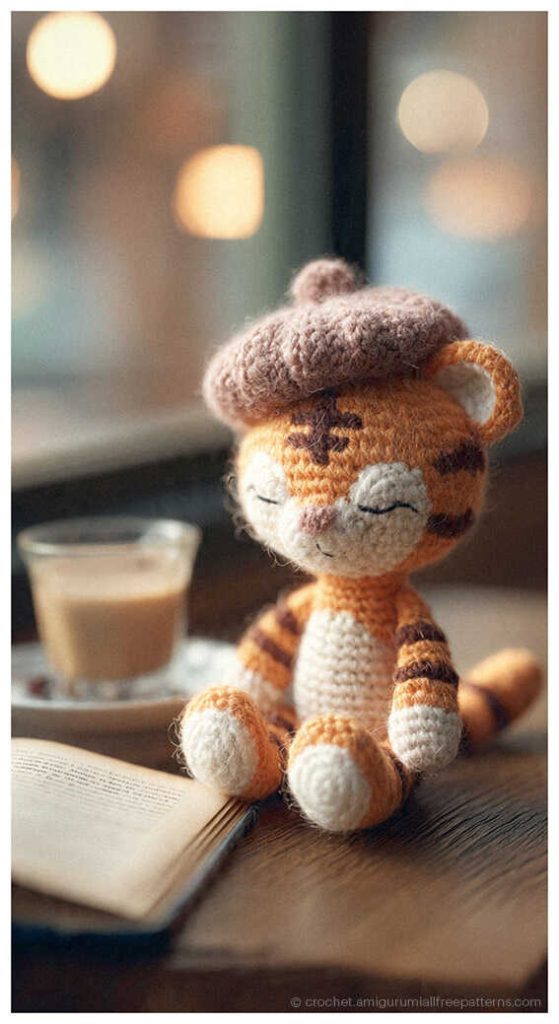
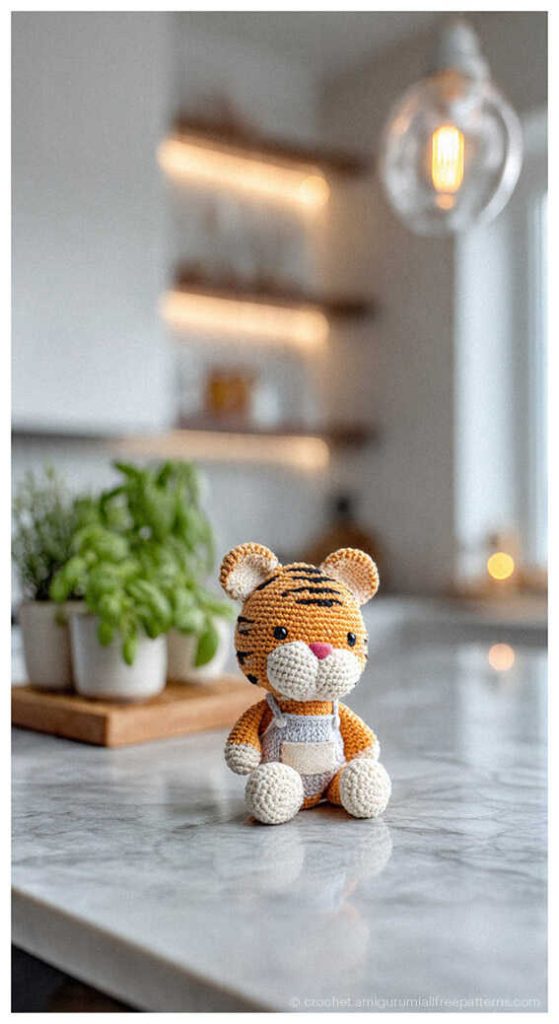
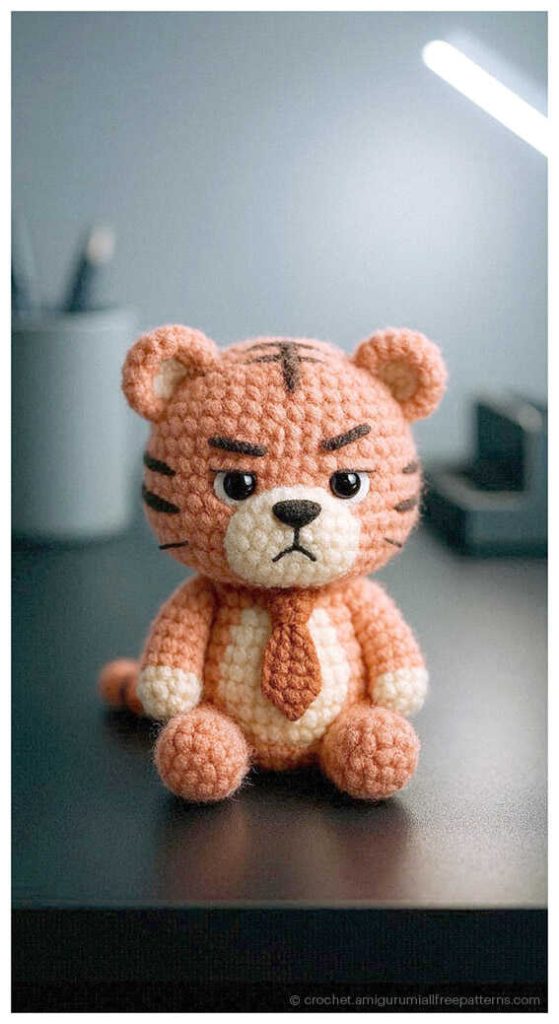
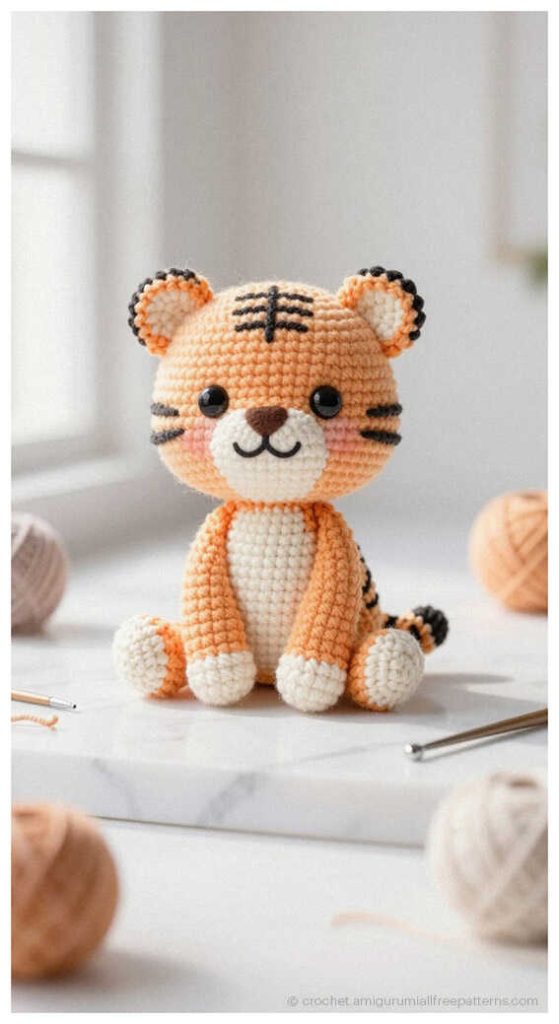
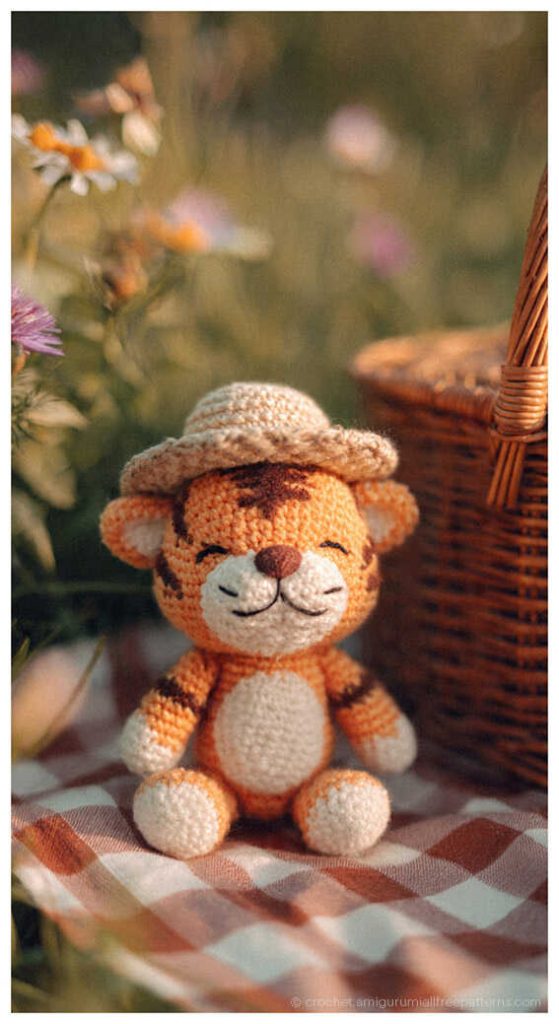
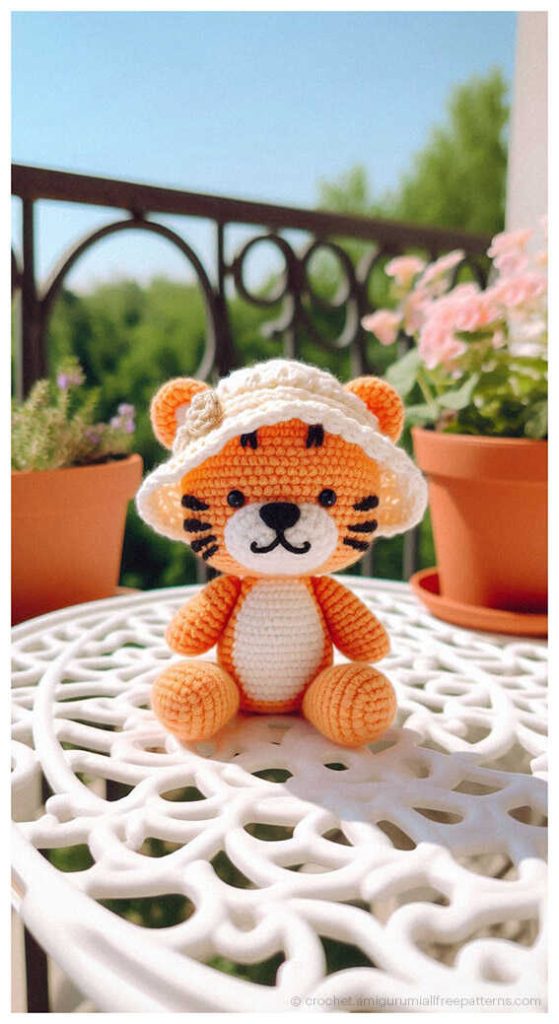
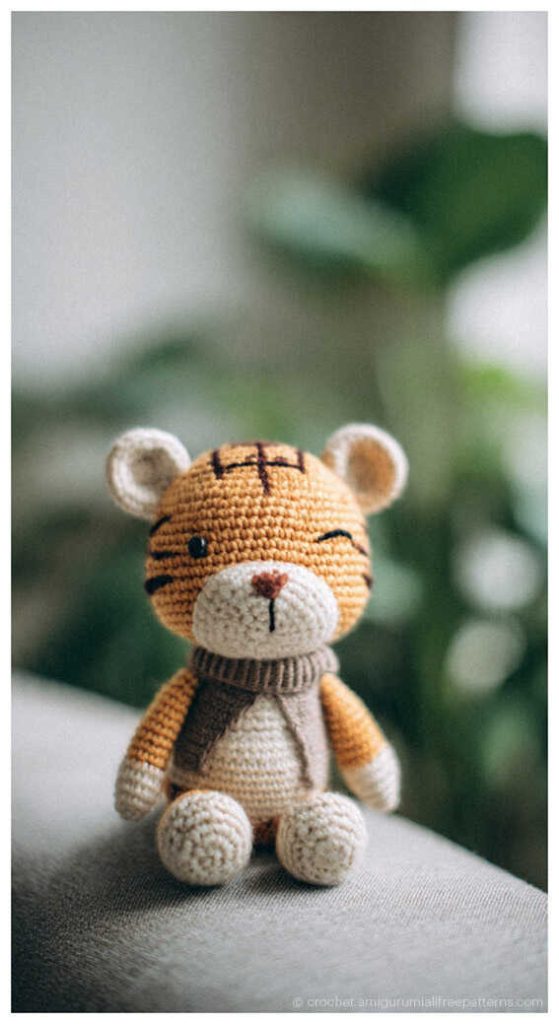
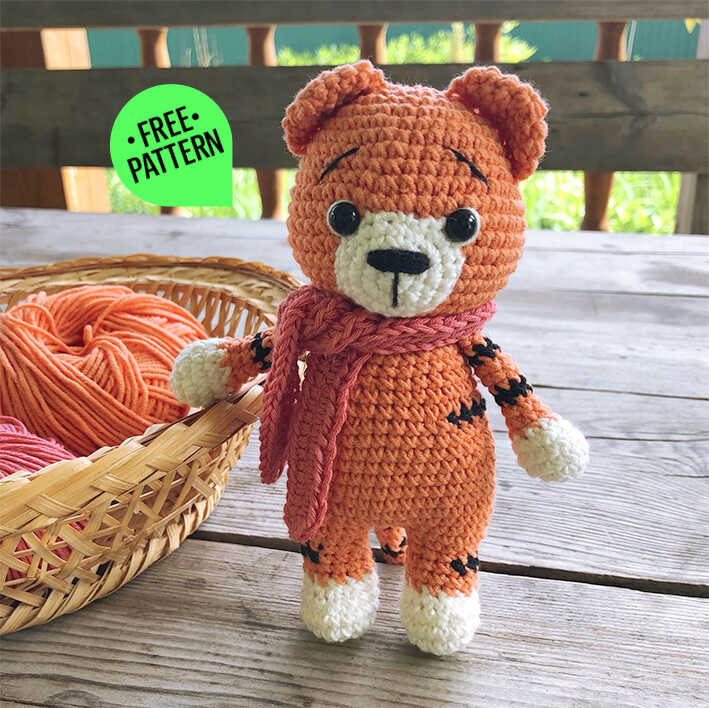
Discover the best Adorable Baby Tiger: Free Amigurumi Crochet Pattern Ideas to create a vibrant, handmade safari friend today. This design by NatKnits was inspired by the playful energy of a curious cub, created to be a spirited nursery companion or a bold addition to a wildlife-themed decor collection. As you explore the latest Holiday Patterns, this little tiger emerges as one of the most vibrant Christmas Gift Ideas for children who dream of jungle adventures. Its compact size also makes it one of the best Last Minute Crochet Gifts for those who want to create a high-impact present in a short amount of time. At the conclusion of this tutorial, you will find a curated list of more amigurumi tiger ideas to expand your striped collection. A heartfelt thank you to Natalia from NatKnits for this inspiring design! If you have been searching for a joyful way to learn how to crochet amigurumi while making a toy that looks professionally crafted, this cub is the perfect starting point.
This step by step guide is specifically crafted to be beginner friendly, making it the ultimate beginner amigurumi tiger pattern for crafters who want to practice color changes without complex shaping. The beauty of this design lies in its accessibility; it breaks down the anatomy of the tiger into manageable sections, ensuring a smooth flow from the first stitch to the final assembly. Whether you are a novice or an experienced artist, you will appreciate how the proportions come together to create a character full of personality. This project proves that you don’t need years of experience to produce a boutique-quality plushie that captures the charm of a real baby tiger. It is a fantastic way to sharpen your skills while creating a gift that will be cherished for its unique, handmade character.
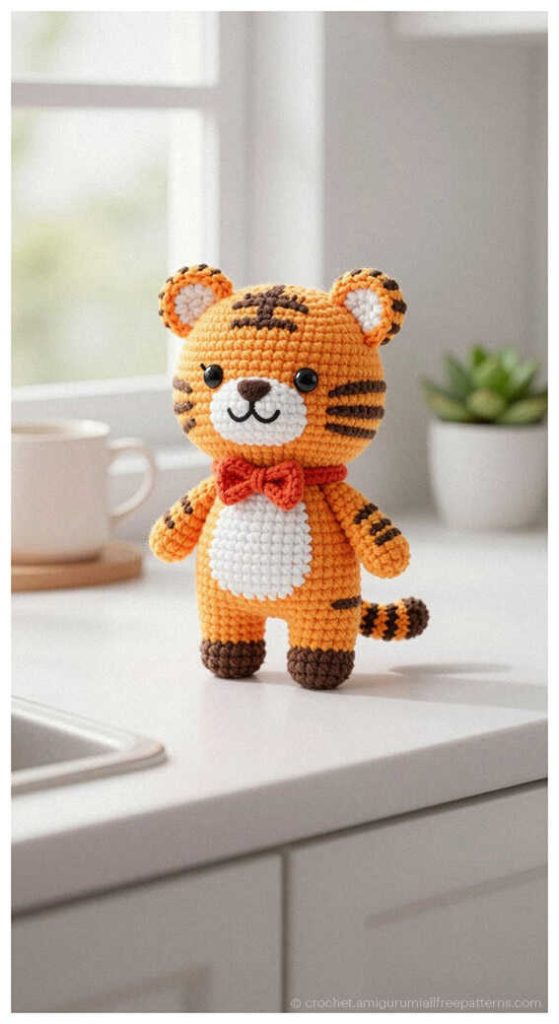
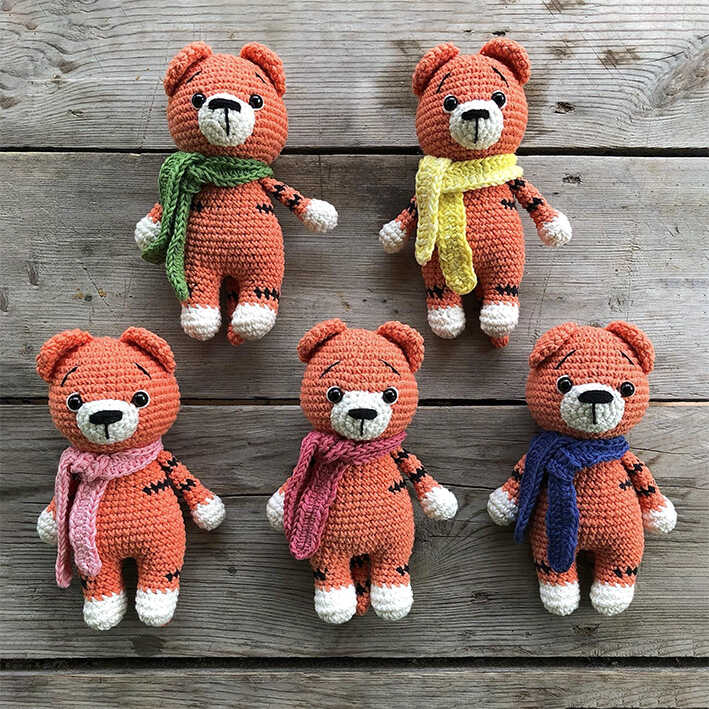
To bring this little cub to life, you will need YarnArt Jeans in orange, black, and white, along with 8mm safety eyes on a secure mount. The process is best completed using a size 2 hook, which creates tight, clean stitches to keep the holofiber filler securely inside. Make sure to have your scissors and a needle for sewing details ready as you follow the instructions. While this pattern is designed using Cotton Yarn for a crisp finish, it also works beautifully as a chunky plushie if you use Velvet Yarn; just note that using velvet will make the final toy much larger! Mastering how to crochet amigurumi tiger features is a rewarding experience that sharpens your precision and creative eye. Simply gather your tools and follow along to create a handmade treasure that will be loved for years. Happy crocheting!
Materials
• Yarn in 3 colors – orange, black, white (Yarnart jeans)
• Eyes on a secure mount – 8mm
• Hook No:2
• Filler – holofiber
• Scissors
• Needle for sewing details
Abbreviations
MR: Amigurumi Magic ring
sc : Single Crochet
inc : Increase
dec : Decrease
tr : Triple Crochet/ Treble Crochet
st: Stitch
dc : Double Crochet
hdc: Half Double Crochet
slst : Slip Stitch
ch : Chain
..in : make increase into same stitch as many as the number which is given in front of “inc” abbreviation (exp; 3inc, 4inc..).
FLO : Crochet into front loops only
BLO : Crochet into back loops only
HOW TO CROCHET AN EASY TIGER: FREE STEP-BY-STEP GUIDE
Ears:
1. 6sc in MR
2. 6inc (12)
3. (sc, inc)*6 (18)
4. 18sc – fold the part in half, crochet 9sc behind both sides, leave the tail for sewing
Muzzle:
1. 6sc in MR
2. 6inc (12)
3. (3sc, 3inc)*2 (18)
4. (8sc, inc)*2 (20) – leave a tail for sewing
Head:
1. 6sc in MR
2. 6inc (12)
3. (sc, inc)*6 (18)
4. (2sc, inc)*6 (24)
5. (3sc, inc)*6 (30)
6. (2sc, inc)*10 (40)
7-10. 40sc
11. (4sc, inc)*8 (48)
12-16. 48sc
17. (6sc, dec)*6 (42)
18. (5sc, dec)*6 (36)
19. (4sc, dec)*6 (30)
20. (sc, dec)*10 (20)
21. (8sc, dec)*2 (18) – leave a tail for sewing. Insert eyes between rows 12 and 13, distance 8sc
Arms:
white
1. 6sc in MR
2. 6inc (12)
3. (3sc, inc)*3 (15)
4. 15sc
5. (sc, dec)*5 (10)
change to orange
6. (3sc, dec)*2 (8)
7-8. 8sc
9. 2sc, black – 4sc, change to orange – 2sc
10-12. 8sc
13. 2sc, black – 5sc, change to orange – 1sc
14-15. 8sc ; crochet 2sc, fold the part in half, crochet 4sc behind both sides, leave the tail for sewing
Legs:
white
1. 6sc in MR
2. 6inc (12)
3. (sc, inc)*6 (18)
4. 18sc
5. 6sc, 3dec, 6sc (15)
6. 5sc, 3dec, 4sc (12)
Change to orange
7-8. 12sc
9. First leg – sc, black – 5sc, orange – 6sc (12)
The second leg – 7sc, black – 5sc (12) Change to orange.
10. 12sc 11. (3sc, inc)*3 (15) – on the first leg, fasten the yarn, cut, on the second – crochet another 5-6 sc so that the legs look in the same direction, go to crocheting the body
Body:
Make 2ch, attach the second leg
1. (15sc, 2sc in ch)*2 (34)
2. 15sc, 2inc, 17sc (36)
3-7. 36sc
8. (10sc, dec)*3 (33)
9. 33sc
10.(9sc, dec)*3 (30)
11. 6sc, black – 7sc, orange – 8sc, black – 7sc, orange – 2sc (30) – if necessary, move the marker so that the stripes are on the sides
12. (8sc, dec)*3 (27)
13. 27sc
14. (7sc, dec)*3 (24)
15-16. 24sc
17. (2sc, dec)*6 (18)
Tail:
orange
1. 6sc in MR
2-3. 6sc
Change to black
4. 6sc
Orange.
5-7. 6sc
Black.
8. 6sc
Orange.
9-11. 6sc
Black.
12. 6sc
Orange.
13-14. 6sc Fold the piece in half, crochet 3sc behind both sides, leave the yarn for sewing
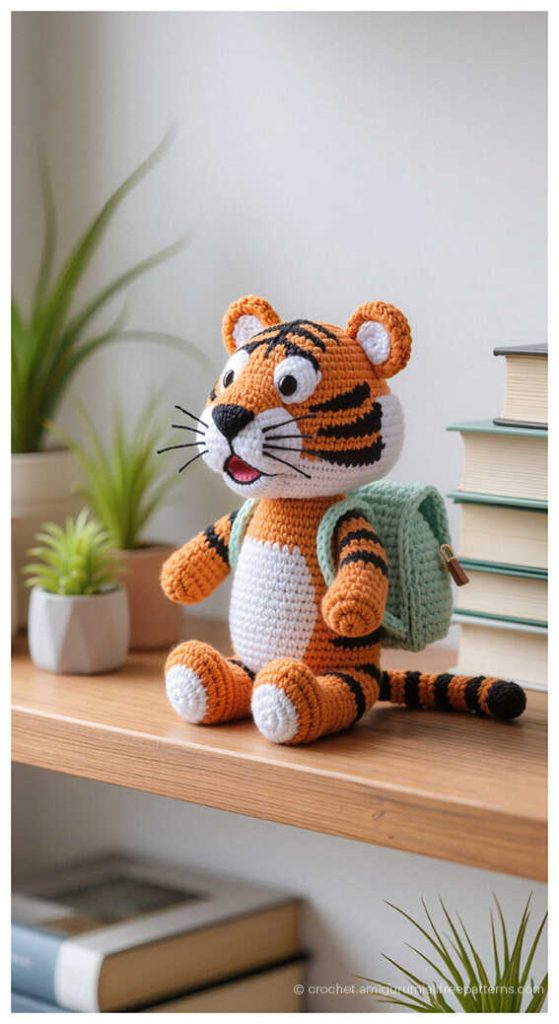
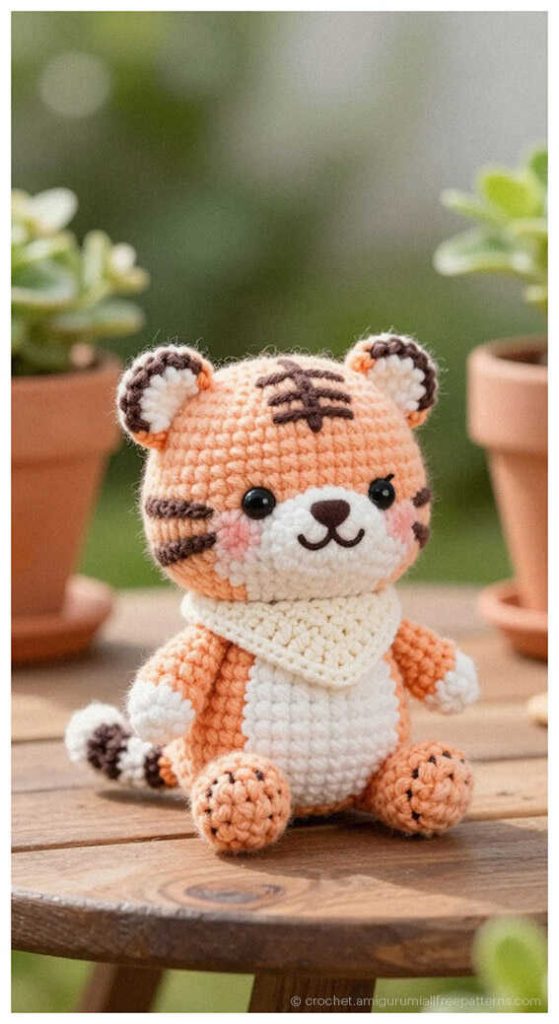
Finally the gorgeous tiger amigurumi you see in the pictures is ready!
You may also like: Amigurumi Lion Free Crochet Pattern (Beginner-Friendly & Step-by-Step)
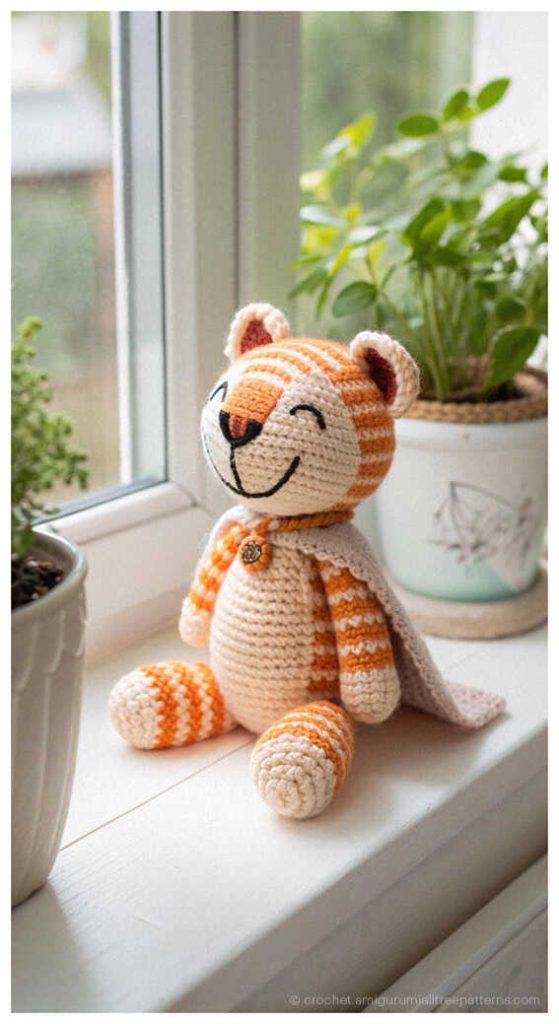
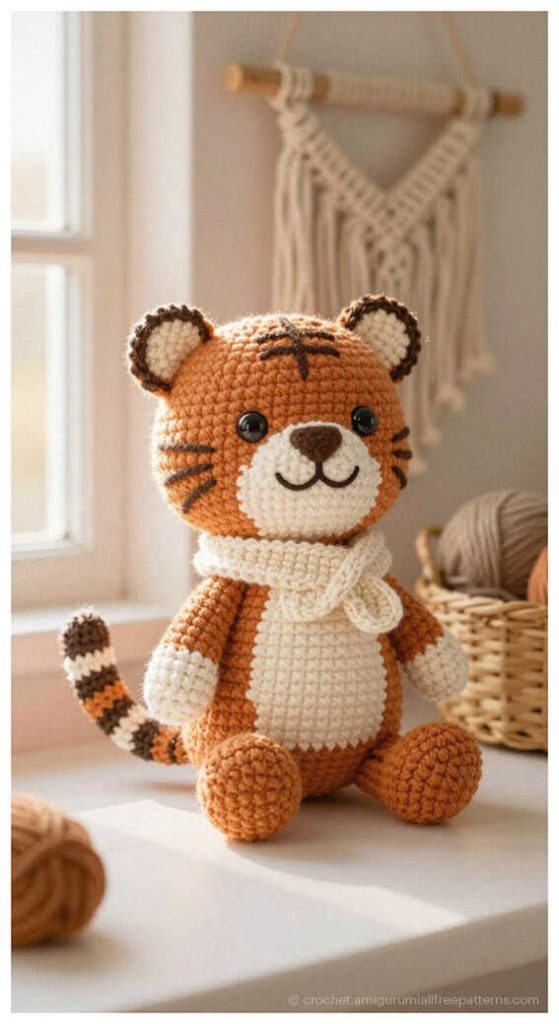
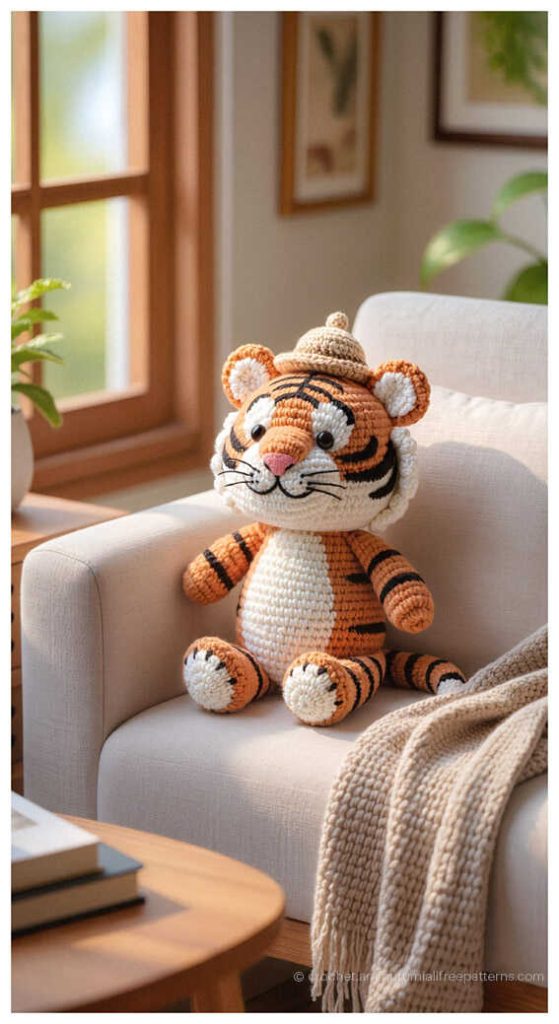
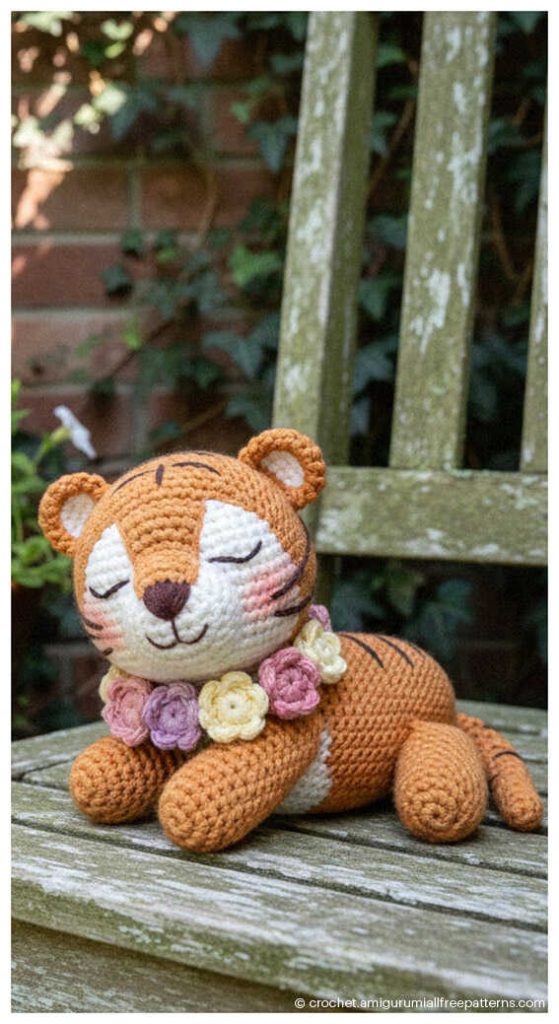
Creative amigurumi tiger ideas: