Bao the Little Christmas Panda Amigurumi – Free Crochet Pattern
Designer: Une Jeunette Crochete
Instagram: @une.jeunette.crochete
Etsy Shop: unejeunettecrochete
I’ve got a sweet new pattern to share with you…
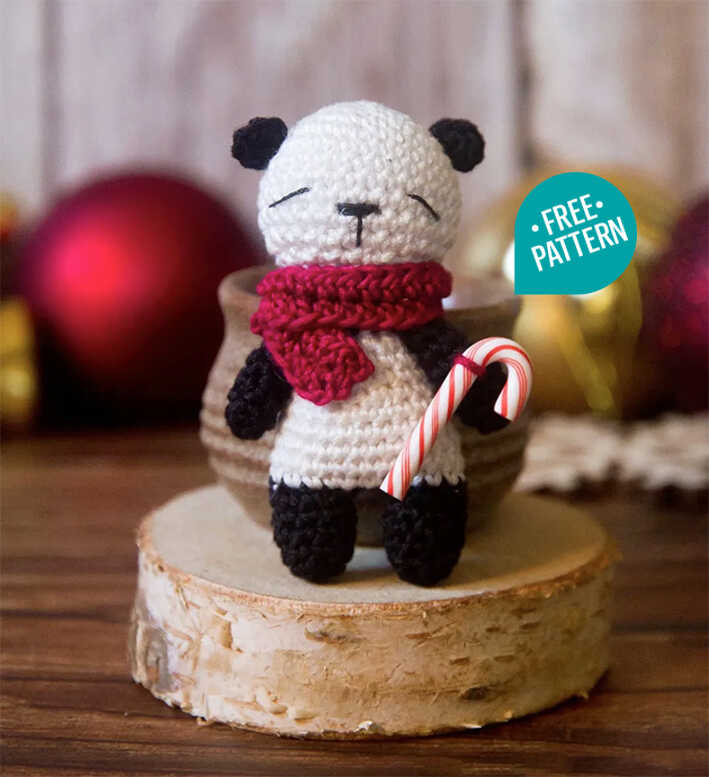
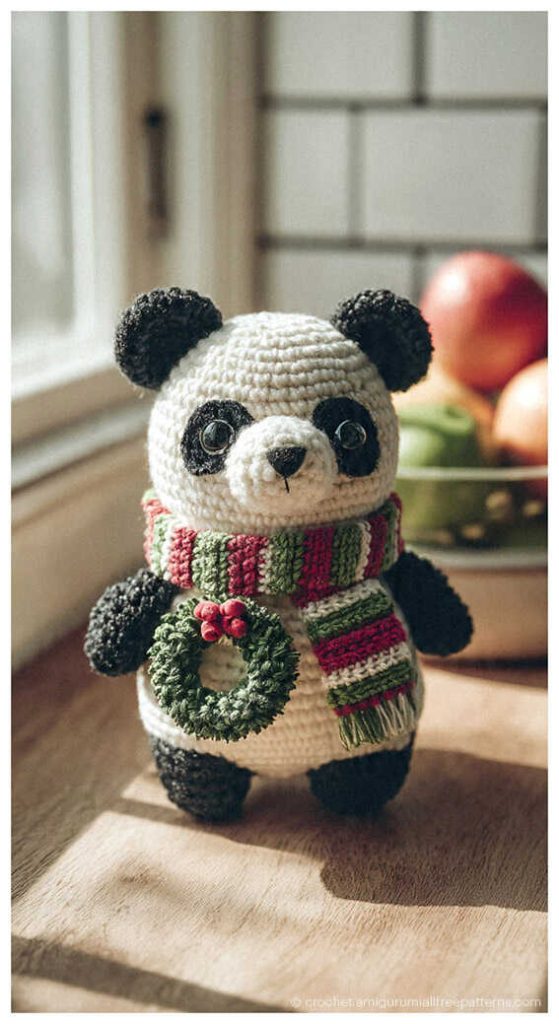
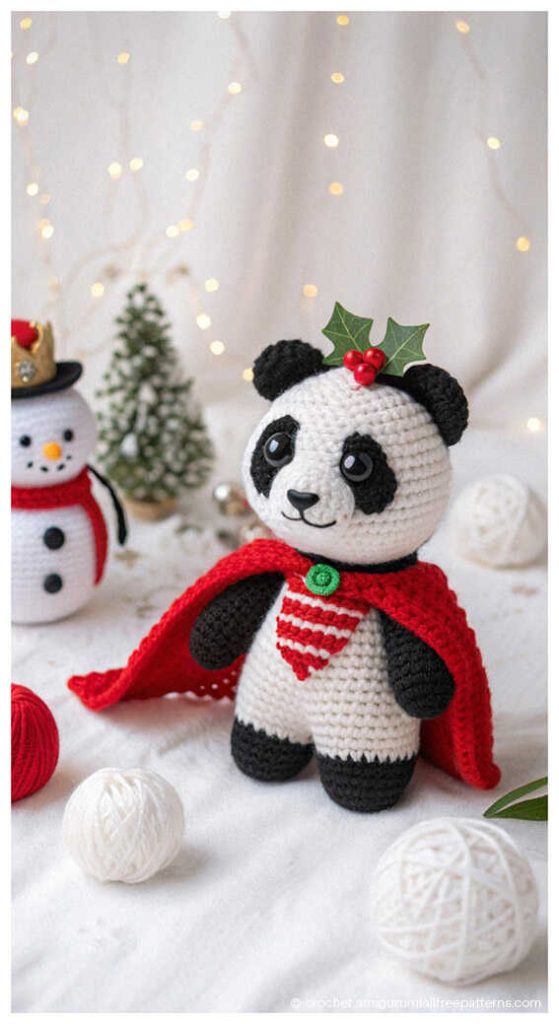
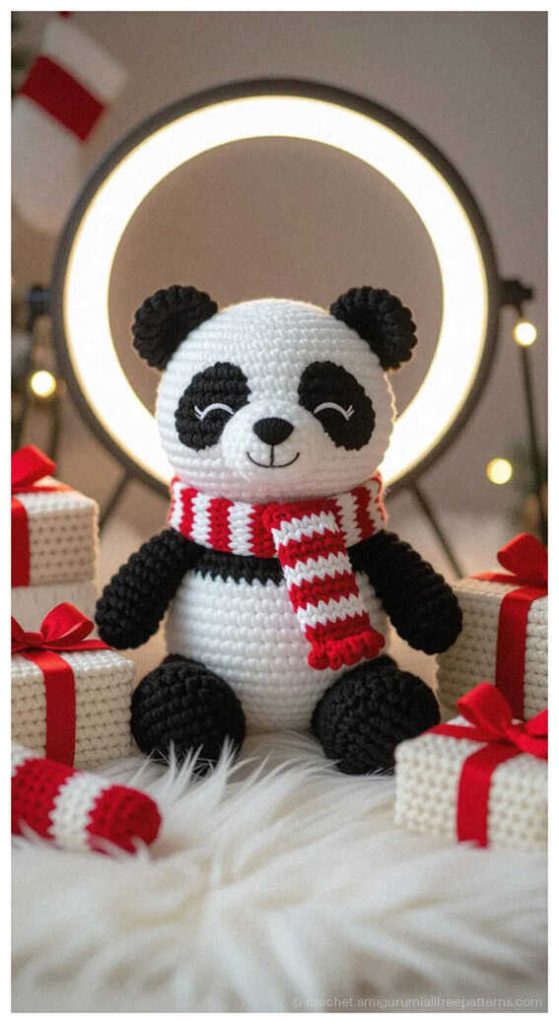
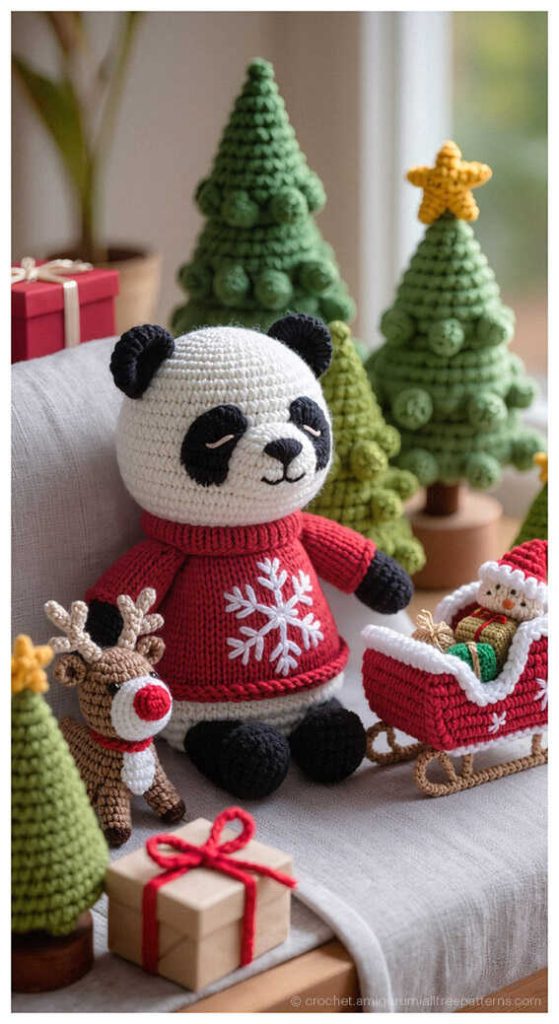
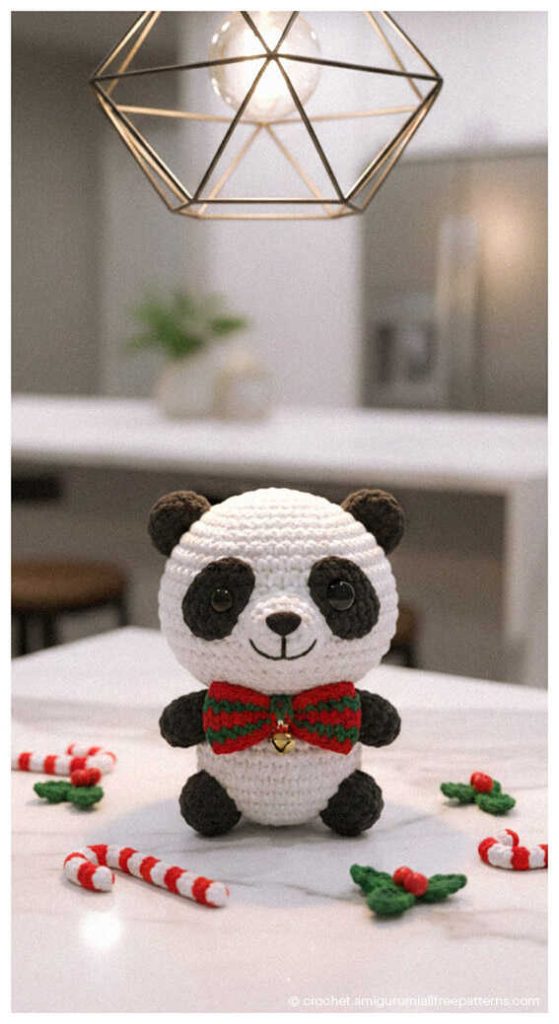
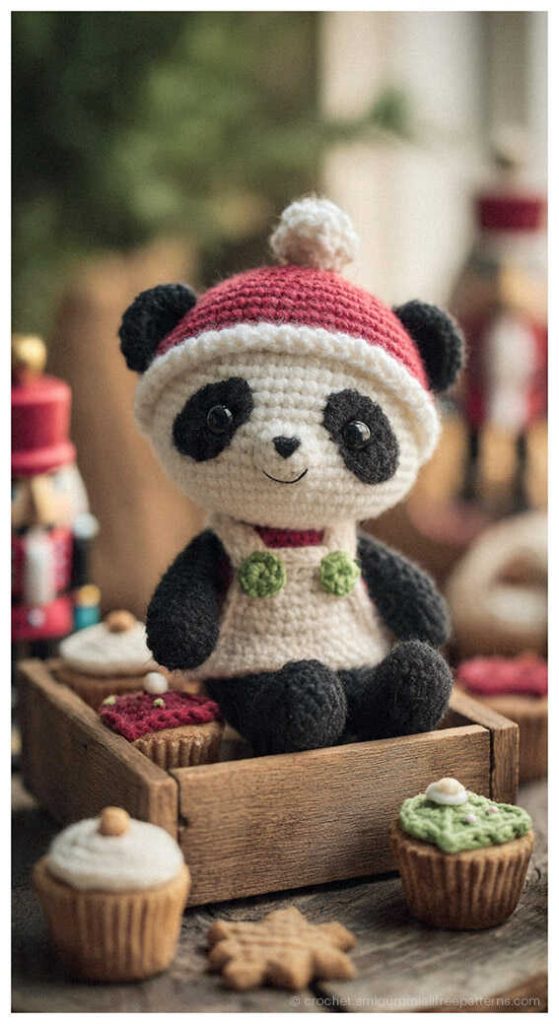
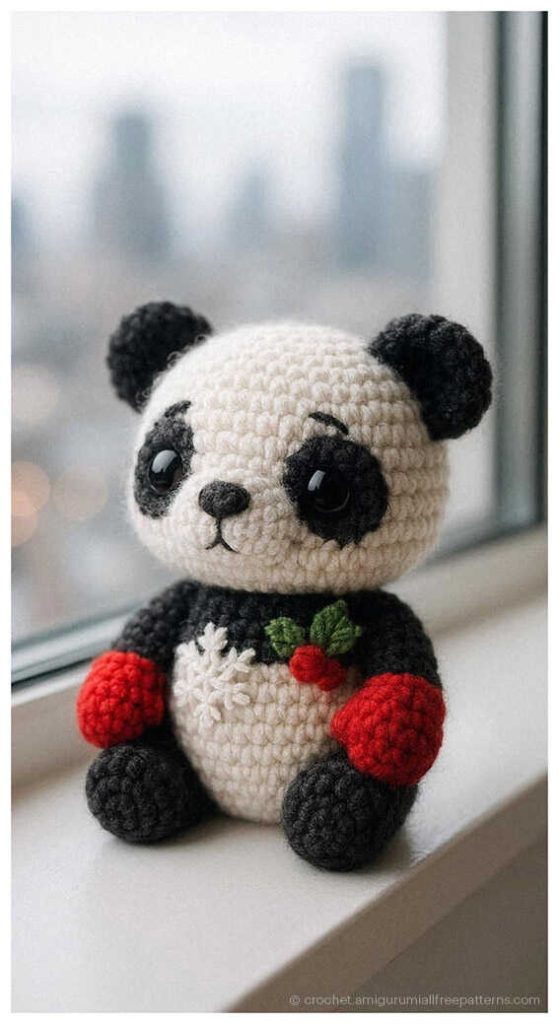
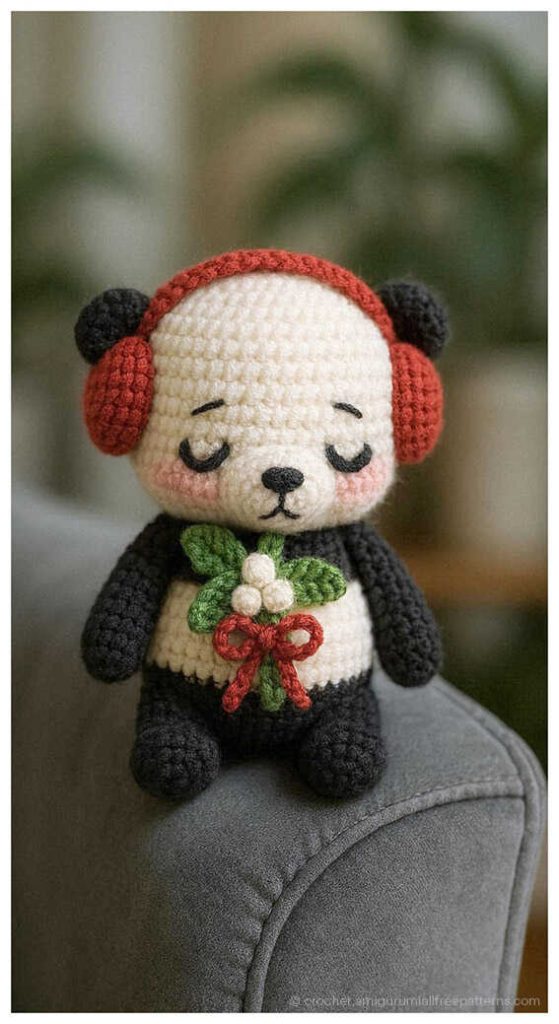
Christmas Panda Amigurumi Bao – Free Crochet Pattern Tutorial brings festive charm to your crochet projects with an adorable panda design full of cozy holiday spirit. This step by step, beginner friendly guide walks you through the process using a 2 mm crochet hook and small amounts of mercerized cotton yarn in classic white, black, and red. Along the way, you’ll naturally use essentials such as polyester fiberfill stuffing, a yarn needle, pins, a stitch marker, scissors, and approximately 30 cm of black linen thread for embroidering delicate facial details. At the end of the pattern, you’ll also discover delightful amigurumi Christmas Panda ideas to inspire seasonal variations and creative finishing touches. Many thanks to designer Une Jeunette Crochete for sharing this charming Christmas panda creation.
Clear instructions and a calm pace make this tutorial enjoyable from the very first stitch to the final detail. Each step helps you shape and assemble the panda neatly while keeping the experience relaxed and rewarding. Whether you’re preparing a handmade holiday gift or adding a festive character to your amigurumi collection, this Christmas Panda Bao project offers a satisfying and creative crochet experience from start to finish.
Materials
2 mm crochet hook
Mercerized cotton yarn in white, black, and red (small amounts)
Approx. 30 cm black linen thread (for embroidery)
Scissors
Yarn needle
Polyester fiberfill stuffing
Stitch marker
Pins
Abbreviations
ch = chain
sc = single crochet
hdc = half double crochet
sl st = slip stitch
inc = increase
inv dec = invisible decrease
MR = magic ring
FREE BAO CHRISTMAS PANDA AMIGURUMI – CROCHET PATTERN INSTRUCTIONS
Head
(white yarn)
R1: 6 sc in MR (6)
R2: inc in each st (12)
R3: (1 sc, inc) x6 (18)
R4: 1 sc, (inc, 2 sc) x5, inc, 1 sc (24)
R5: (3 sc, inc) x6 (30)
R6: sc in each st (30)
R7: sc in each st (30)
R8: sc in each st (30)
R9: sc in each st (30)
R10: sc in each st (30)
R11: (3 sc, inv dec) x6 (24)
R12: 1 sc, (inv dec, 2 sc) x5, inv dec, 1 sc (18)
Begin stuffing.
R13: (1 sc, inv dec) x6 (12)
R14: (1 sc, inv dec) x4 (8)
Finish stuffing, fasten off, leave approx. 25 cm yarn tail for sewing.
Ears x2
(black yarn)
R1: 6 sc in MR (6)
Fasten off, leave approx. 15 cm yarn tail for sewing.
Body
(black & white yarn)
R1: 6 sc in MR (6)
R2: (1 sc, inc) x3 (9)
R3: sc in each st (9)
R4: sc in each st (9)
R5: sc in each st (9)
Fasten off the first leg, leaving approx. 10 cm yarn tail. Make a second identical leg; do not fasten off.
R6: ch 2, join first leg with sl st, 9 sc, 2 sc, 4 sc, change to white yarn, 5 sc (20)
R7: 2 inc, 9 sc, 2 inc, 9 sc (26)
R8: sc in each st (26)
R9: 8 sc, inv dec, 11 sc, inv dec, 3 sc (24)
R10: sc in each st (24)
R11: sc in each st (24)
R13: 1 sc, (inv dec, 2 sc) x5, inv dec, 1 sc (18)
R14: sc in each st (18)
R15: sc in each st (18)
R16: (1 sc, inv dec) x6 (12)
Change to black yarn in the last stitch of R16.
R17: sc in each st (12)
R18: (1 sc, inv dec) x4 (8)
Fasten off, close opening, weave in ends.
Arms x2
(black yarn)
R1: 4 sc in MR (4)
R2: inc in each st (8)
R3: sc in each st (8)
R4: sc in each st (8)
R5: sc in each st (8)
R6: sc in each st (8)
R7: sc in each st (8)
R8: inv dec in each st (4)
R9: 2 sc through both layers (2)
Fasten off, leave approx. 20 cm yarn tail for sewing.
Assembly
Sew the head onto the last round of the body through back loops only.
Sew ears onto R4–R5 of the head, approx. 12 stitches apart.
Sew arms onto R18 of the body, spacing them 3–4 stitches apart.
Add a small securing stitch under the arms at R17.
Weave in all ends.
Embroidery
Eyes:
R8–R9: Embroider eyes using black linen thread, spacing them 4 stitches apart.
Nose:
R10–R12: Embroider the nose, passing the thread several times to shape it.
Fasten off and weave in ends.
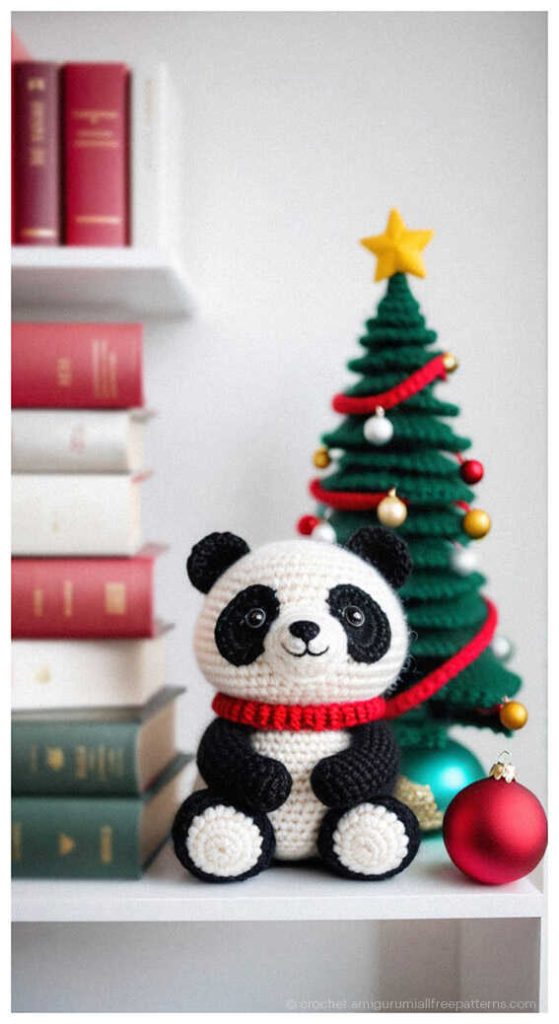
Optional Scarf
Ch 32
R1: Starting in the 3rd ch from hook, hdc in each ch across, ch 2, turn (30)
R2: hdc in each st (30)
Fasten off, leave approx. 15 cm yarn tail. Wrap around the neck and sew in place. Weave in ends.
Copyright & Credits
Original amigurumi panda design by Une Jeunette Crochète.
Shared as a free tutorial (“tuto offert”) and translated for crochet enthusiasts.
Please credit and support the designer.
Instagram: @une.jeunette.crochete
You may also like Crochet Christmas Ornament Amigurumi Free Pattern
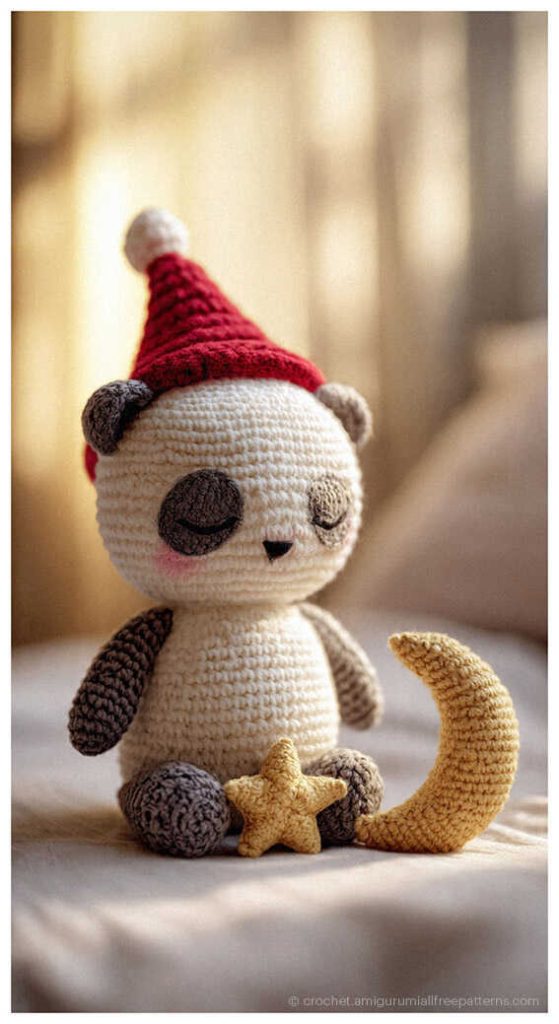
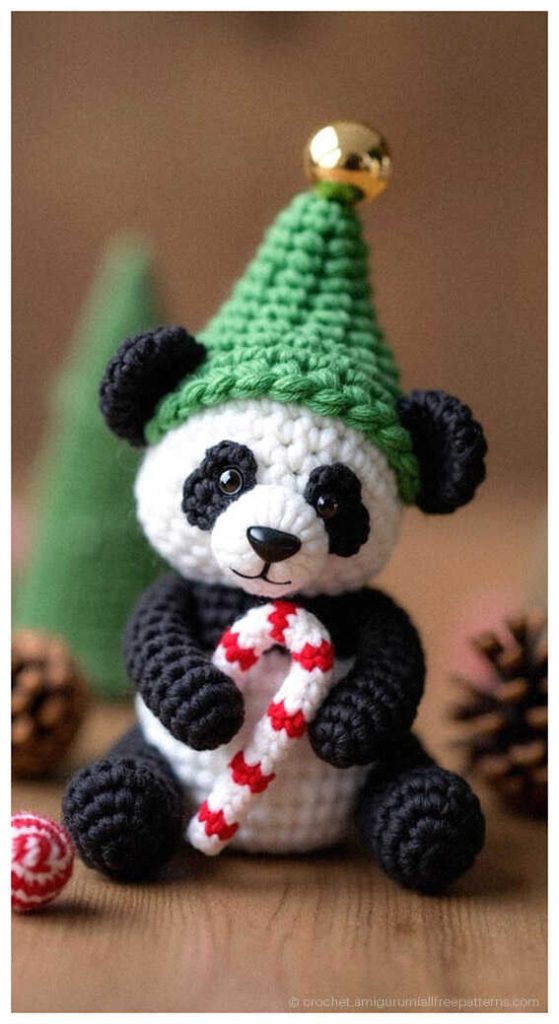
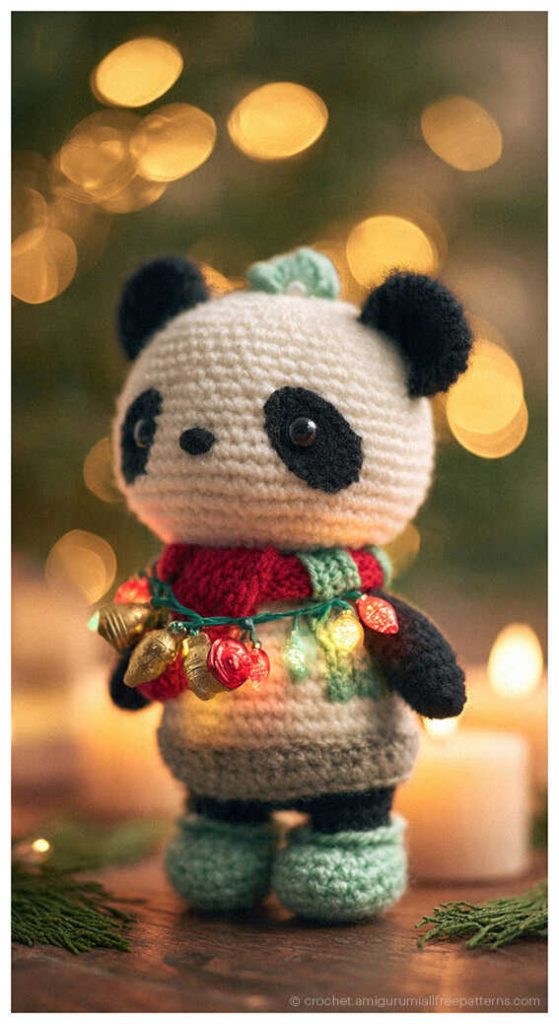
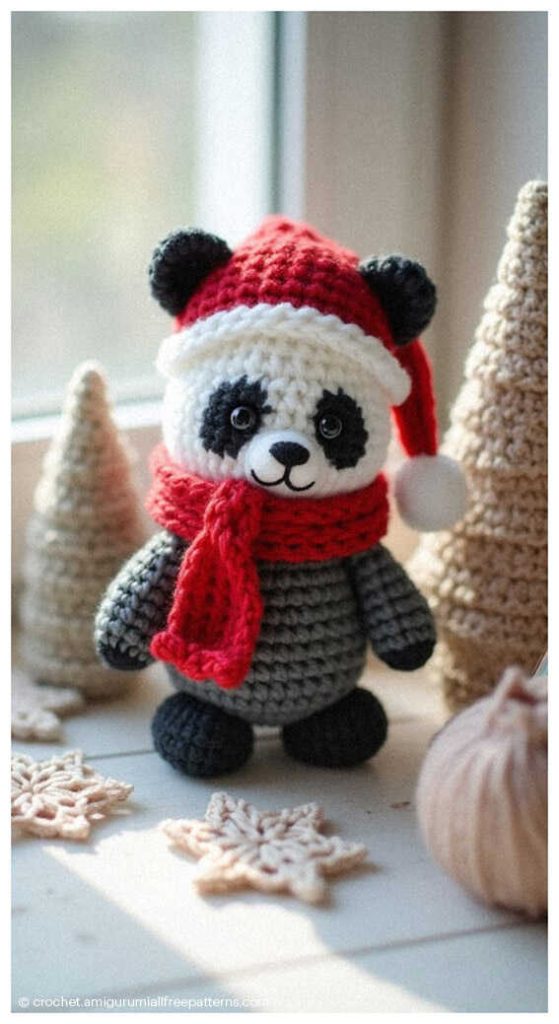
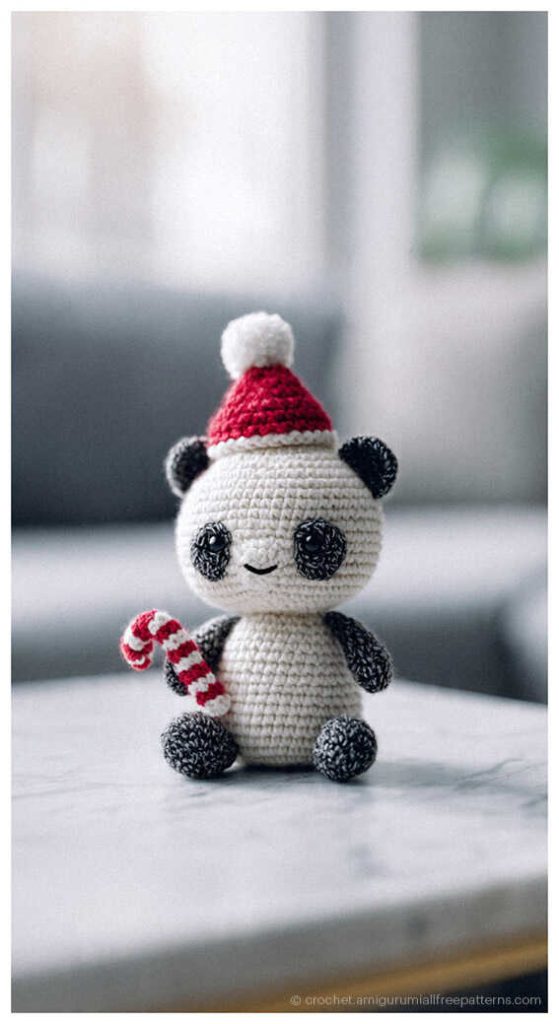
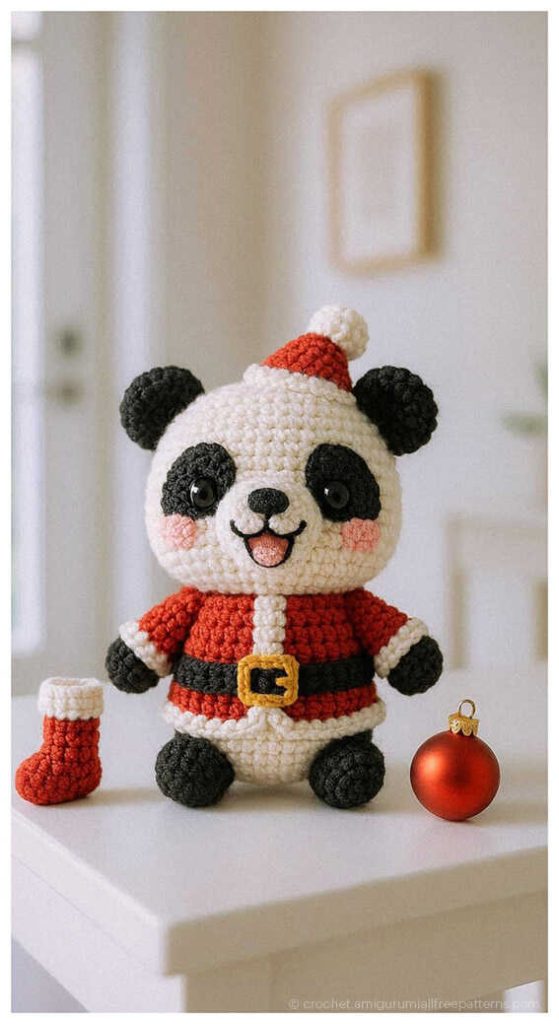
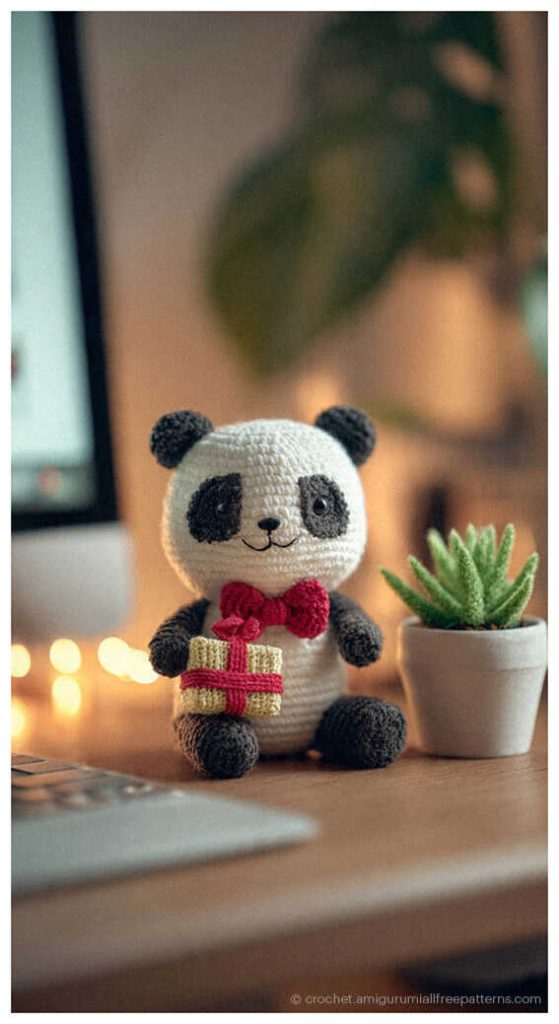
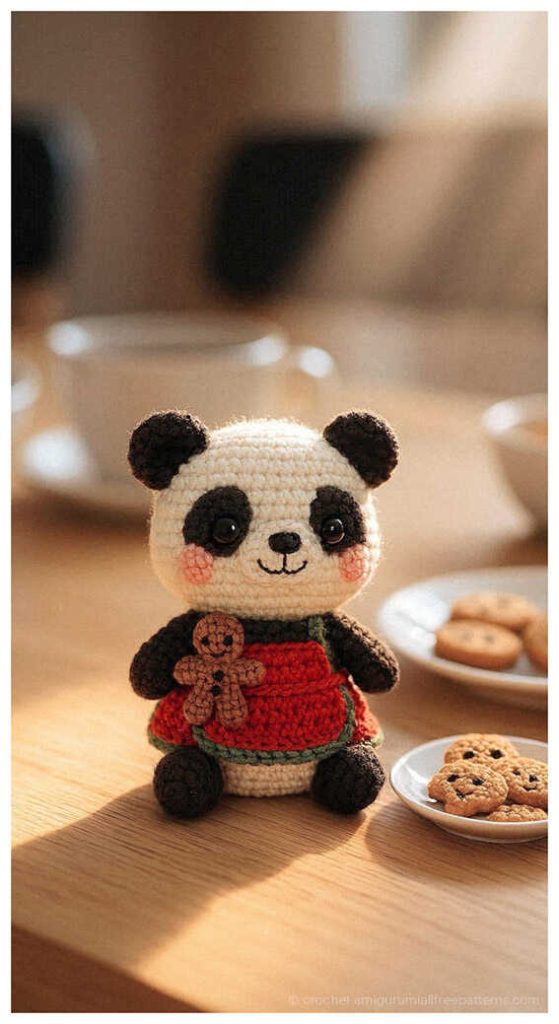
Charming amigurumi panda ideas:

Stitch by Stitch: Explore the World of Amigurumi
Bring your favorite crochet toys to life – from cute amigurumi cats, amigurumi dogs, and amigurumi bunnies to magical amigurumi unicorns, amigurumi elephants, and amigurumi giraffes. Our collection also includes lovable amigurumi bears, amigurumi foxes, amigurumi pandas, amigurumi monkeys, amigurumi lambs, amigurumi pigs, amigurumi birds, amigurumi penguins, amigurumi llamas, amigurumi hippos, and even playful amigurumi dinosaurs, along with delightful amigurumi dolls and amigurumi clowns. Every pattern is designed to spark creativity and guide you with easy-to-follow instructions. For even more free amigurumi patterns, tips, and inspiration, don’t forget to follow us on our Facebook page and join our friendly Facebook group, where crochet lovers from all around the world share their handmade creations and ideas. Let’s continue this wonderful crochet journey together!
Keywords: free amigurumi patterns, crochet toys, amigurumi animals, beginner amigurumi, amigurumi dolls, crochet free patterns, crochet patterns, easy crochet