Free Crochet Juan Lion Amigurumi Pattern with Step-by-Step Guide
Designer: Toys Larua | Jocelin González
Instagram: @toyslarua
Etsy Shop: ToysLarua
Are you ready for a cute little crochet project?..
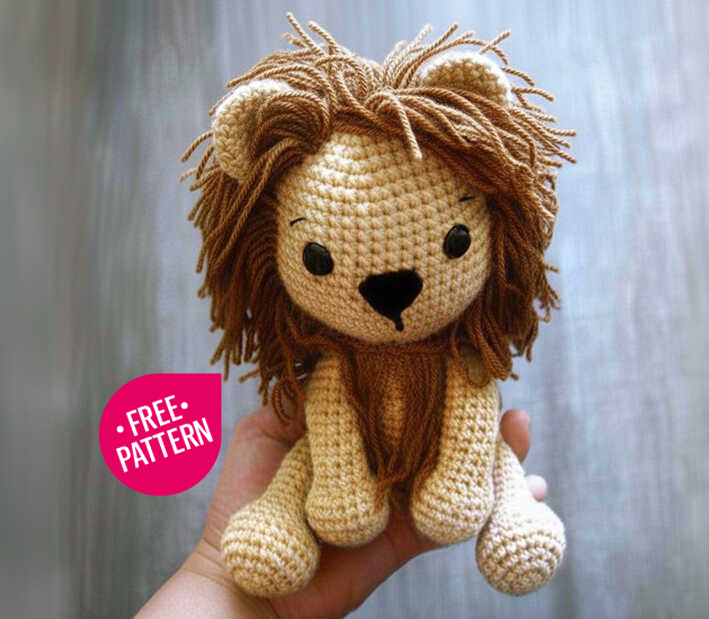
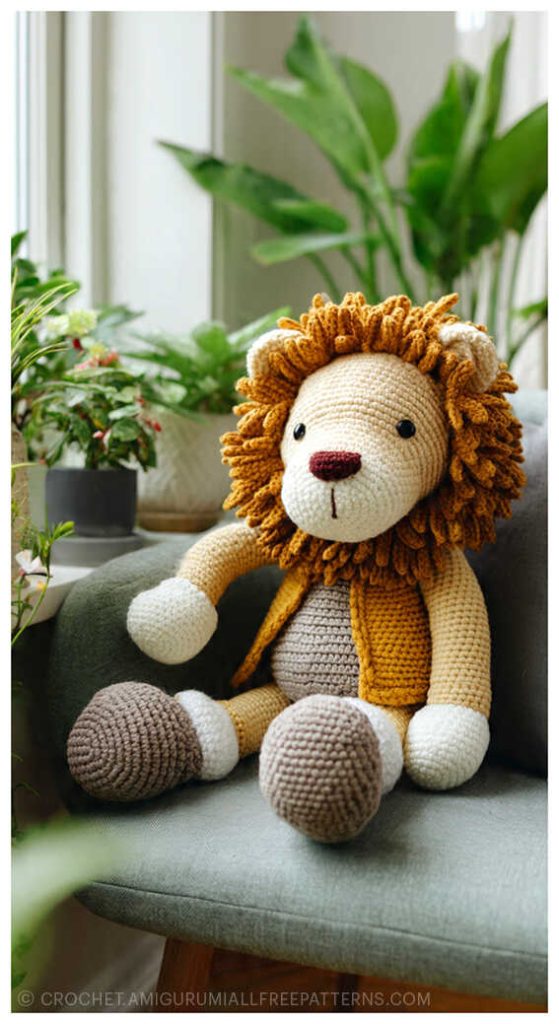
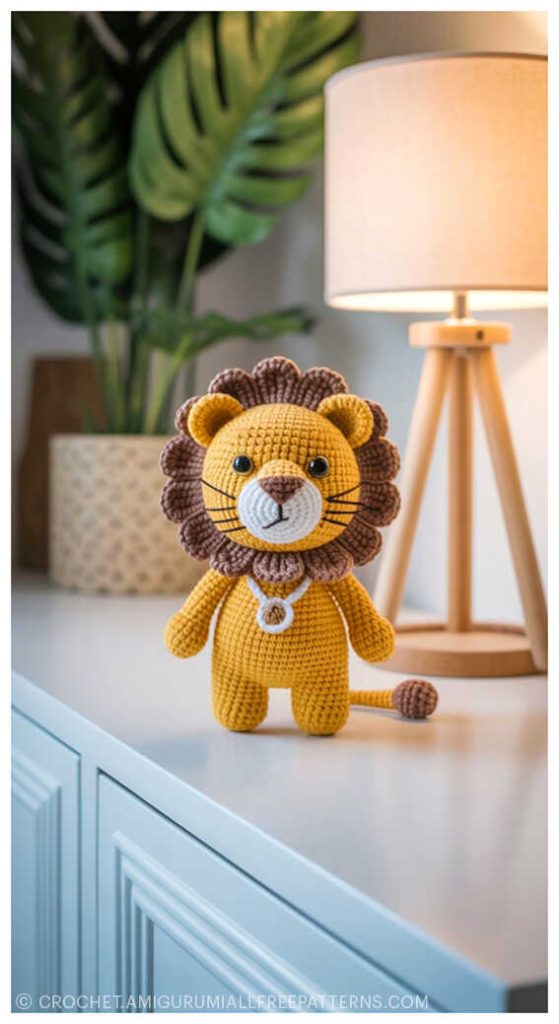
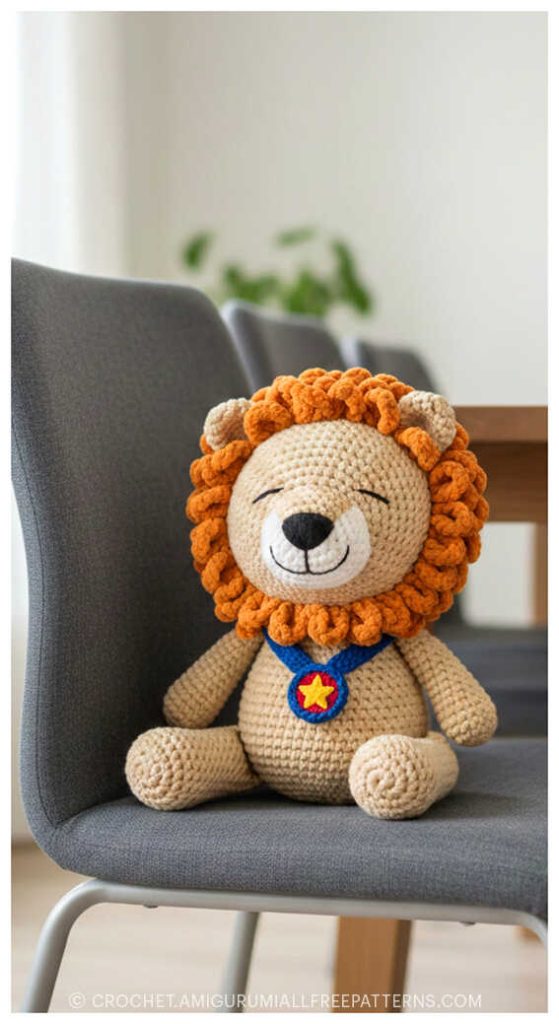
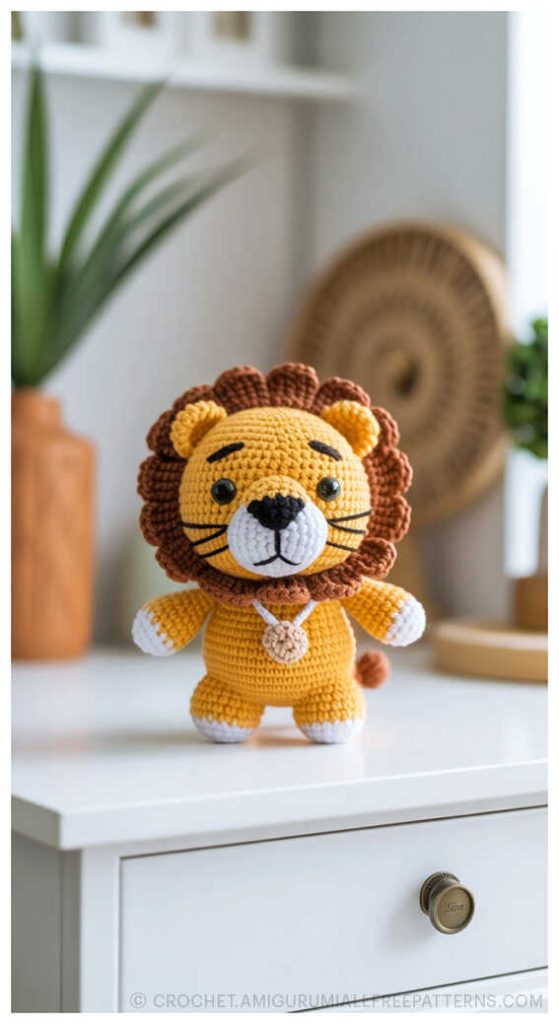
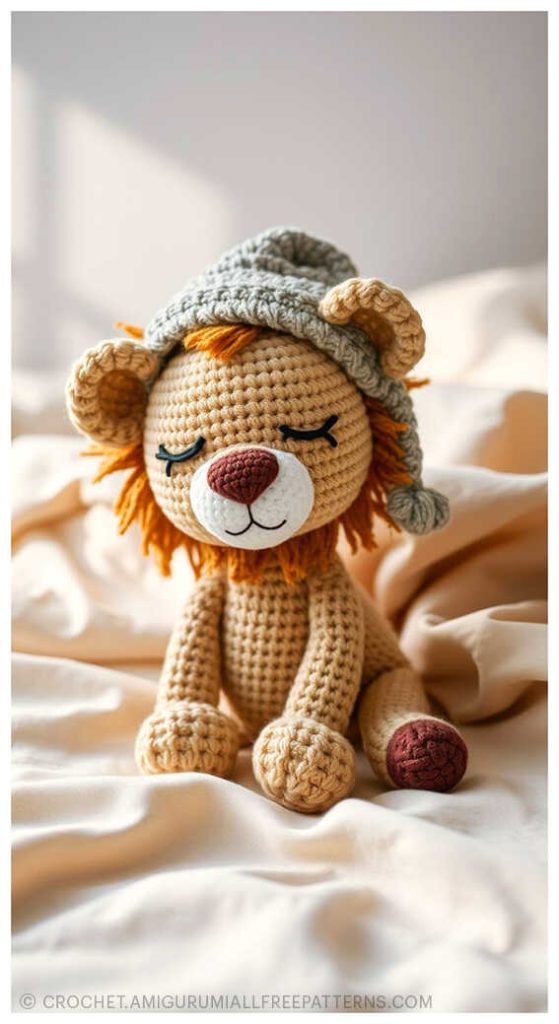
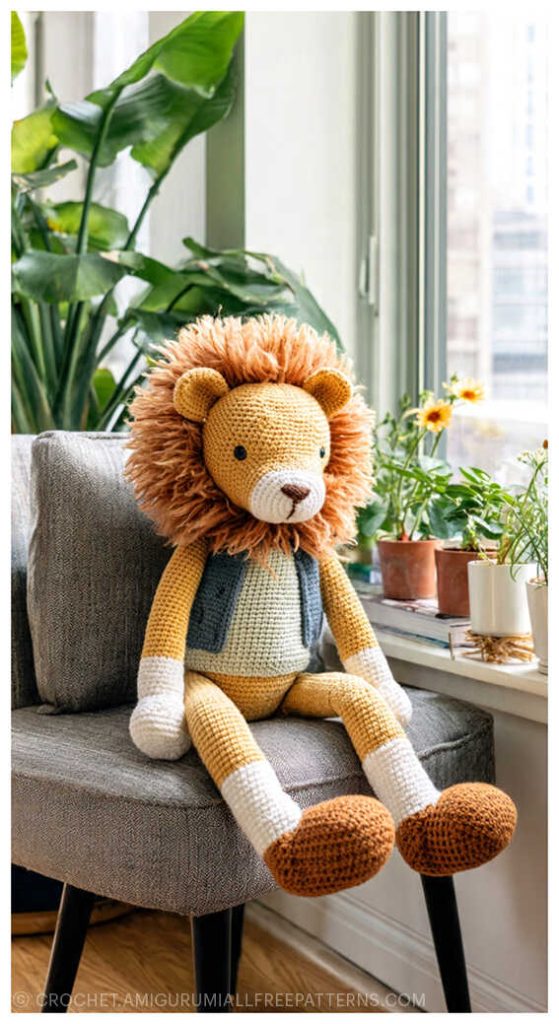
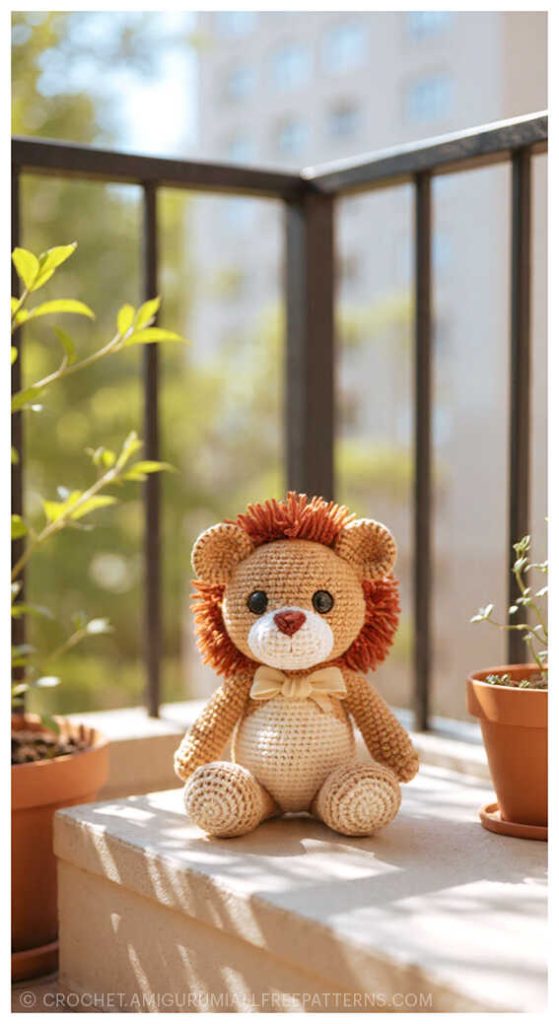
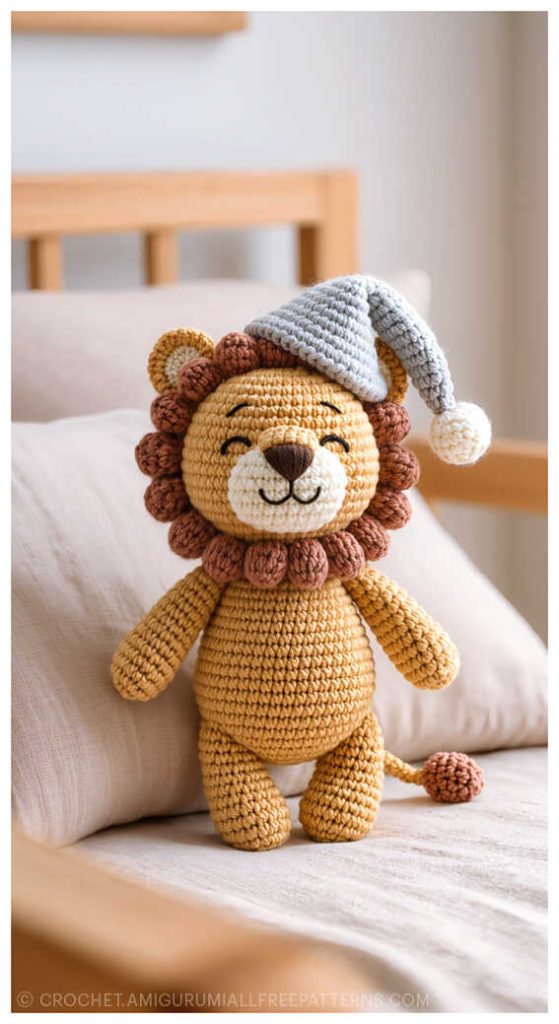
Free Crochet Juan Lion Amigurumi Pattern with Step-by-Step Guide, designed by Toys Larua (Ravelry), is a delightful, step-by-step, beginner-friendly project that brings the majestic charm of a lion into your handmade toy collection. This adorable amigurumi is perfect for gifting, playtime, or adding a cozy touch to your décor. At the end of the pattern, you’ll also find wonderful amigurumi Lion ideas to inspire your creativity and make your project even more special. Special thanks to Jocelin González (YouTube) for sharing this beautifully crafted and inspiring design.
To create your Juan Lion, you’ll need some essential materials and tools: light and dark brown wool, 12 mm lock-on safety eyes, a 3 mm crochet hook, Agvja thick, black felt, black embroidery thread, and synthetic cotton for stuffing. With these key supplies, this pattern stays smooth, fun, and accessible for crocheters of all skill levels. Gather your materials and follow the clear instructions to bring your charming Juan Lion amigurumi to life!
Materials And Tools
• Light and dark brown wool.
• Eyes with 12 mm lock.
• Crochet 3 mm.
• Agvja thick.
• Black felt
• Black embroidery thread.
• Synthetic cotton
Abbreviations
st(s) – stitch(es)
sc – single crochet
slst– Slip Stitch
inc – increase – 2 single crochets are made in one stitch.
dec– decrease – two stitches are knit together, v using the method of invisible decline.
(sc, dec) x N– N what is in parentheses must be repeated.
(sc, dec) x6 (20)– number of points that should be at finish each round.
Tips to achieve a good result!
• Follow the instructions exactly and do not forget to read the notes that are left in the instructions
• All parts are joined (sewn) with the thread that is left in each one of them.
• Use sewing pins to help you sew (prevents pieces from they run off your area)
• It must be filled enough so as not to deform the parts.
AMIGURUMI LION FREE PATTERN
Head
Start with light brown
Rnd 1. 6 sc in a magic ring (6)
Rnd 2. inc x 6 (12)
Rnd 3. (sc, inc) x 6 (18)
Rnd 4. (2 sc, inc) x 6 (24)
Rnd 5. (3 sc, inc) x 6 (30)
Rnd 6. (4 sc, inc) x 6 (36)
Rnd 7. (5 sc, inc) x 6 (42)
Rnd 8. (6 sc, inc) x 6 (48)
Rnd 9-16. sc in all the st (48)
Rnd 17. (7 sc, inc) x 6 (54)
Rnd 18. (8 sc, inc) x 6 (60)
Note: Second eyes between R14 and R15
Rnd 19. sc in all the st (60)
Rnd 20. (8 sc, dec) x 6 (54)
Rnd 21. (7 sc, dec) x 6 (48)
Rnd 22. (6 sc, dec) x 6 (42)
Rnd 23. (5 sc, dec) x 6 (36)
Rnd 24. (4 sc, dec) x 6 (30)
Rnd 25. (3 sc, dec) x 6 (24)
Rnd 26. (2 sc, dec) x 6 (18), slst
Note: Leave a long thread before cutting. Fill firmly.
Body
Start with light brown
Rnd 1. 6 sc in a magic ring (6)
Rnd 2. inc x 6 (12)
Rnd 3. (sc, inc) x 6 (18)
Rnd 4. (2 sc, inc) x 6 (24)
Rnd 5. (3 sc, inc) x 6 (30)
Rnd 6. (4 sc, inc) x 6 (36)
Rnd 7. (5 sc, inc) x 6 (42)
Rnd 8. (6 sc, inc) x 6 (48)
Rnd 9-11. sc in all the st (48)
Rnd 12. (6 sc, dec) x 6 (42)
Rnd 13-15. sc en todos los st (42)
Rnd 16. (5 sc, dec) x 6 (36)
Rnd 17-19. sc in all the st (36)
Rnd 20. (4 sc, dec) x 6 (30)
Rnd 21-23. sc in all the st (30)
Rnd 24. (3 sc, dec) x 6 (24)
Rnd 25. (2 sc, dec) x 6 (18), slst.
Note: Fill firmly
Legs (Make 2)
Start with light brown
Rnd 1. 6 sc in a magic ring (6)
Rnd 2. inc x 6 (12)
Rnd 3. (sc, inc) x 6 (18)
Rnd 4. (2 sc, inc) x 6 (24)
Rnd 5-7. sc in all the st (24)
Rnd 8. (2 sc, dec) x 6 (18)
Rnd 9. (sc, dec) x 6 (12)
Rnd 10-21. scin all the st (12), slst.
Note: Leave a strand before cutting. Fill firmly.
Arms (Make 2)
Start with light brown
Rnd 1. 6 sc in a magic ring (6)
Rnd 2. inc x 6 (12)
Rnd 3. (sc, inc) x 6 (18)
Rnd 4. (5 sc, inc) x 3 (21)
Rnd 5-6. sc in all the st (21)
Rnd 7. (5 sc, dec) x 3 (18)
Rnd 8. (sc, dec) x 6 (12)
Rnd 9-21. sc in all the st (12), slst.
Note: Leave a strand before cutting. Fill firmly.
Tail
Start with light brown
Rnd 1. 6 sc in a magic ring (6)
Rnd 2. sc in all the st (6)
Rnd 3. (sc, inc) x 3 (9)
Rnd 4-19. sc in all the st (9), slst.
Note: Leave a strand before cutting. Fill lightly.
Ears
Start with light brown
Rnd 1. 6 sc in a magic ring (6)
Rnd 2. inc x 6 (12)
Rnd 3. (sc, inc) x 6 (18)
Rnd 4-5. sc in all the st (18)
Rnd 6. (sc, dec) x 6 (12), slst.
Note: Leave a long strand before cutting. It is not necessary to fill in.
Assembly
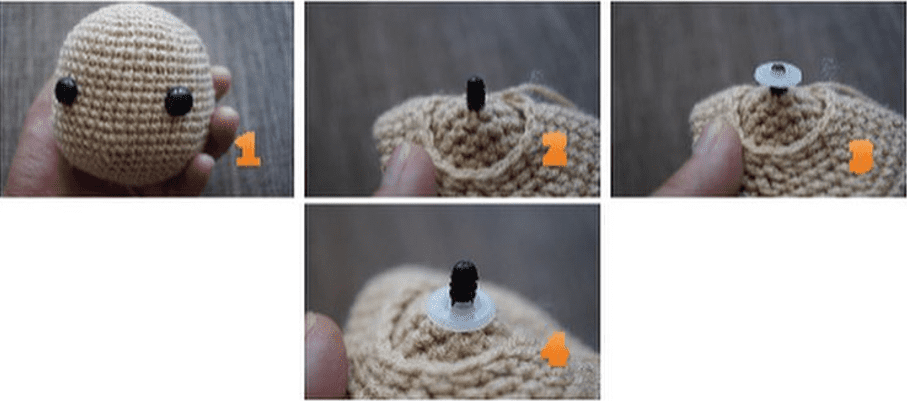
• Put the eyes between the R14 and R 15 with a separation of 8 holes, on the wrong side of the fabric put the safety (when you are completely sure of the position, once put it is not possible to remove) and pressed with out.
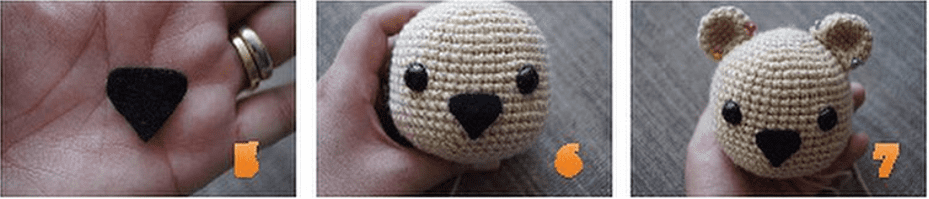
• With a piece of felt or black fabric, design the nose of the size you want, forming a triangle with rounded tips, stick a strong glue (I use UHU) between the eyes. Put the ears parallel to the eyes, on top of the head. In this part you can embroider the eyebrows and the mouth making a knot on the wrong side of the head fabric. Sew the body to the head.

• In the arms and legs, the hole must first be closed by matching the stitch of each edge and cook them one by one. Sew the legs to the sides on the inside of the body and the arms to the sides in the upper part of the body in a diagond shape.

• Roll dark brown wool across the widest part of the palm, cut at the upper part of the hand the strands, these should be placed around the face and the whole head taking the mane, so you will need many of these strands. Take one yarn and fold it in half, insert the crochet into a stitch on the head (Begins in front of the ears and follow that line around the face), take the strand that you doubled and with the crochet. Pull it through the stitch, the loop left when folding the strand, expand it and pass the ends of the strand through it, in this way a knot will be formed. Keep putting strands around face and head. Also put strands on the tip of the tail, cut a little, Findly sew the tail to the back of the body. To give expression to his face, embroider with black thread his eyebrows and mouth, trying to tie a knot in the back of his head to the body to make it firm, you can also embroider it before sewing the head to the body by making the knot on the wrong side of the head tissue.

Congratulations, you have completed the Juan amigurumi lion pattern.
You may also like Amigurumi Tiger Crochet Free Pattern
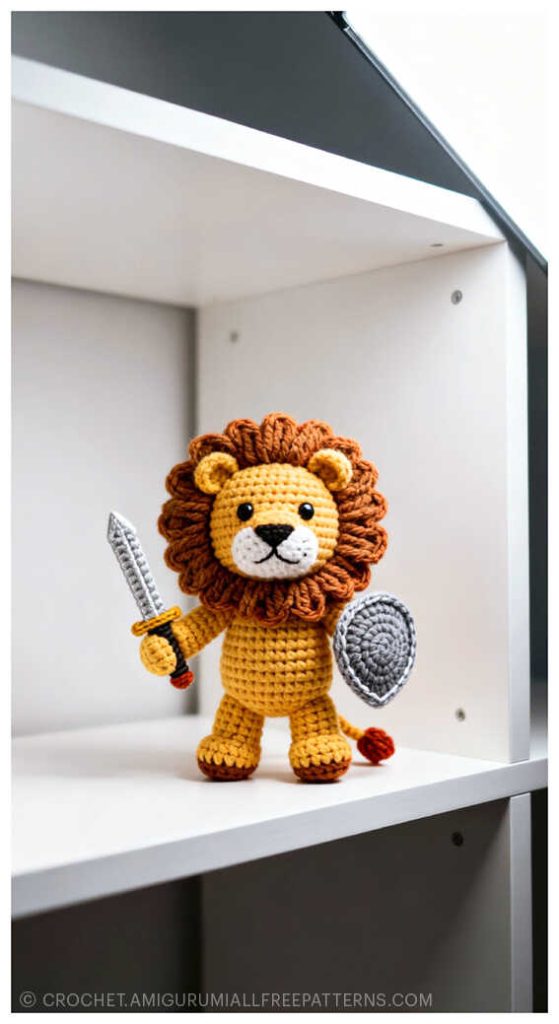
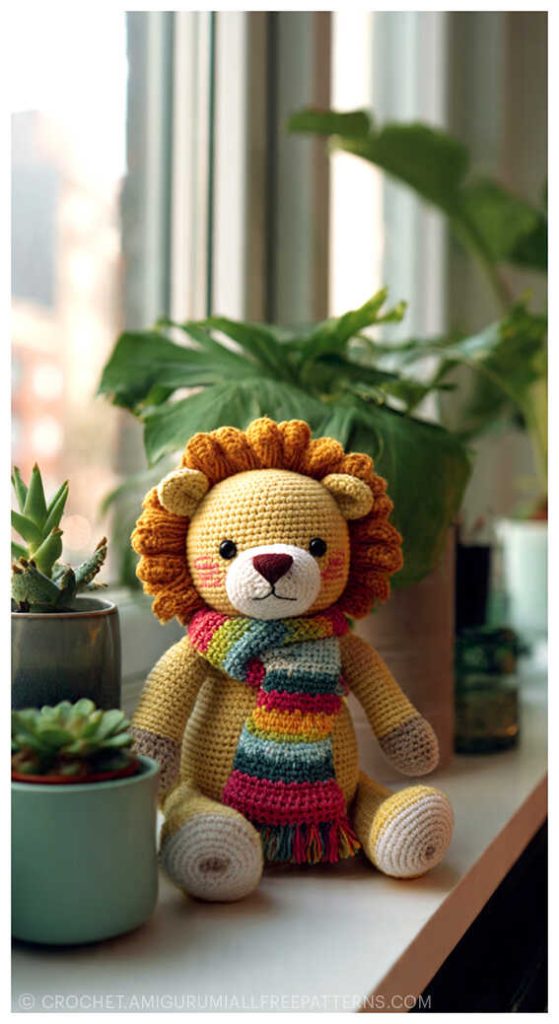
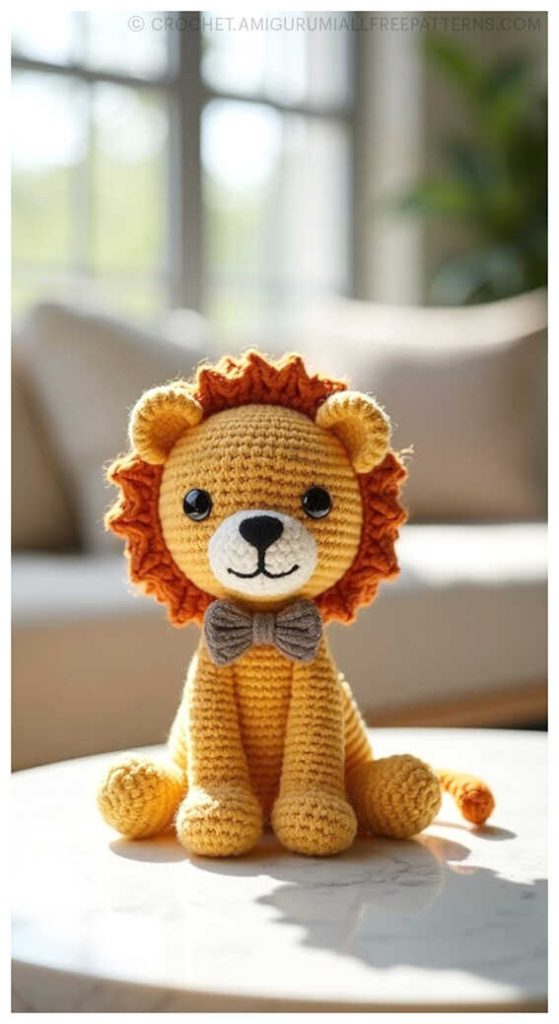
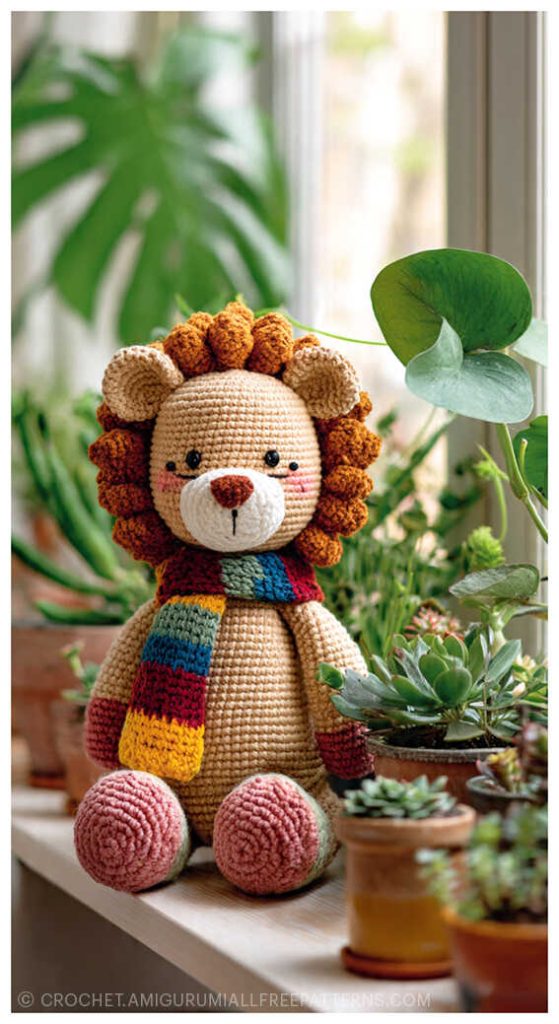
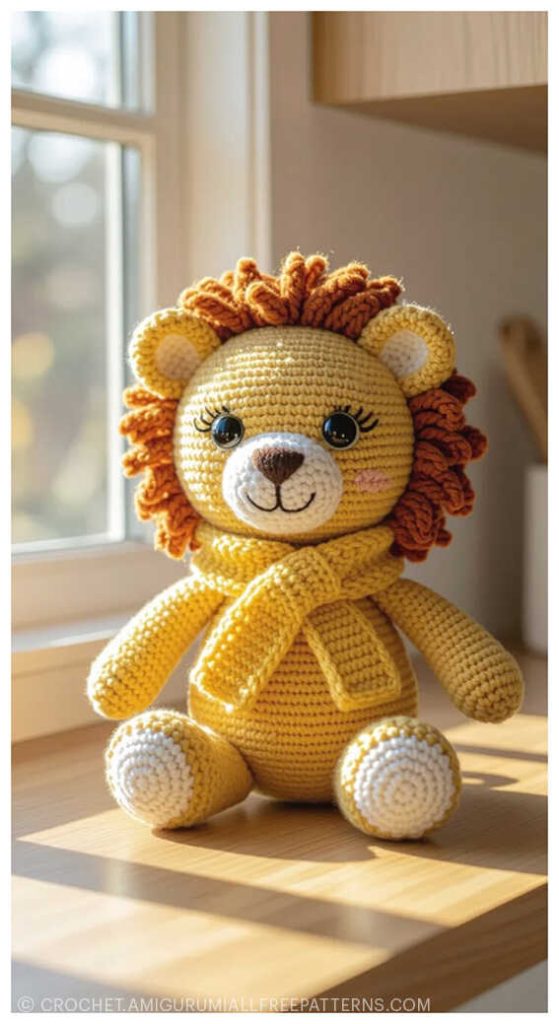
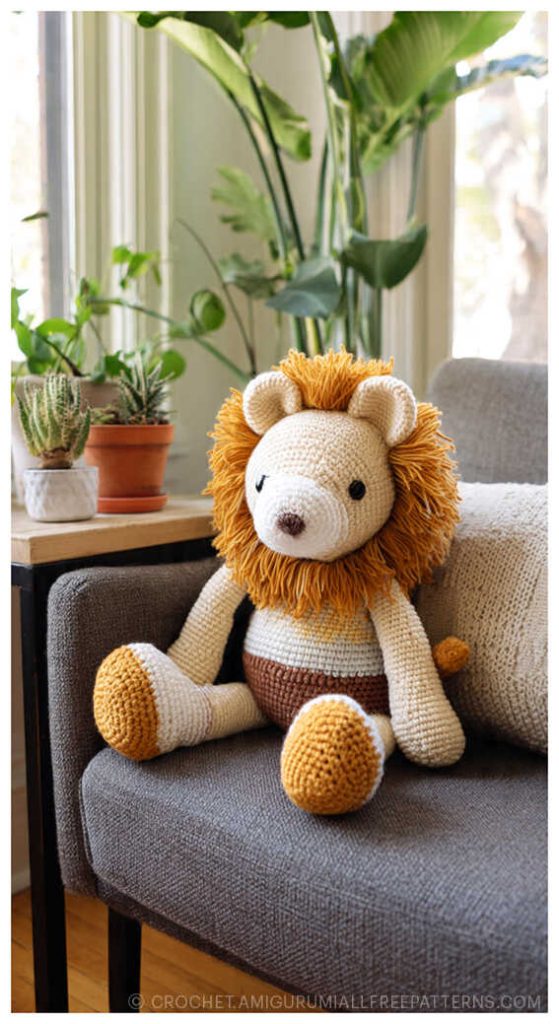
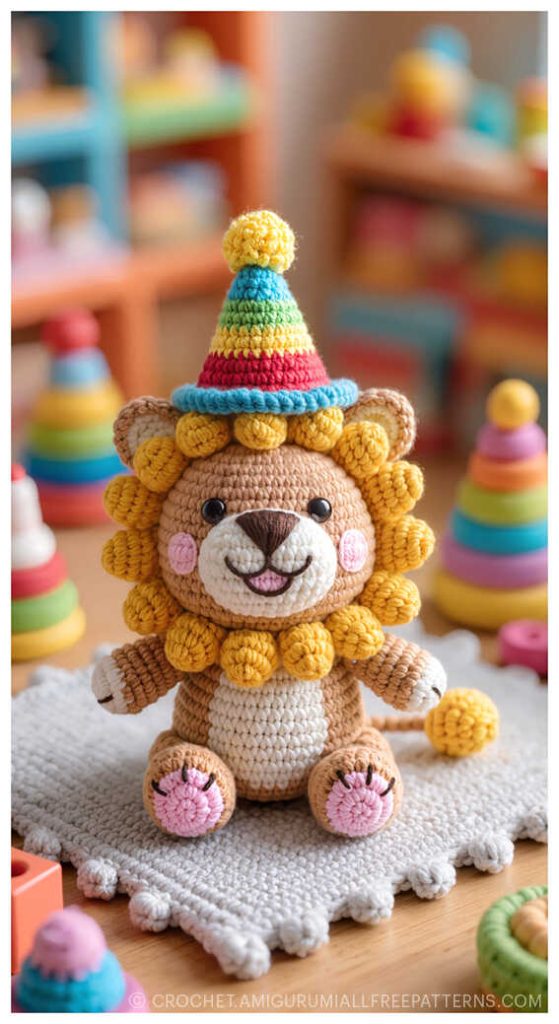
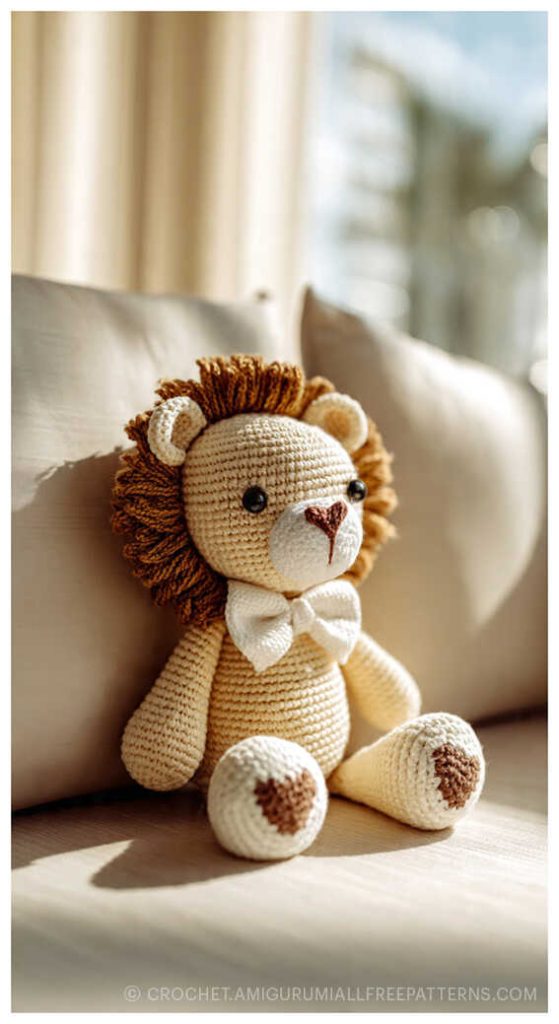
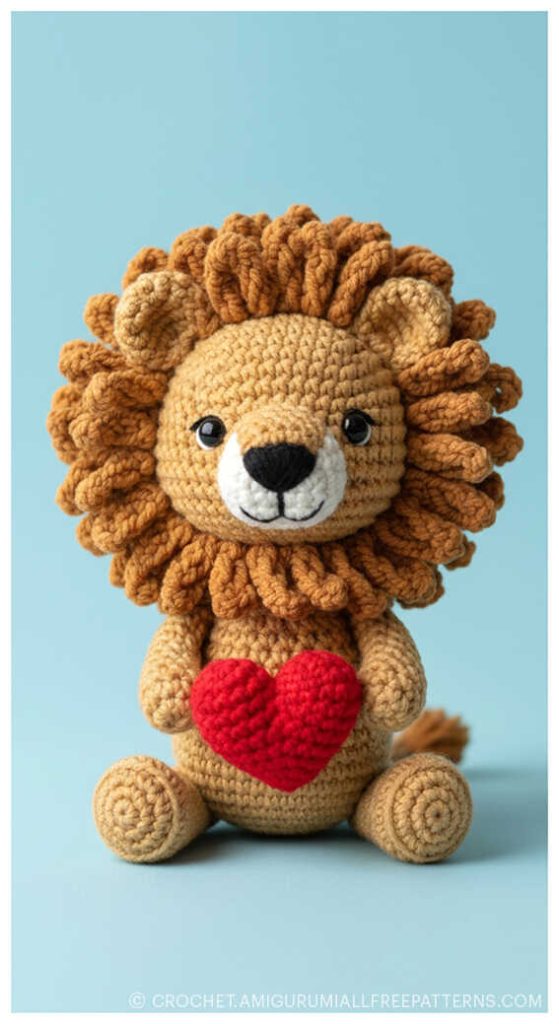
Cute amigurumi lion ideas:

Stitch by Stitch: Explore the World of Amigurumi
Bring your favorite crochet toys to life – from cute amigurumi cats, amigurumi dogs, and amigurumi bunnies to magical amigurumi unicorns, amigurumi elephants, and amigurumi giraffes. Our collection also includes lovable amigurumi bears, amigurumi foxes, amigurumi pandas, amigurumi monkeys, amigurumi lambs, amigurumi pigs, amigurumi birds, amigurumi penguins, amigurumi llamas, amigurumi hippos, and even playful amigurumi dinosaurs, along with delightful amigurumi dolls and amigurumi clowns. Every pattern is designed to spark creativity and guide you with easy-to-follow instructions. For even more free amigurumi patterns, tips, and inspiration, don’t forget to follow us on our Facebook page and join our friendly Facebook group, where crochet lovers from all around the world share their handmade creations and ideas. Let’s continue this wonderful crochet journey together!
Keywords: free amigurumi patterns, crochet toys, amigurumi animals, beginner amigurumi, amigurumi dolls, crochet free patterns, crochet patterns, easy crochet